Category: Virtualization

VMware ESXi 6.7 – View the ARP Table

Recently, I needed to select the Internet Protocol (IP) addresses for various VMkernel adapters. In selecting IP addresses you must be certain that the IP address is not already in use to avoid an IP address conflict. One way to determine this is to ping the IP address in question. However, what do you do if ICMP traffic is filtered?

In that case, you can ping the IP address in question from another host on the subnet and view it’s Address Resolution Protocol (ARP) table. The command below may be used to view the ARP table of a VMware ESXi 6.7 host.

esxcli network ip neighbor list

Microsoft Hyper-V – View All Virtual Machines in a Failover Cluster

You may use the following Microsoft Windows PowerShell cmdlet to view all of the virtual machines in a Microsoft Windows Hyper-V Failover Cluster. In order for this cmdlet to provide the list of virtual machines it will need to be run from a Hyper-V host in the cluster.

Get-ClusterGroup | ? {$_.GroupType -eq ‘VirtualMachine’ } | Get-VM


VMware PowerCLI – View Snapshots

You may use the following VMware PowerCLI cmdlets to view all of the snapshots managed by vCenter Server or more specifically a cluster. These are sample commands and further information and documentation may be found here.

Get-VM | Get-Snapshot | Format-List
Get-VM | Get-Snapshot | Format-List VM, Name, SizeGB, Created, Description
Get-VM -Location “CLUSTER01” | Get-Snapshot | Format-List
Get-VM -Location “CLUSTER01”| Get-Snapshot | Format-List VM, Name, SizeGB, Created, Description


VMware vSphere Update Manager 6.0 – Remediating a VMware ESXi 6.0 Host

The following is a step by step guide for remediating (i.e. patching) a VMware ESXi 6.0 host.

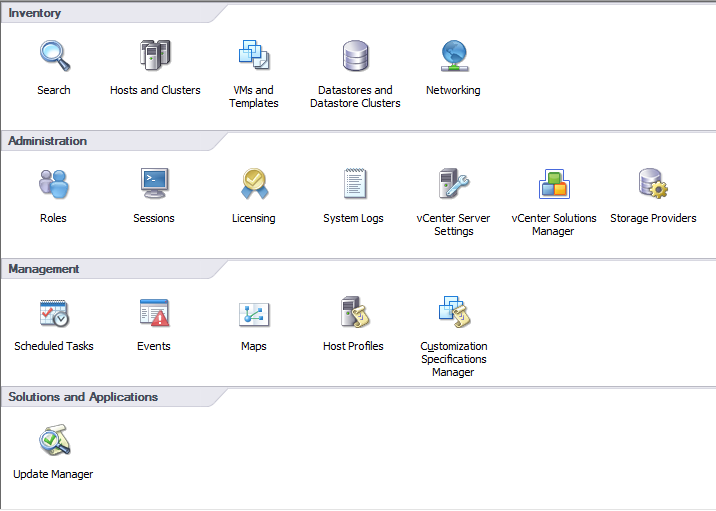
  1. On the home page of the VMware vSphere Client select Hosts and Clusters.01
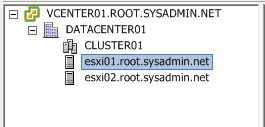
  2. Select a VMware ESXi 6.0 host from the inventory tree on the left.02
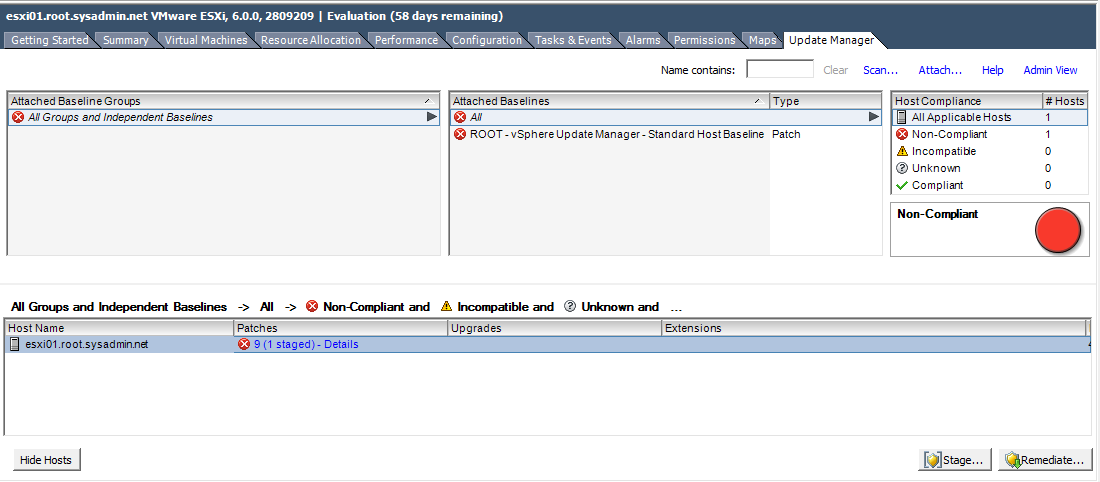
  3. Select the Update Manager tab on the VMware vSphere Client.03
  4. Click Remidiate… in the lower right portion of the Update Manager tab.
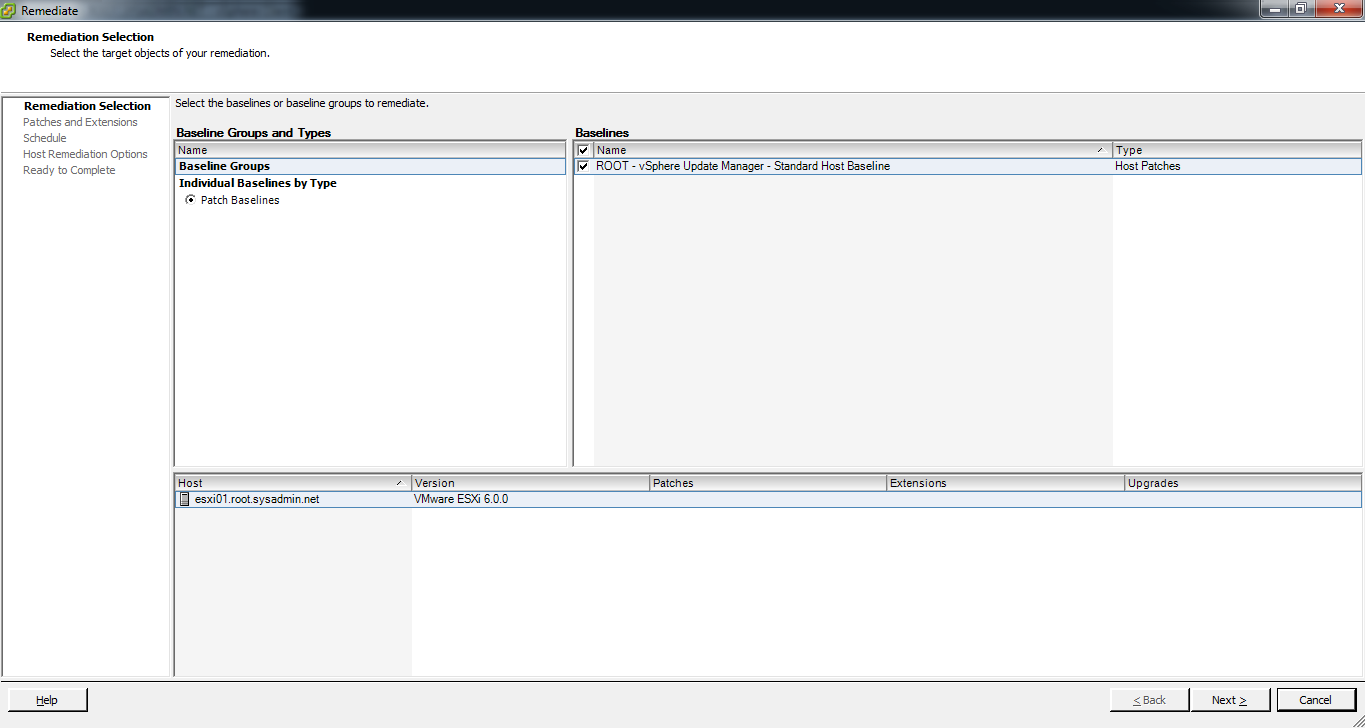
  5. On the Remediation Selection dialog box select the baselines or baseline groups to apply and click Next >.05
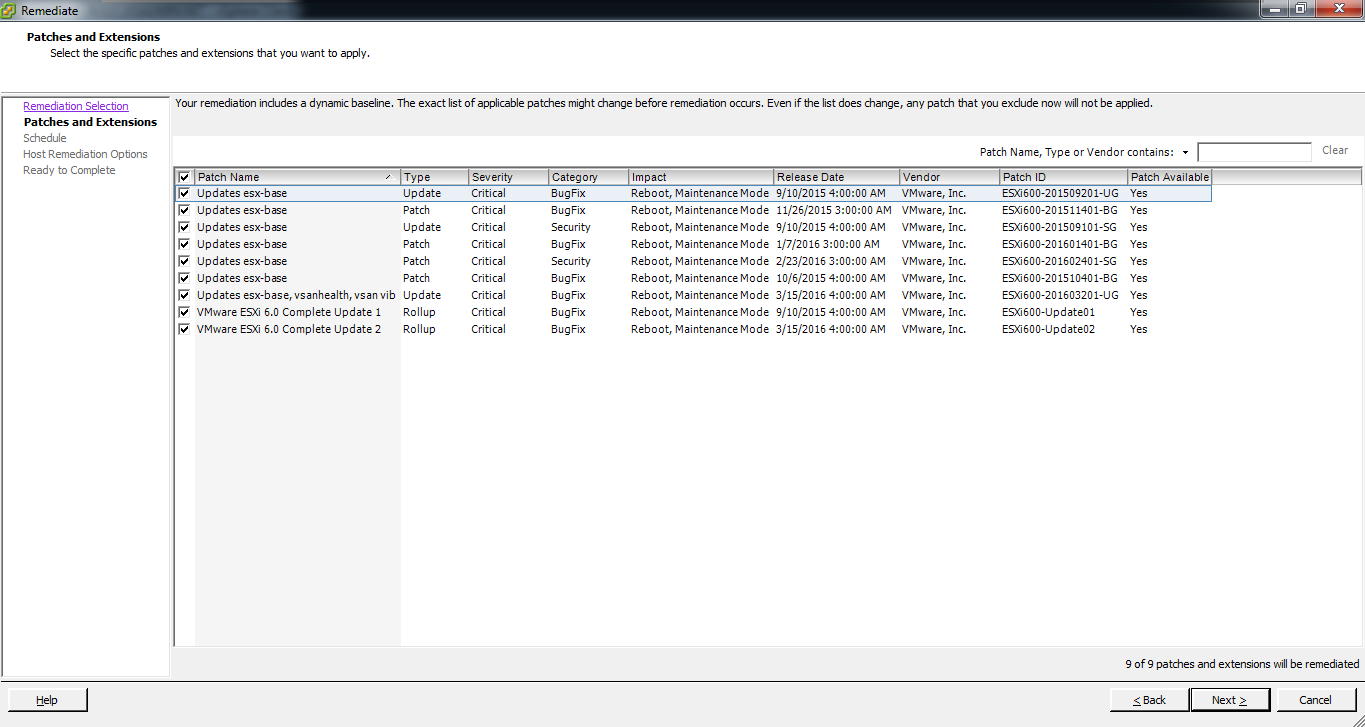
  6. On the Patches and Extensions dialog box deselect any patches you would like to exclude then click Next >.05
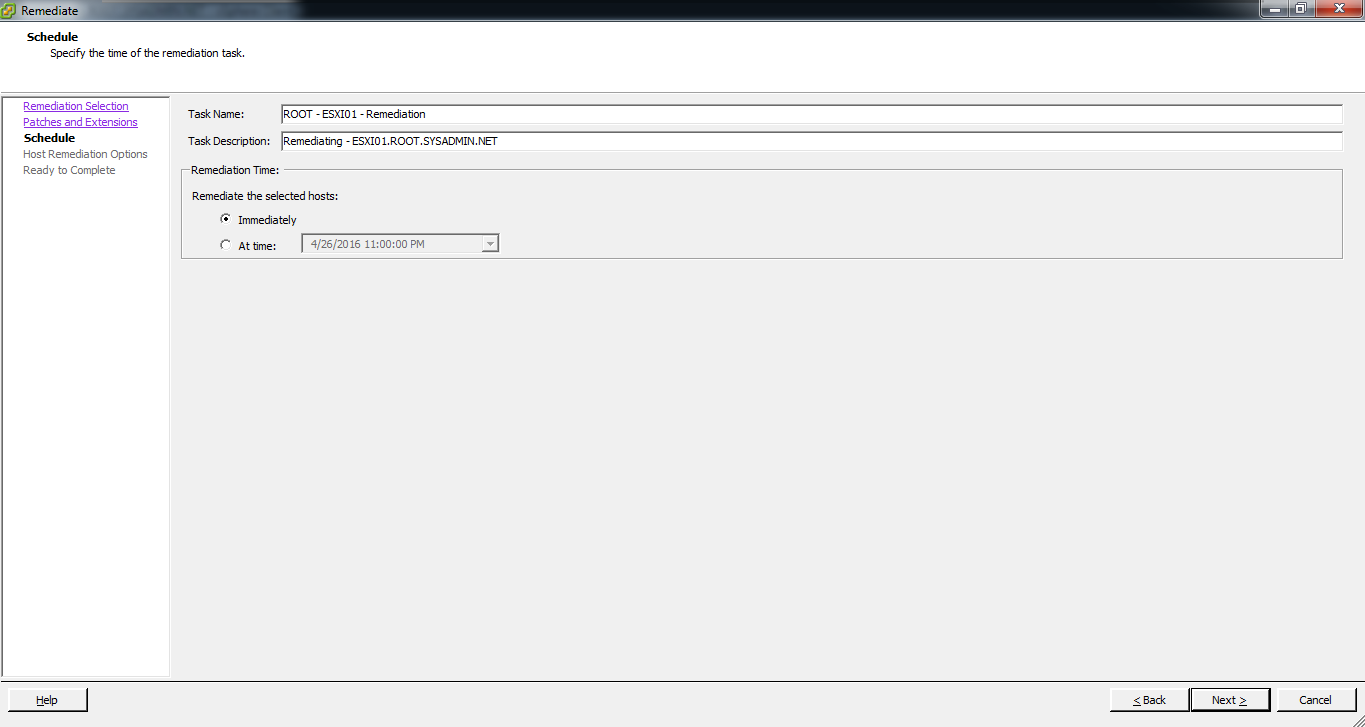
  7. On the Schedule dialog box enter a Task Name:, Task Description: and Remediation Time: then click Next >.07
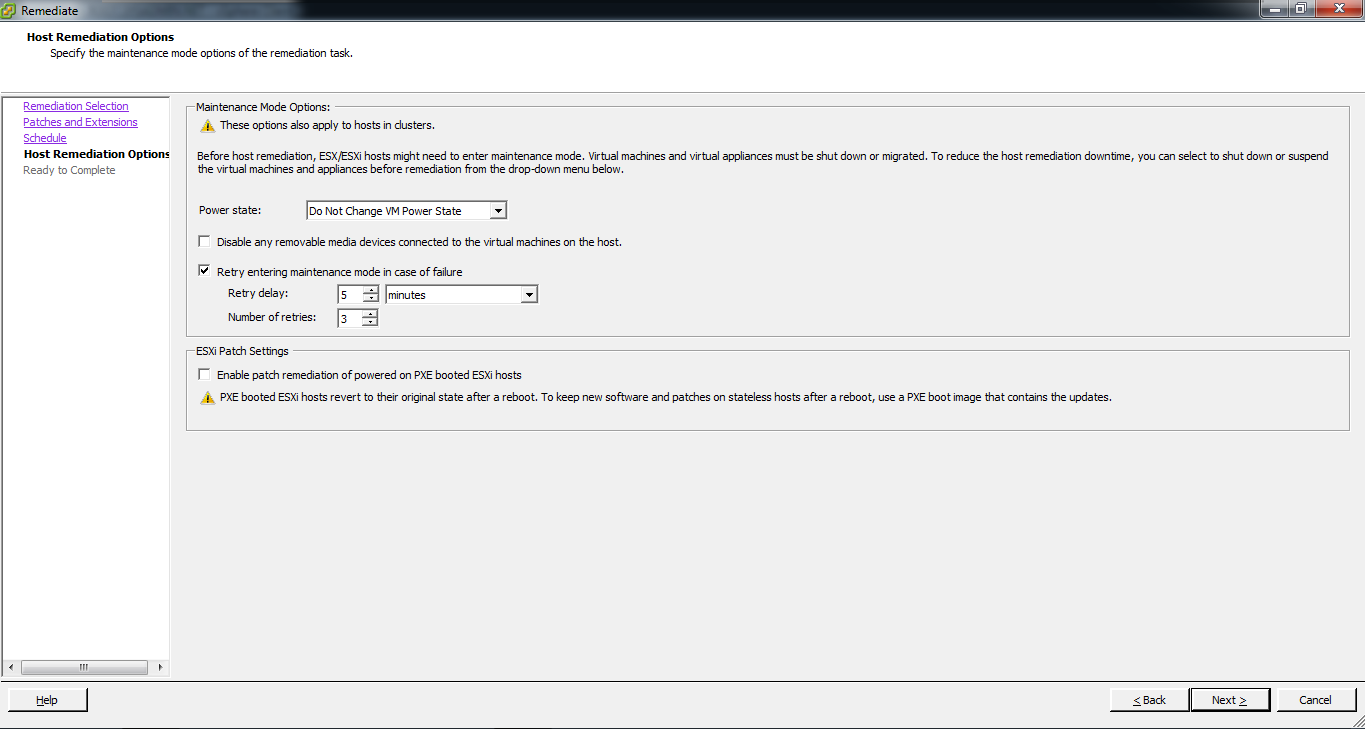
  8. On the Host Remediation Options dialog box accept the default settings and click Next >.08
  9. On the Ready to Complete dialog box review the configuration settings and click Finish.09
  10. Review the Recent Tasks pane to verify the host was remediated.10
  11. Verify the host is compliant on the Update Manager tab.11

VMware vSphere Update Manager 6.0 – Staging Patches

The following is a step by step guide for staging patches to VMware ESXi 6.0 hosts. This is a useful feature if your VMware ESXi 6.0 hosts are located across lethargic wide area network (WAN) links.

  1. On the VMware vSphere Client home page select Hosts and Clusters.01
  2. From the inventory list select a VMware ESXi 6.0 host.02
  3. On the content area of the VMware vSphere Client select the Update Manager tab.03
  4. On the Update Manager tab content area click Stage….
  5. On the Baseline Selection dialog box select the baselines for the patches to be staged and click Next >.04
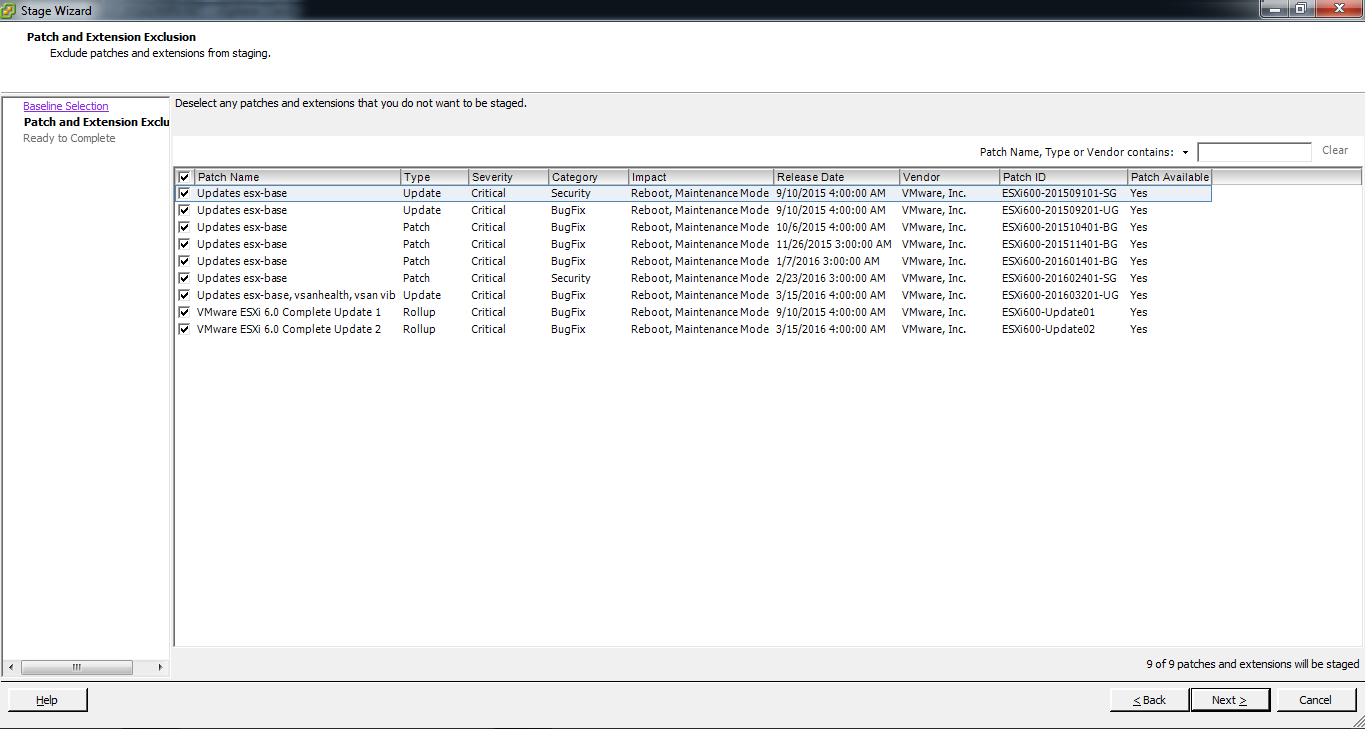
  6. On the Patch and Extension Exclusion dialog box deselect any patches or extension you would not like to be staged and click Next >.06
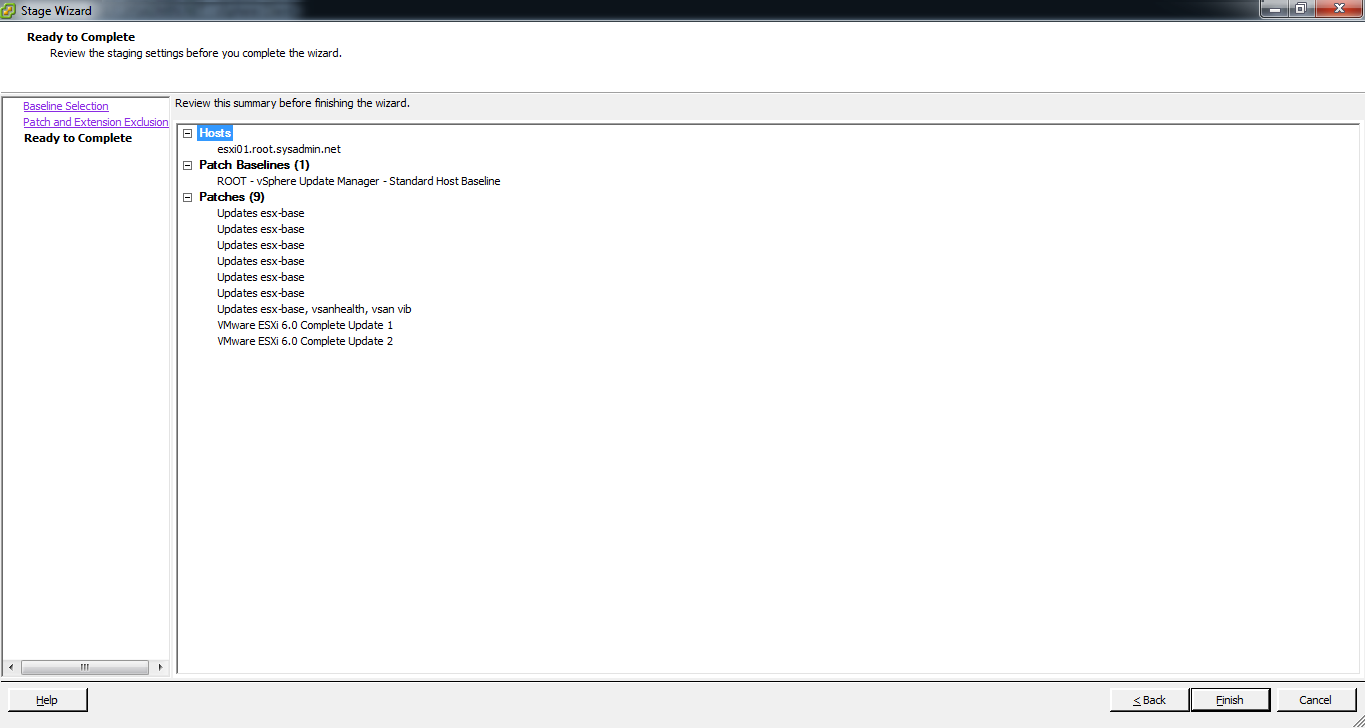
  7. On the Ready to Complete dialog box click Finish to being staging the patches.07
  8. View the Recent Tasks pane to verify the patches have been staged.08

VMware vSphere Update Manager 6.0 – Scanning a VMware ESXi 6.0 Host
The follow is a step by step guide for performing a VMware vSphere Update Manager 6.0 scan on a VMware ESXi 6.0 host.

  1. On the home page of the VMware vSphere Web Client select the Hosts and Clusters view.01
  2. On the inventory tree select the VMware ESXi 6.0 host you would like to scan.02
  3. On the content area of the VMware vSphere Web Client select the Monitor tab then select Update Manager.03
  4. On the content area of the Update Manager section click Scan….
  5. On the Confirm Scan dialog box select both check boxes and click OK.05
  6. On the Recent Tasks pane verify that a Scan entity task completed.06
  7. Review the Update Manager tab to verify if the VMware ESXi 6.0 host is compliant or non-compliant with the attached baseline.07

VMware vSphere Update Manager 6.0 – Attaching a Baseline to a VMware ESXi Host

The following is a step by step guide for attaching a vSphere Update Manager 6.0 baseline to a VMware ESXi 6.0 host.

  1. On the VMware vSphere Web Client home page select Hosts and Clusters.01
  2. On the inventory tree select the VMware ESXi 6.0 host you would like to attach the baseline to.02
  3. On the content area of the VMware vSphere Web Client select the Monitor tab then select Update Manager.03
  4. On the content area of the Update Manager section click Attach….
  5. On the Attach Baseline or Group dialog box select the Individual Baseline or Baseline Groups of your choice then click OK.05
  6. On the content area of the Update Manager verify the baseline is listed under the Attached Baselines: list.06

VMware vSphere Update Manager 6.0 – Create a Dynamic Baseline

The following is a step by step guide for creating VMware vSphere Update Manager 6.0 dynamic baseline. A dynamic baseline is updated dynamically and may be used to verify that your vSphere infrastructure is up to date or out or date, regarding patches.

  1. On the vSphere Client home page under Solutions and Applications click Update Manager.01
  2. On the Update Manager Administration page click the Baseline and Groups tab and View Baselines for: Hosts.02
  3. On the Baselines section click Create….
  4. On the Baseline Name and Type dialog box enter a name for the baseline and select the check box for Host Patch, then click Next >.04
  5. On the Patch Options dialog box select Dynamic and click Next >.05
  6. On the Criteria dialog box select the criteria and click Next >.06
  7. On the Patches to Exclude dialog box select any patches to exclude and click Next >.07
  8. On the Additional Patches dialog box select any patches that did not meet the criteria of step (6) but you would like to include and click Next >.08
  9. On the Ready to Complete dialog box click Finish.09
  10. On the Baselines and Groups tab verify the baseline has been created.10

VMware vSphere Update Manager 6.0 – Installing the vSphere Update Manager Client

The following is a step by step guide for installing the vSphere Update Manager Client.

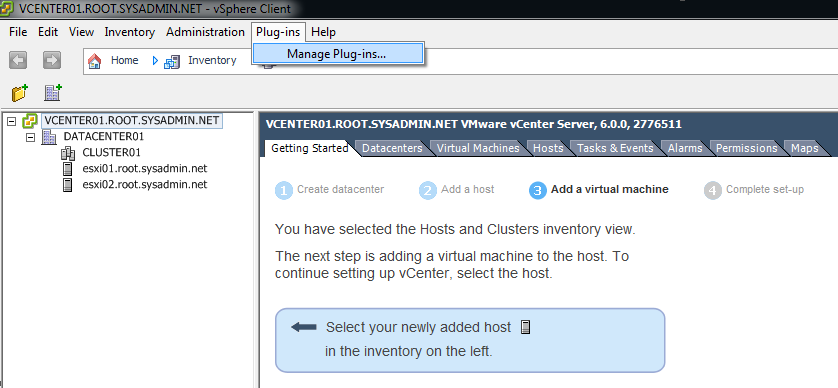
  1. On the vSphere Client navigate to Plug-ins > Manage Plug-ins….01
  2. On the Plug-in Manager dialog box click the blue Download and Install link to install the VMware vSphere Update Manager Extension.02
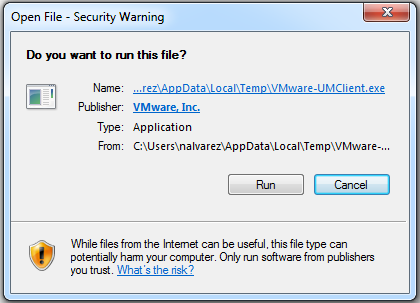
  3. On the Open File – Security Warning dialog box click Run.03
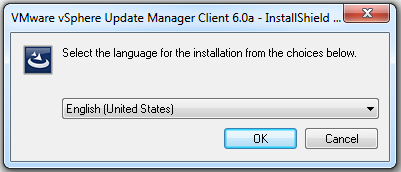
  4. On the VMware vSphere Update Manager Client 6.0a – InstallShield … dialog box click OK.04
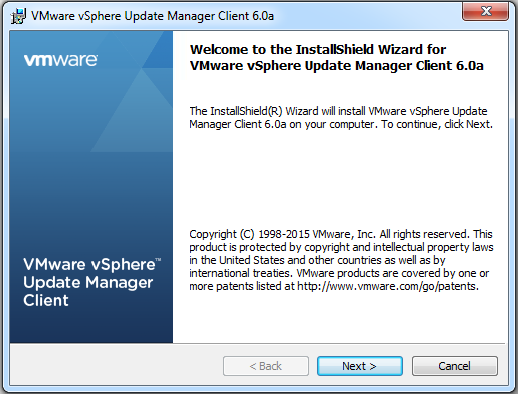
  5. On the VMware vSphere Update Manager Client 6.0a dialog box click Next >.05
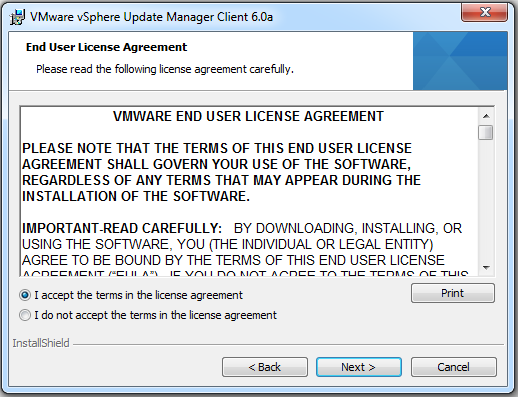
  6. On the End User License Agreement dialog box select the check box for I accept the terms in the license agreement and click Next >.06
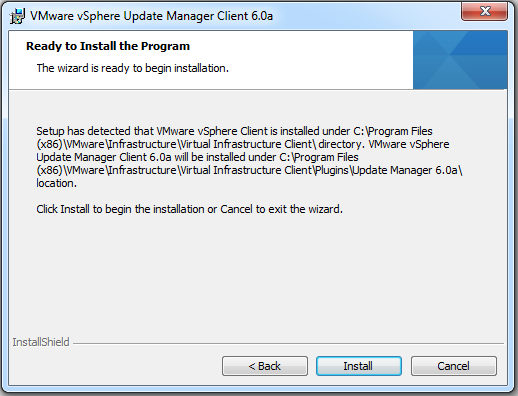
  7. On the Read to Install the Program dialog box click Install.07
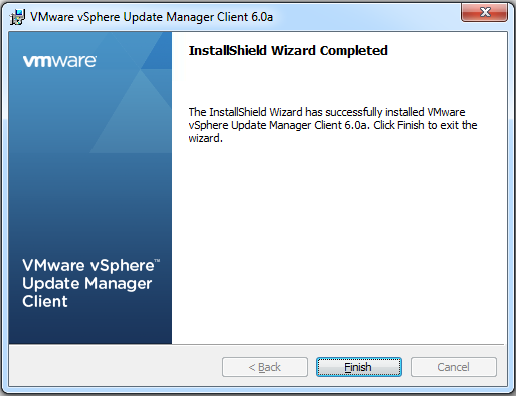
  8. On the InstallShield Wizard Completed dialog box click Finish.08
  9. On the Plug-in Manager dialog box verify the VMware vSphere Update Manager Extension is Enabled.09

VMware vCenter Server 6.0 – Installation and Configuration

The following is a step by step guide for installation VMware vCenter Server 6.0. This application is used for centralized management of your VMware vSphere infrastructure.

Additionally, this is a lab environment. Therefore, the Platform Services Controller (PSC) will be installed on the same host as VMware vCenter Server and the installation will utilize an embedded vPostgres database.

  1. On the VMware vCenter Installer dialog box select vCenter Server for Windows and click Install.01
  2. On the Welcome to the VMware vCenter Server 6.0.0 Installer dialog box click Next >02
  3. On the End User License Agreement dialog box click the check box to select I accept the terms of the license agreement and click Next >.03
  4. On the Select deployment type dialog box click the check box to select vCenter Server and Embedded Platform Services Controller and click Next >.04
  5. On the Select Network Name dialog box verify the hostname of the VMware vCenter Server is in the System Name: field and click Next >.05
  6. On the VMware vCenter Server dialog box select OK if you do not intend to use IPv6.06
  7. On the vCenter Single Sign-On Configuration dialog box click to check box to select Create a new vCenter Single Sign-On domain and enter the password in the vCenter Single Sign-On password: and Confirm password: fields then click Next >.07
  8. On the vCenter Server Service Account select the check box to Use Windows Local System Account or Specify a user service account and enter an account username and password then click Next >. In this example a Microsoft Active Directory service account is being used. If a service account is being used it will need to be provided the Log on as a service privilege.08
  9. On the Database Settings dialog box click to check box to Use an embedded database (vPostgres) then click Next >.09
  10. On the Configure Ports dialog box accept the default settings and click Next >.10
  11. On the Destination Directory dialog box accept the defaults and click Next >.11
  12. On the Ready to install dialog box review the installation settings and click Install.12
  13. On the Setup Completed dialog box click Finish.13
  14. Verify the vpxd, invsvc and vspherewebclientsvc services are configured with a Startup type: of Automatic and the Service status: is Running.14
  15. Using a web browser, in this example Google Chrome, navigate to the vSphere Web Client (https://HOSTNAME/vsphere-client). On the web interface select Advanced.15
  16. Under Your connection is not private select Proceed to vcenter01.root.sysadmin.net (unsafe).16
  17. On the vSphere Web Client enter the authentication credentials for [email protected] and click Login.17
  18. Upon successfully logging in you will be directed the home page of the VMware vSphere Web Client.18