You may modify the script below to automate the process of configuring an iSCSI Initiator with the Windows Server 2012 R2 operating system.
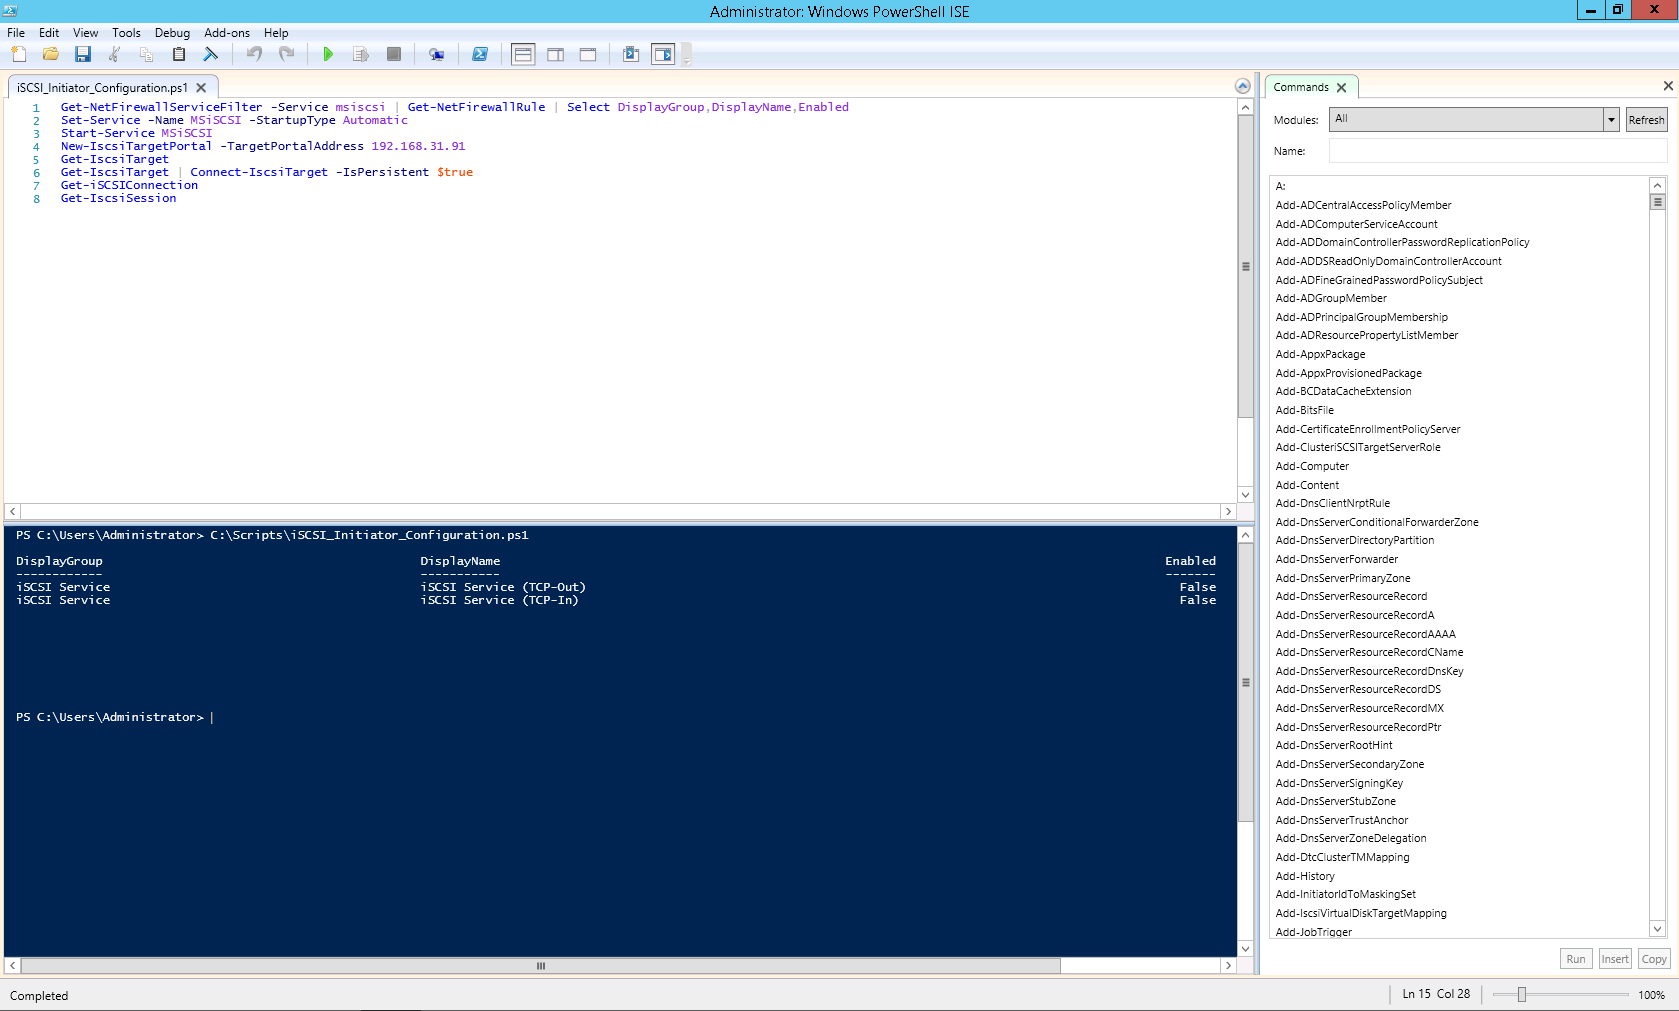
You may modify the script below to automate the process of configuring an iSCSI Initiator with the Windows Server 2012 R2 operating system.
You may use the following method to configure the iSCSI Initiator in Windows Server 2012 R2.
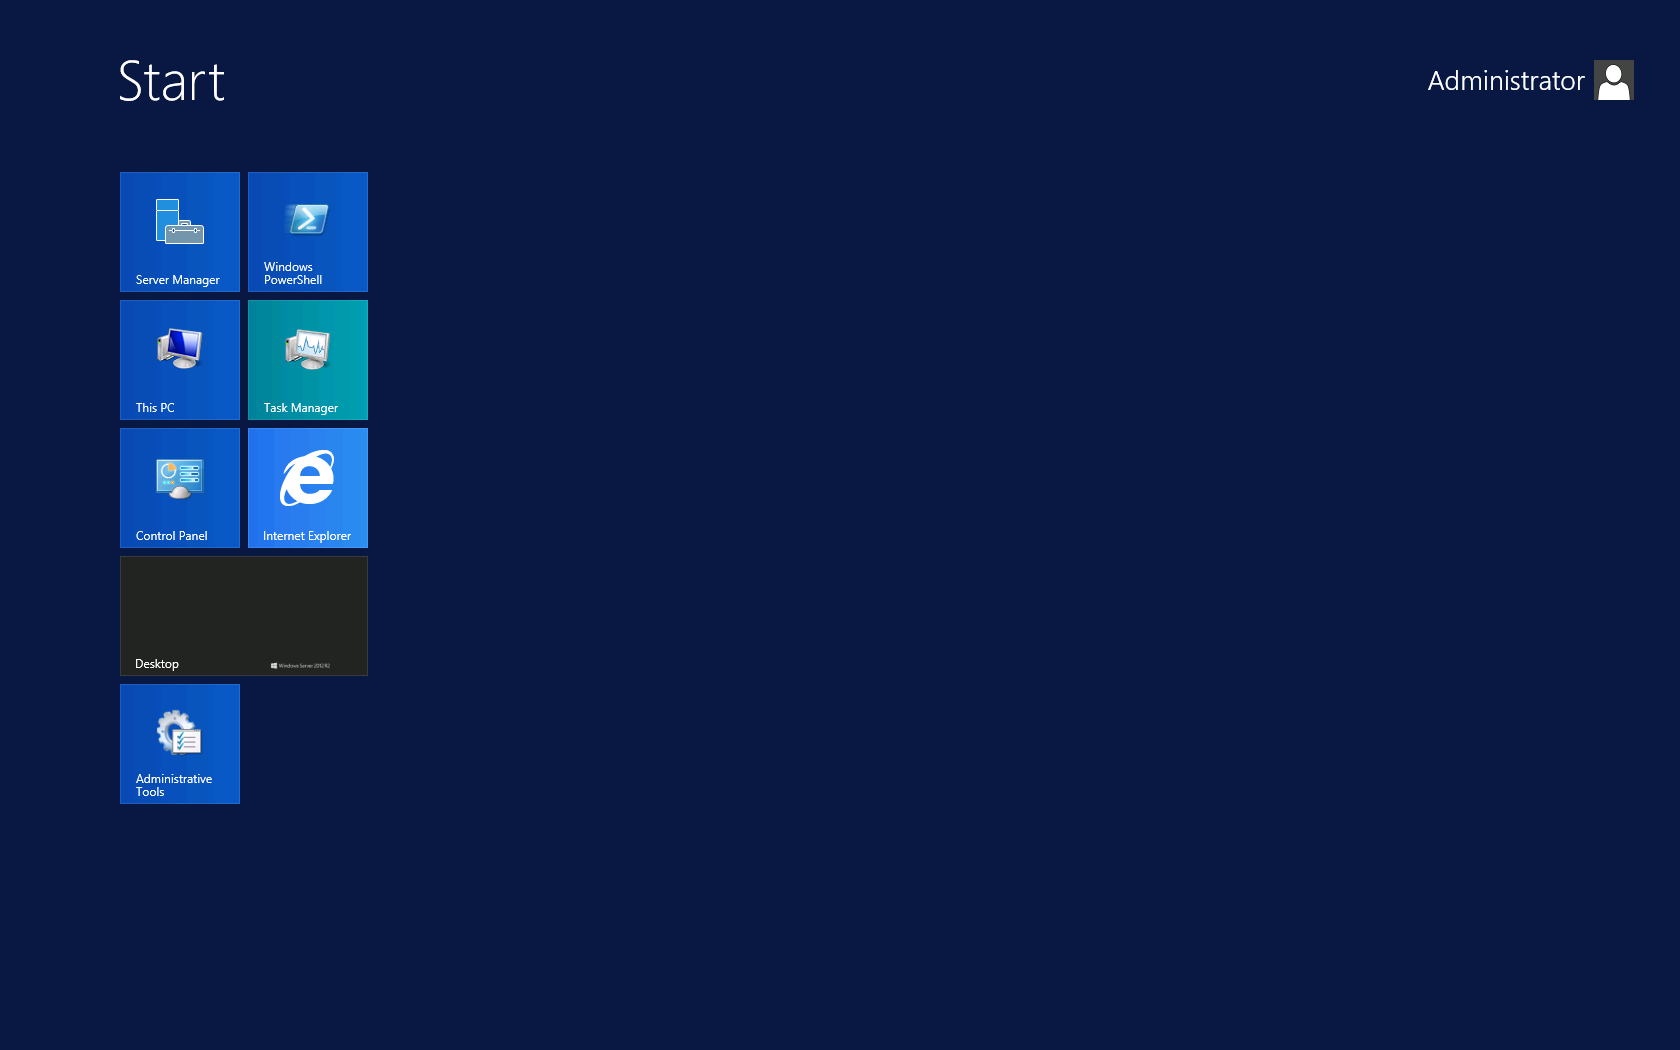
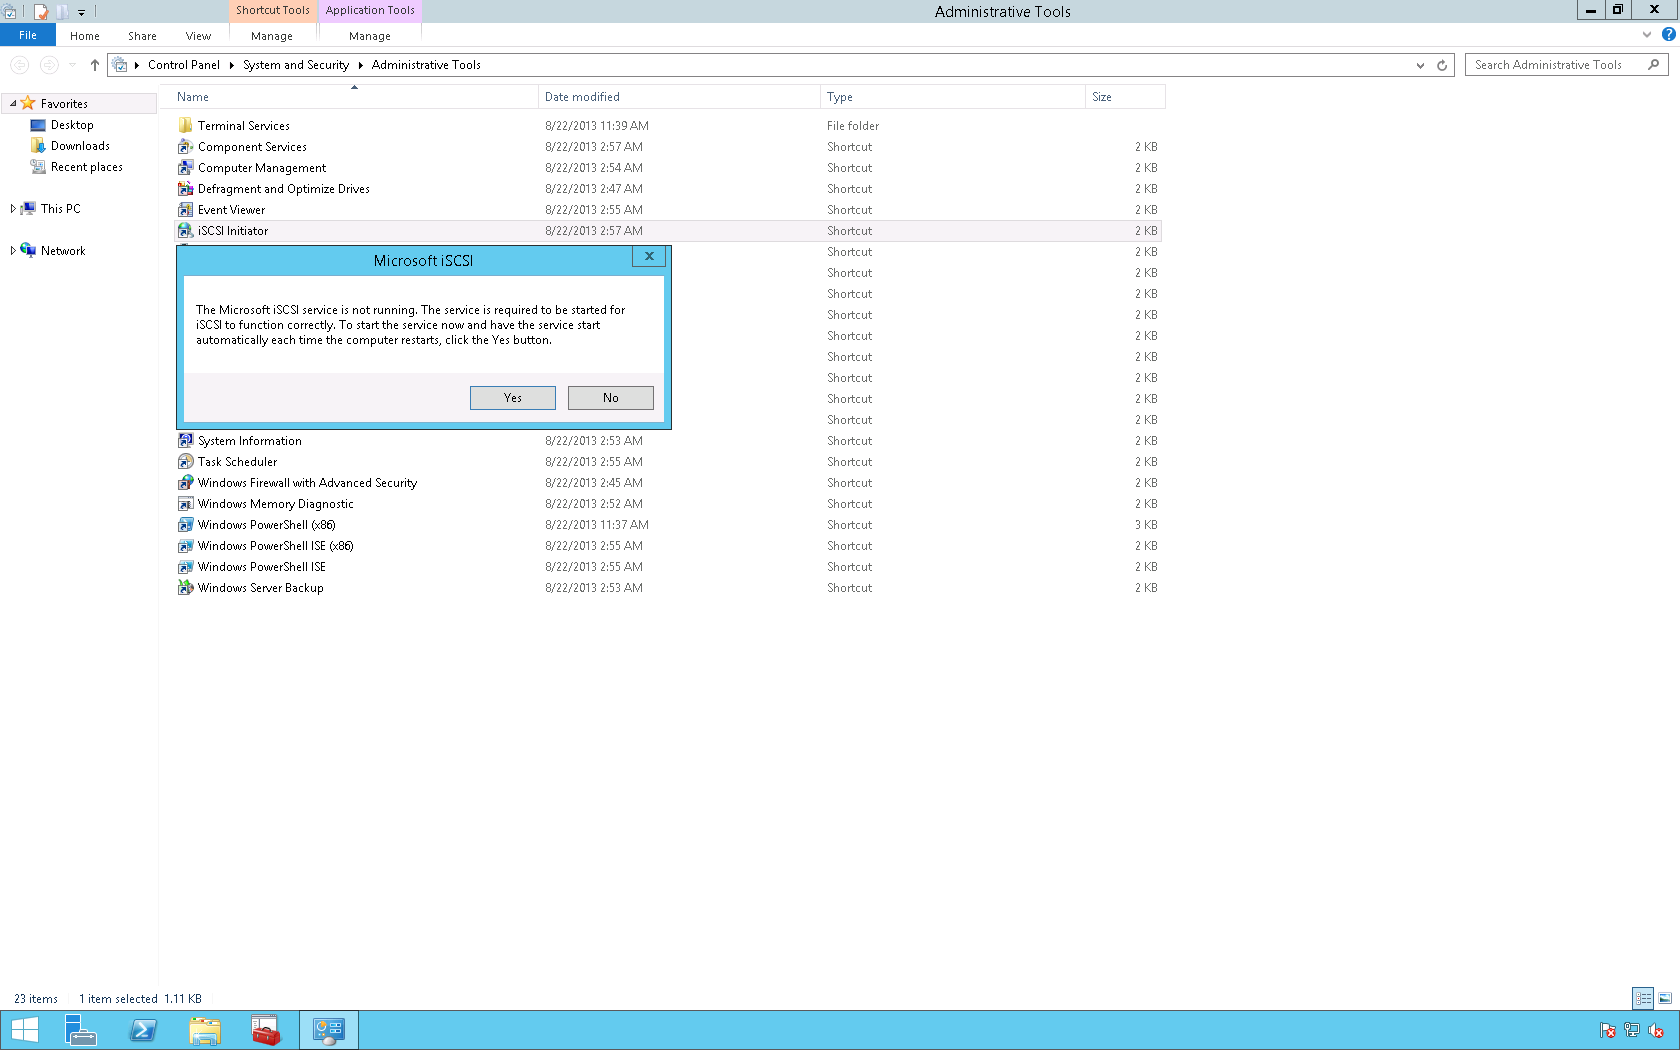
1. Click Start then select Administrative Tools.
2. Double click the iSCSI Initiator icon and in the Microsoft iSCSI dialog box click Yes.
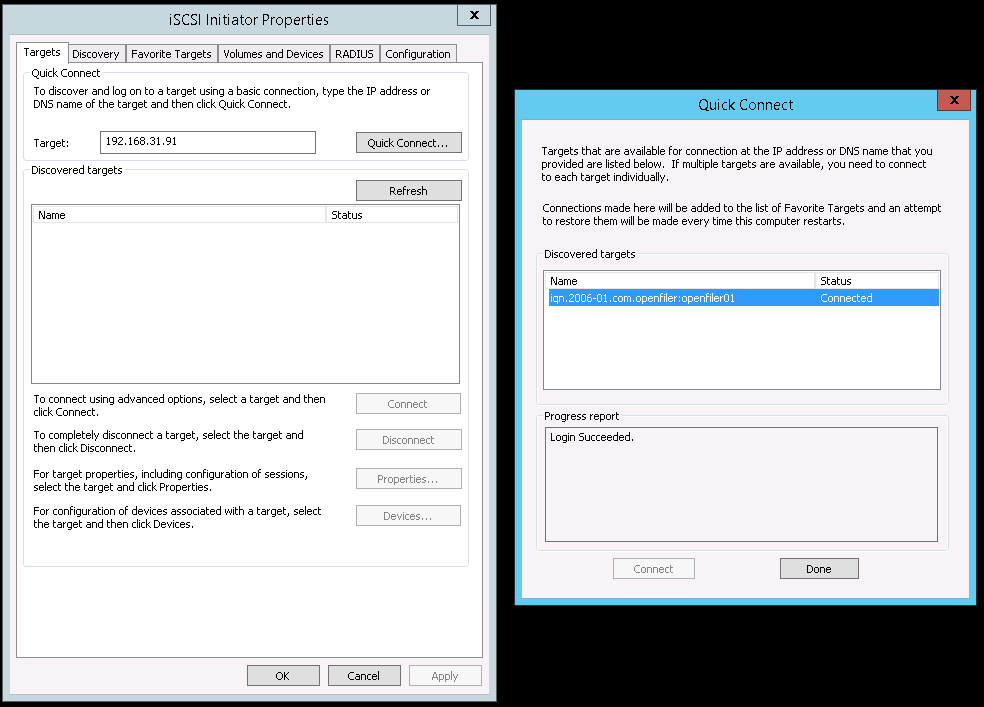
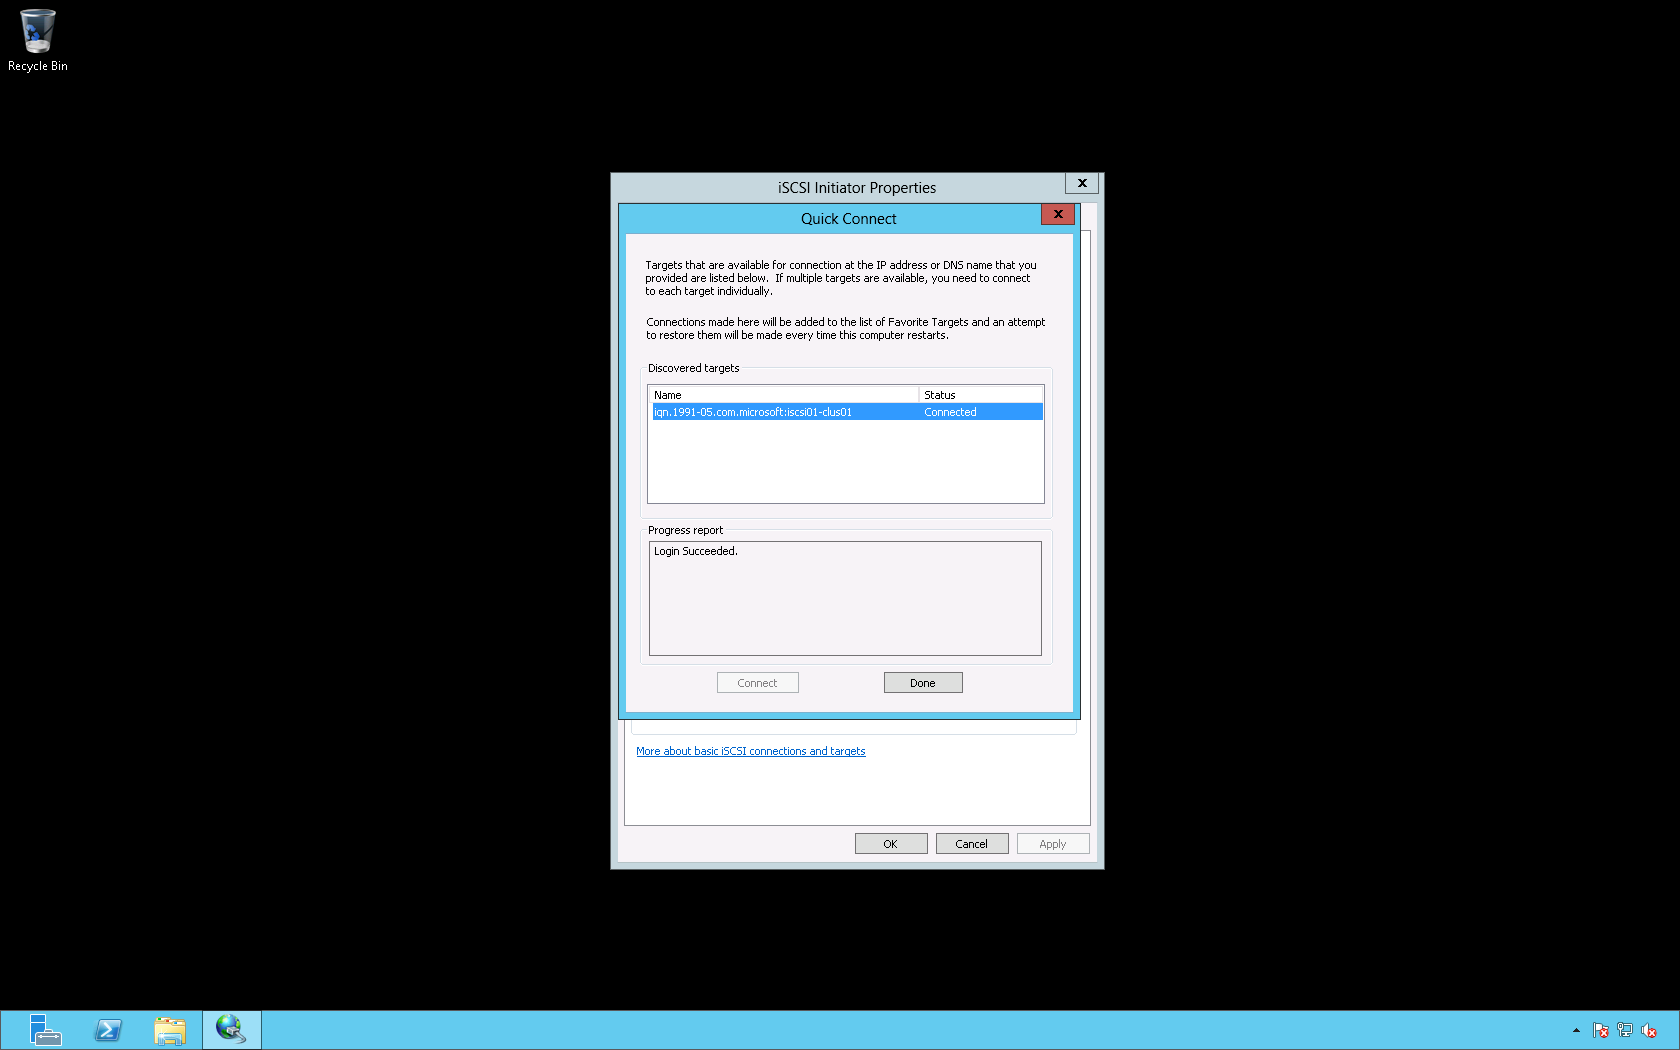
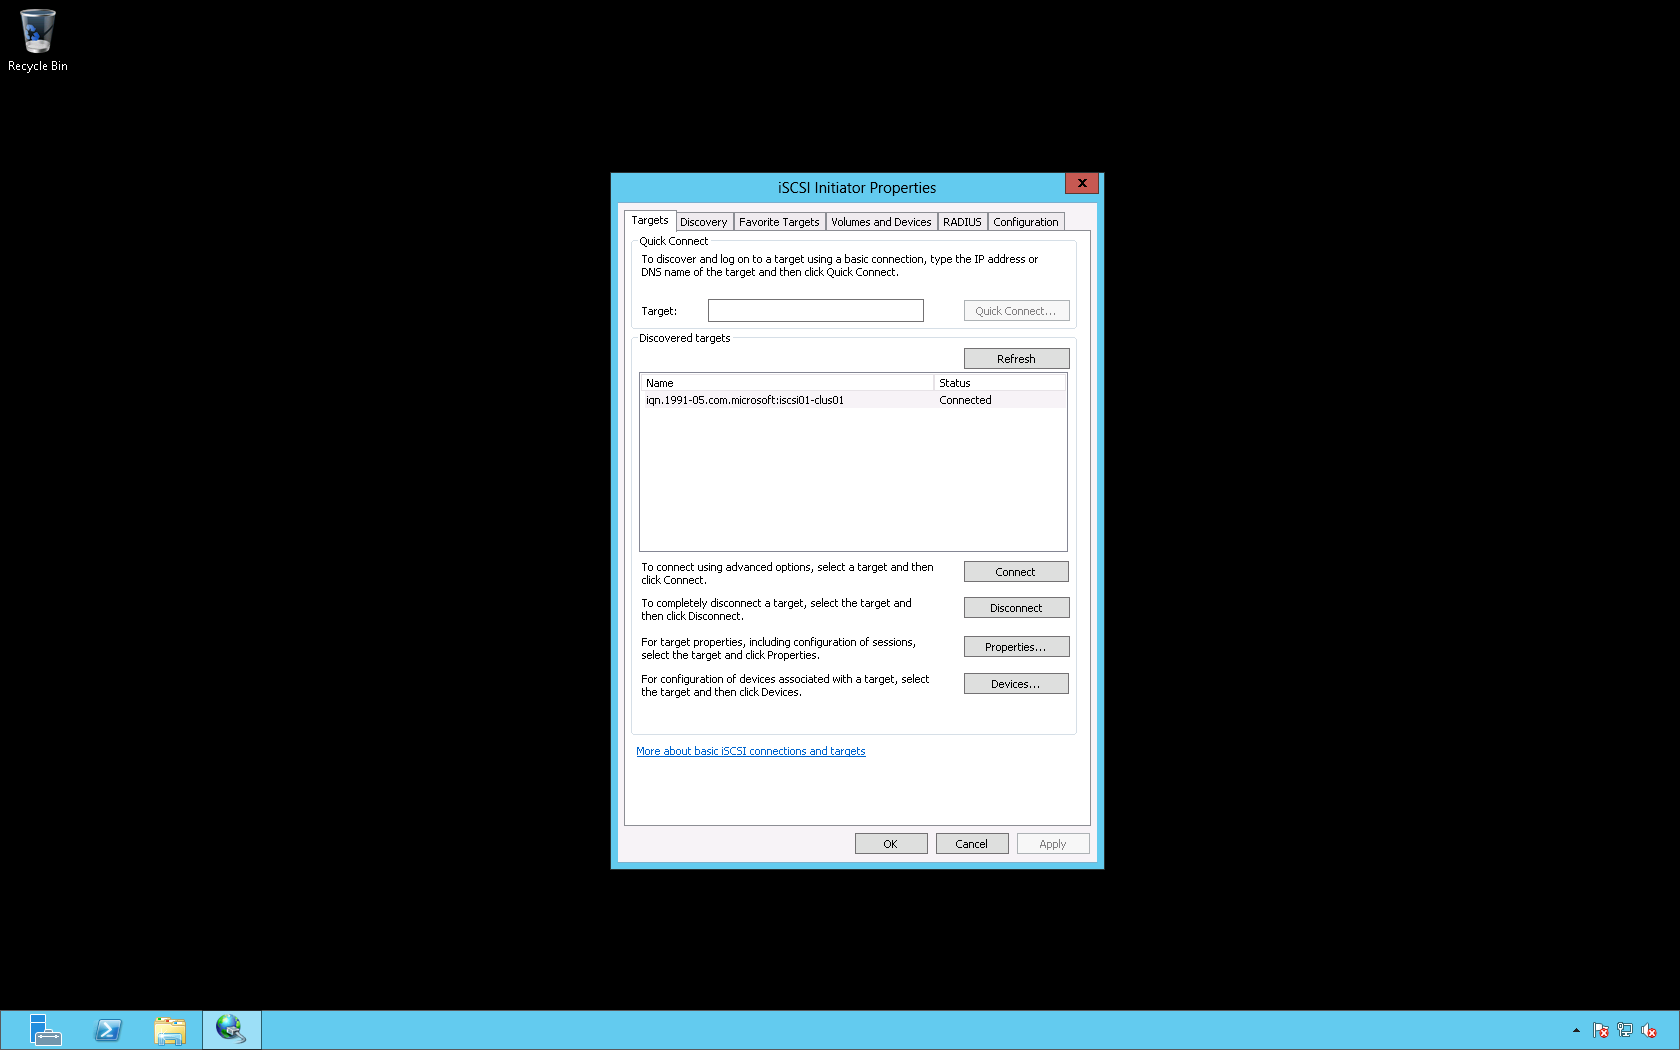
3. On the Targets tab type the Internet Protocol (IP) address of the iSCSI Target (in this example it is 192.168.31.91) in the Quick Connect box then click Quick Connect. In the Quick Connect dialog box verify that the Status says Connected and that the Progress report says Login Succeeded. Then, click Done.
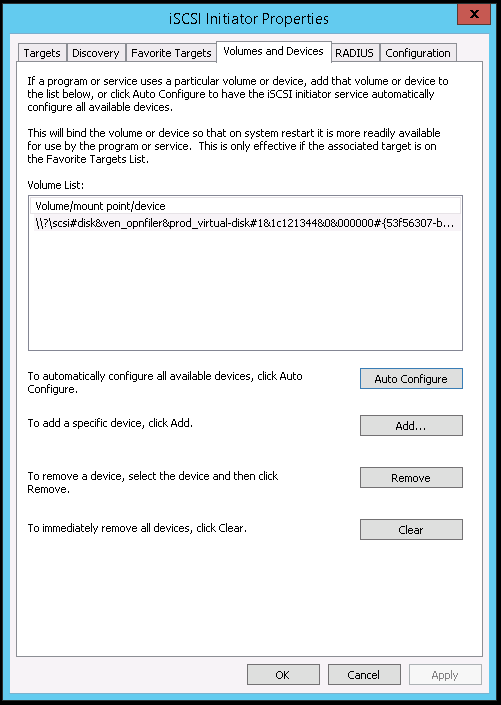
4. On the Volumes and Devices tab click Auto Configure then click OK.
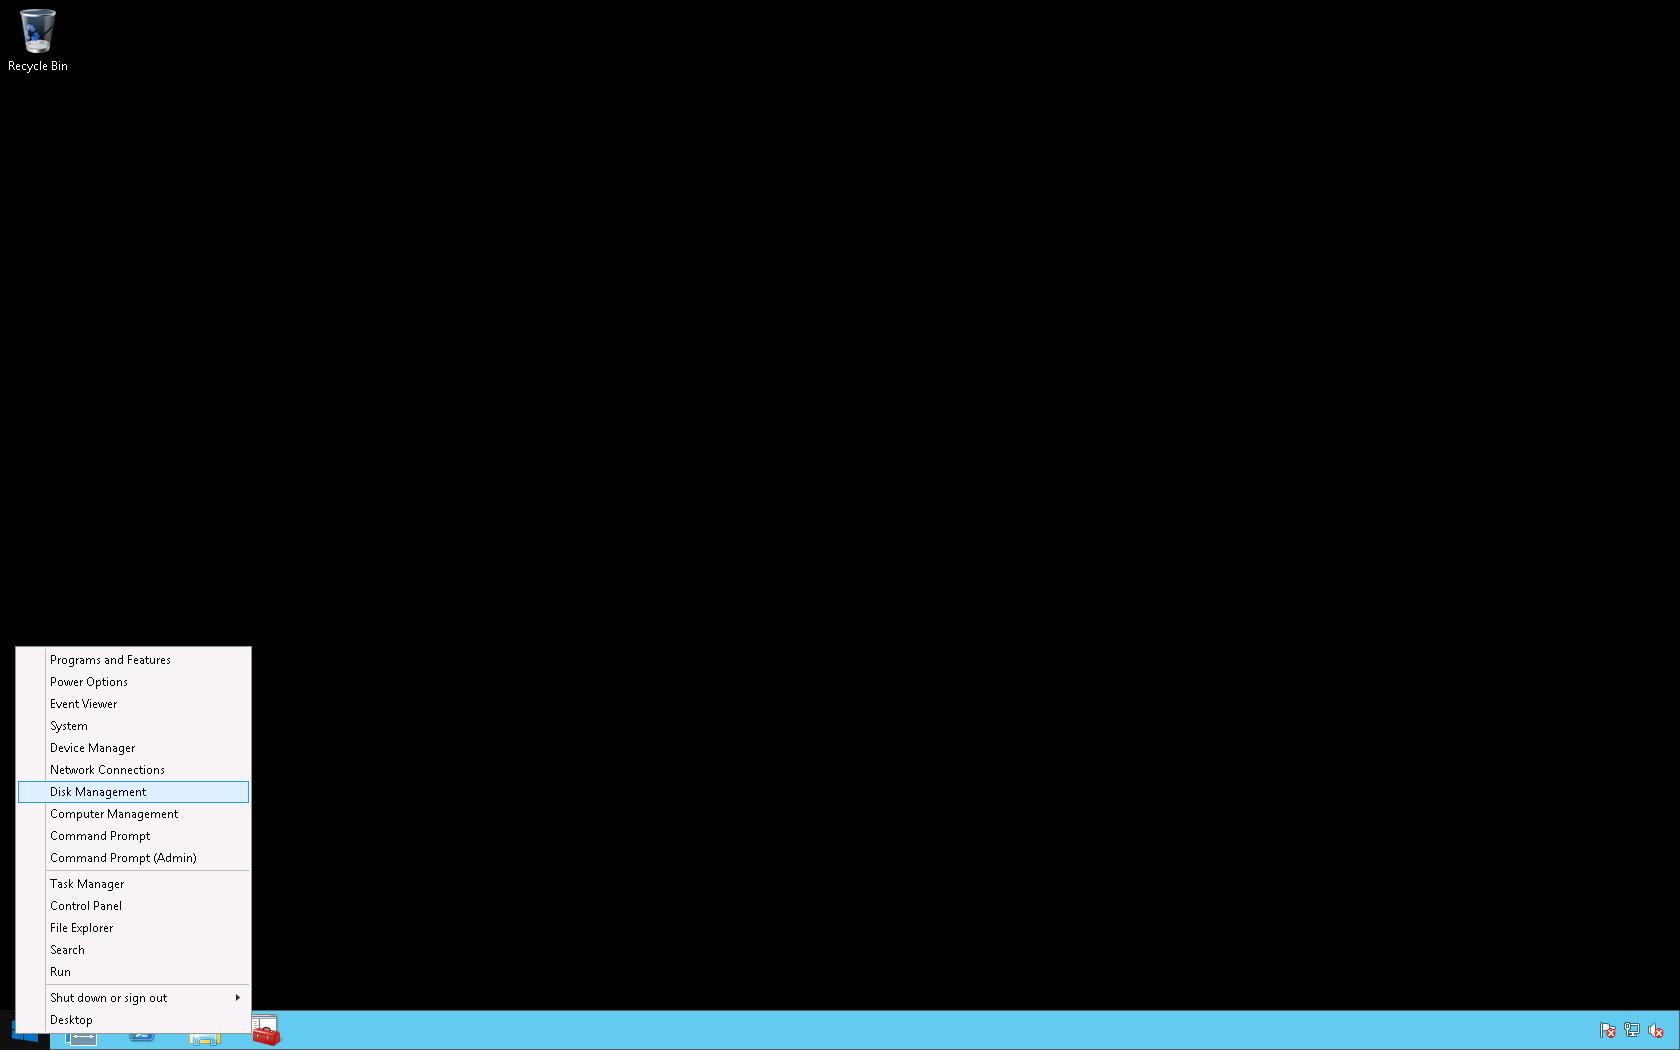
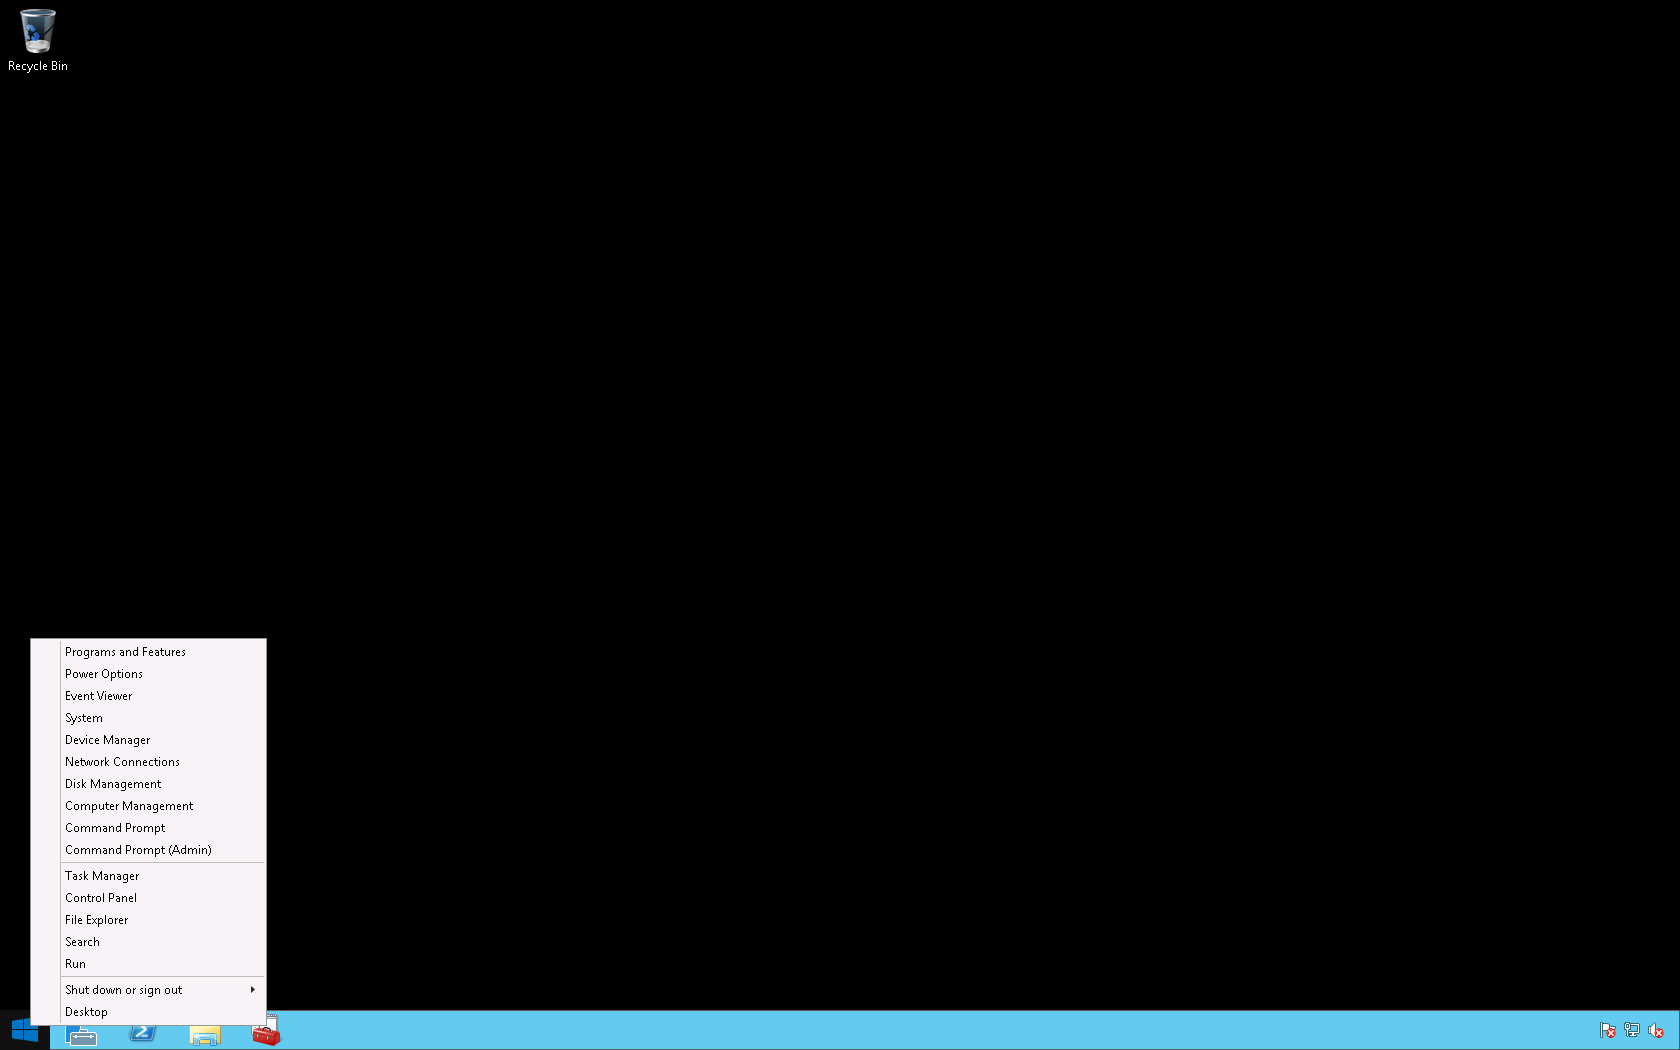
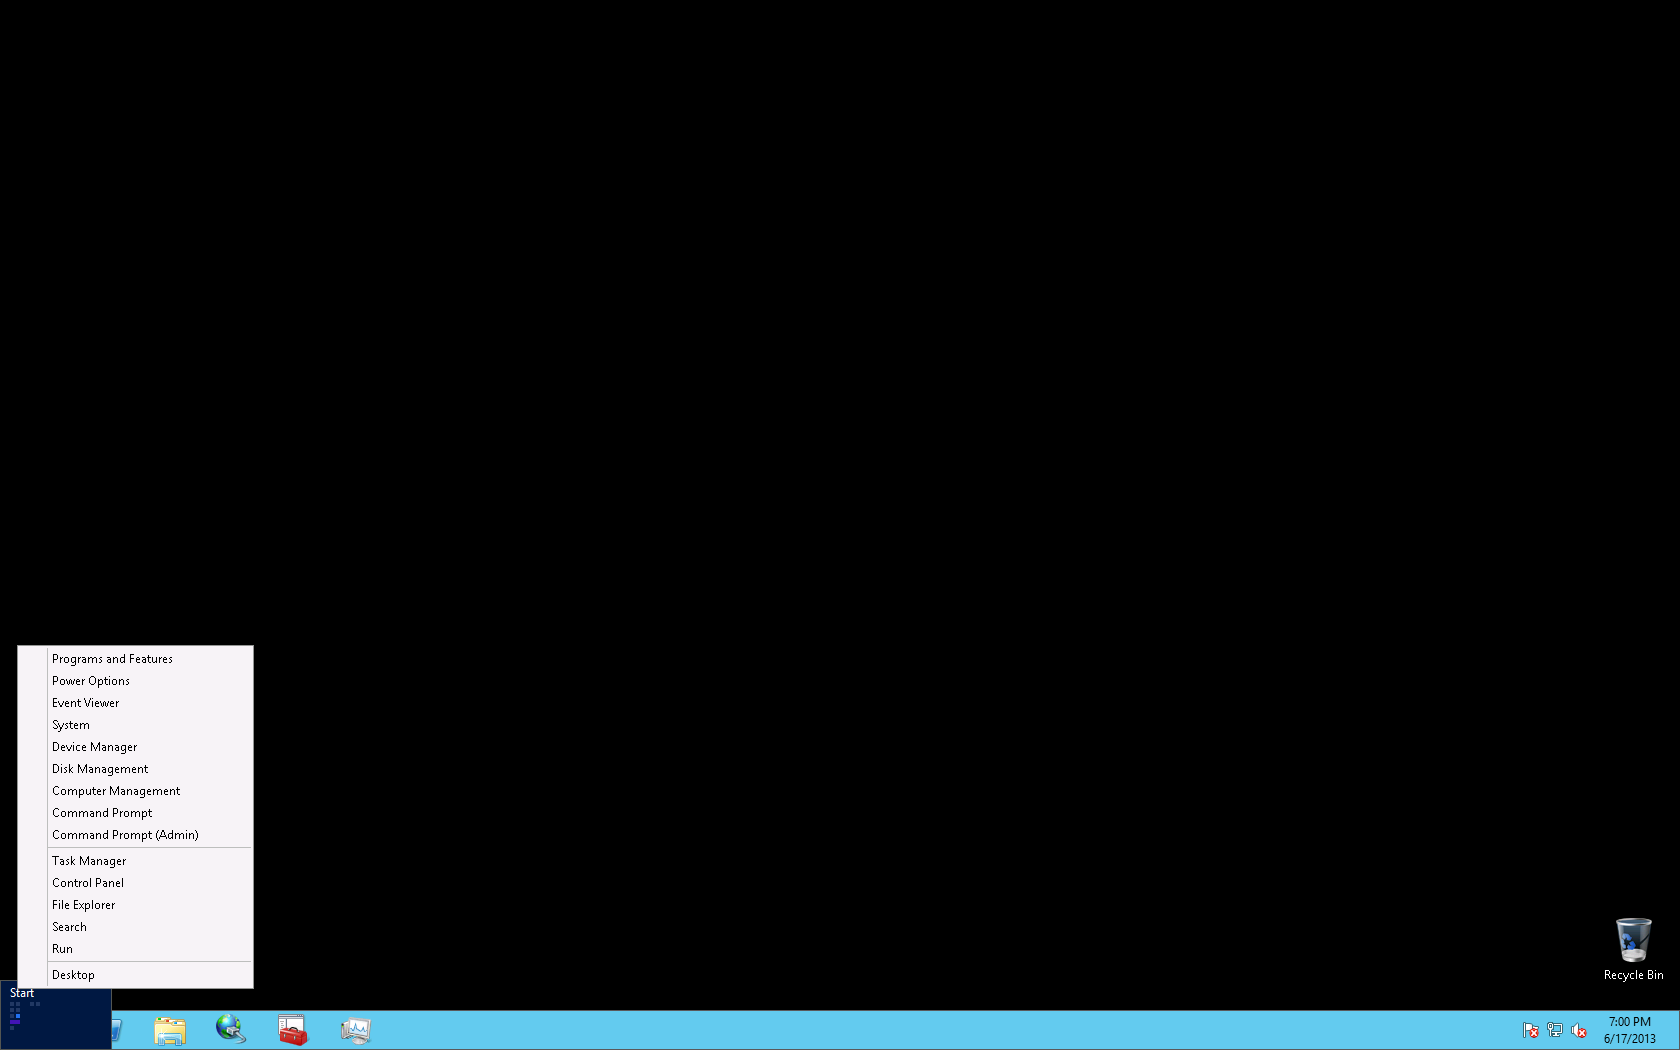
5. On the desktop right click the Windows icon and select Disk Management.
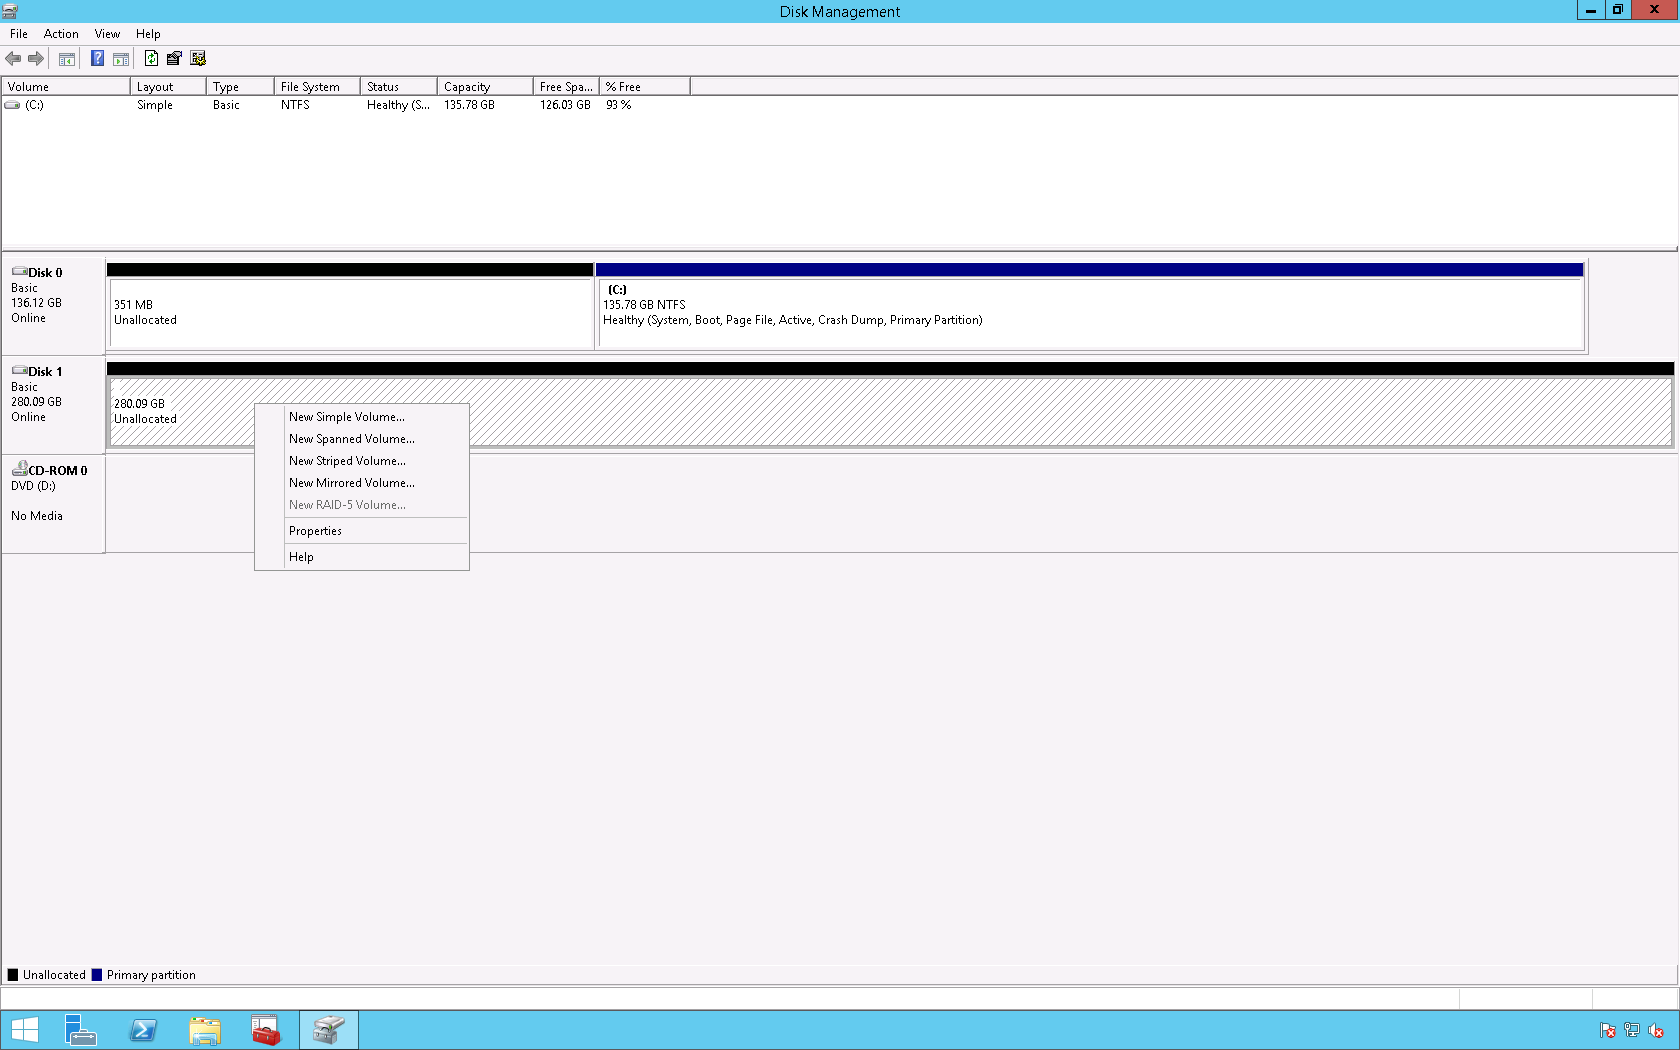
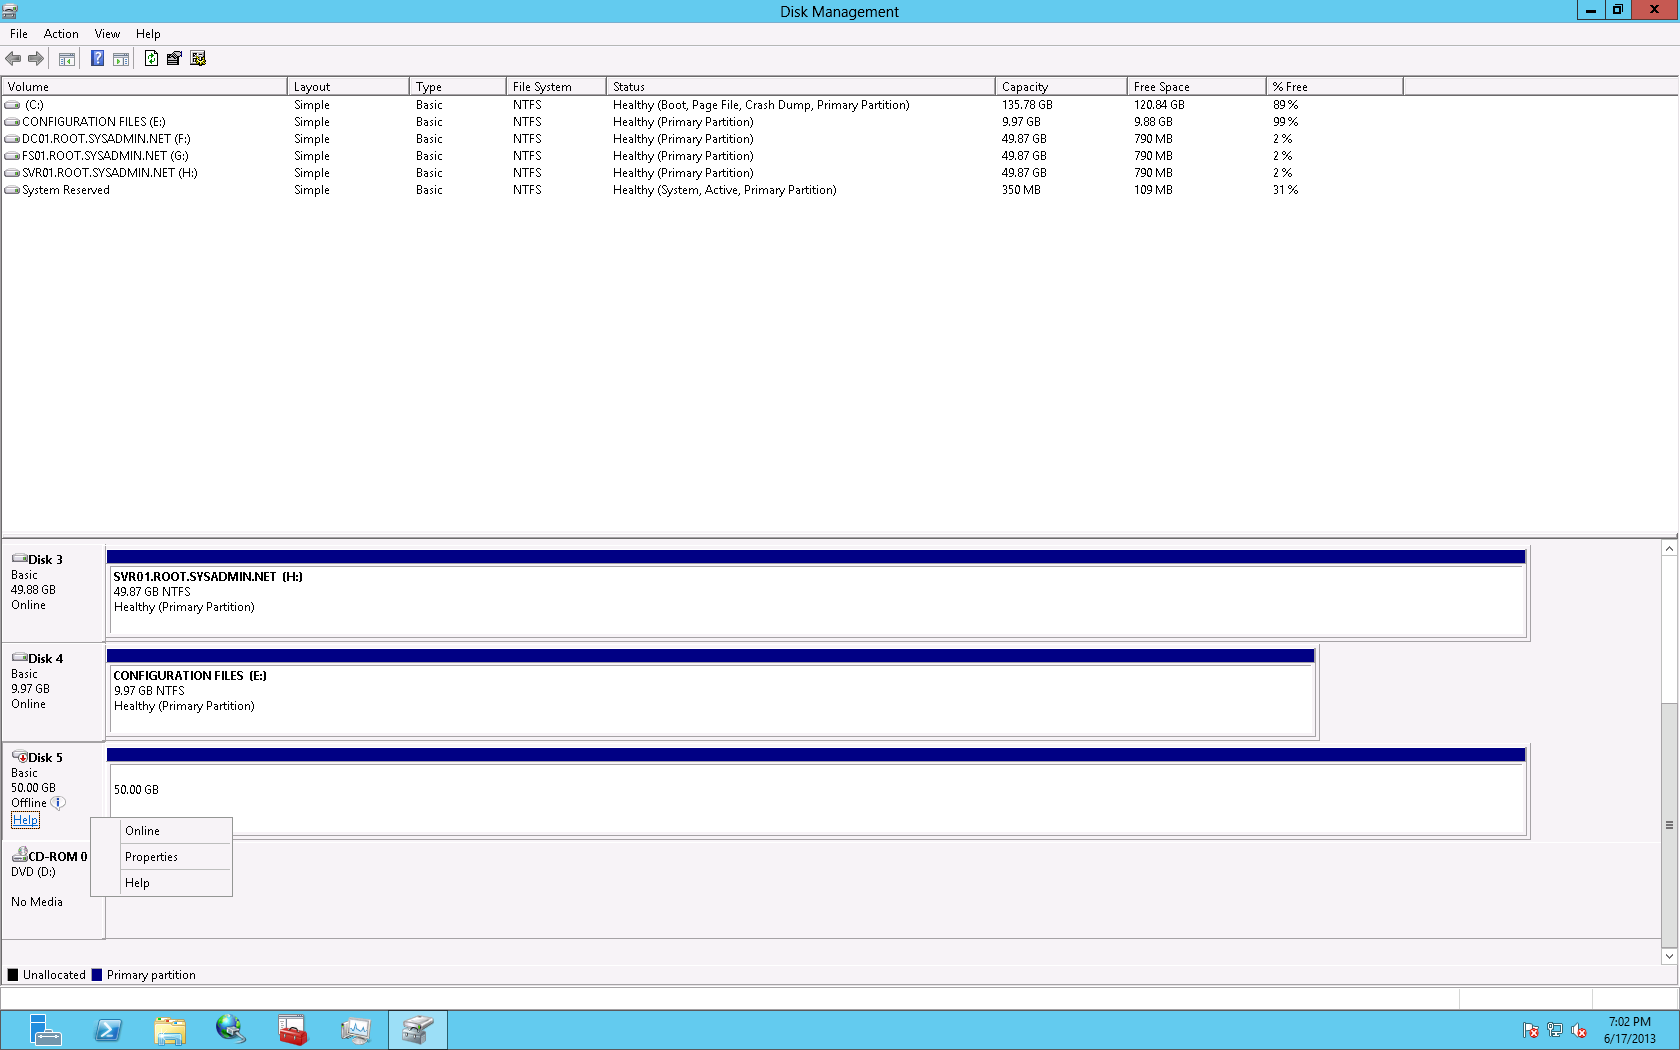
6. In the Disk Management console right click the Logical Unit Number (LUN) and click Online.

7. Right click the LUN and select New Simple Volume.
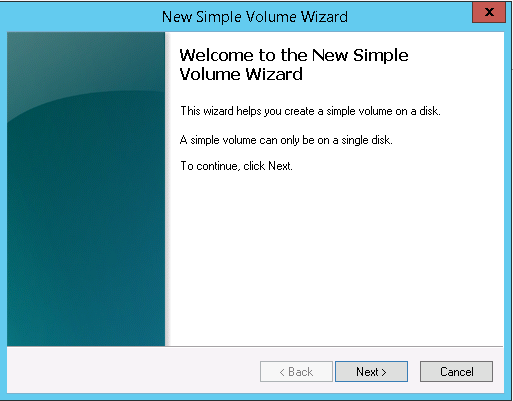
8. In the New Simple Volume Wizard click Next >.
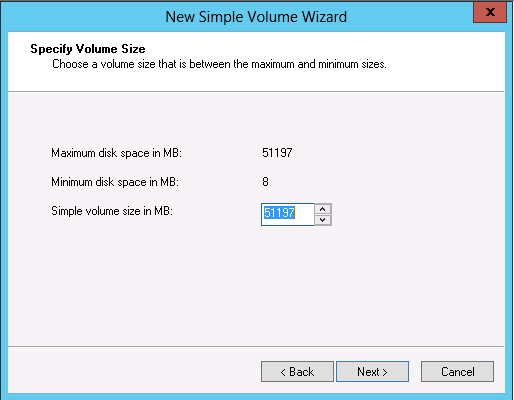
9. On the Specify Volume Size page click Next >.

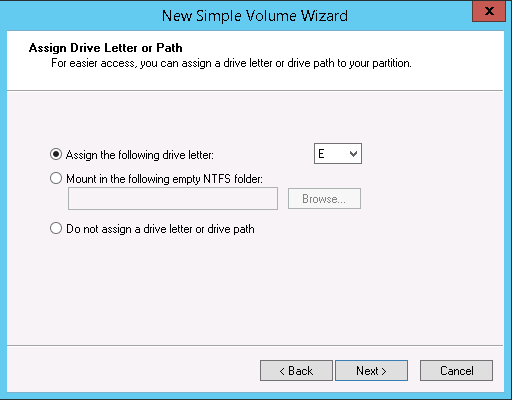
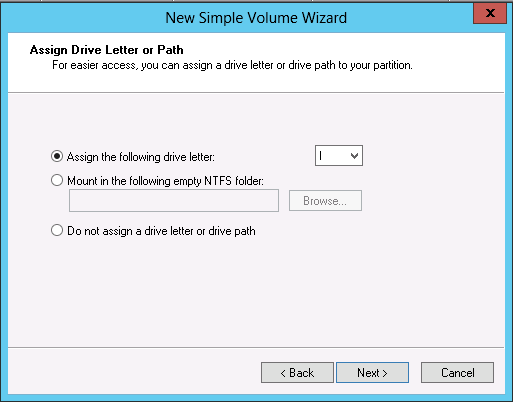
10. On the Assign Drive Letter or Path page click Next >.
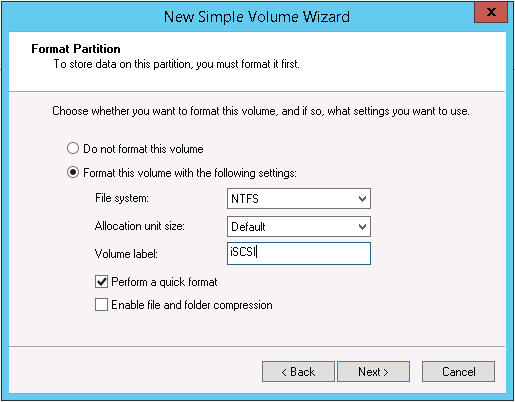
11. On the Format Partition page change the Volume label: from New Volume to iSCSI (or you may leave it default) then click Next >.
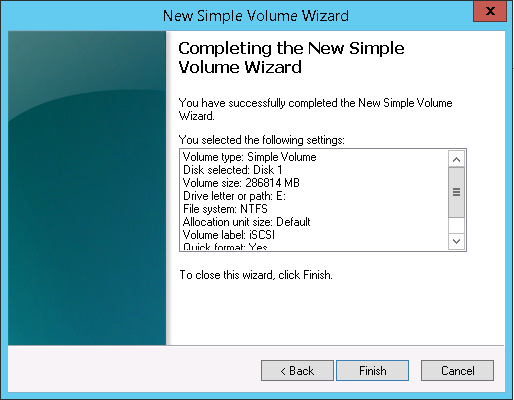
12. On the Completing the New Simple Volume Wizard page click Finish.
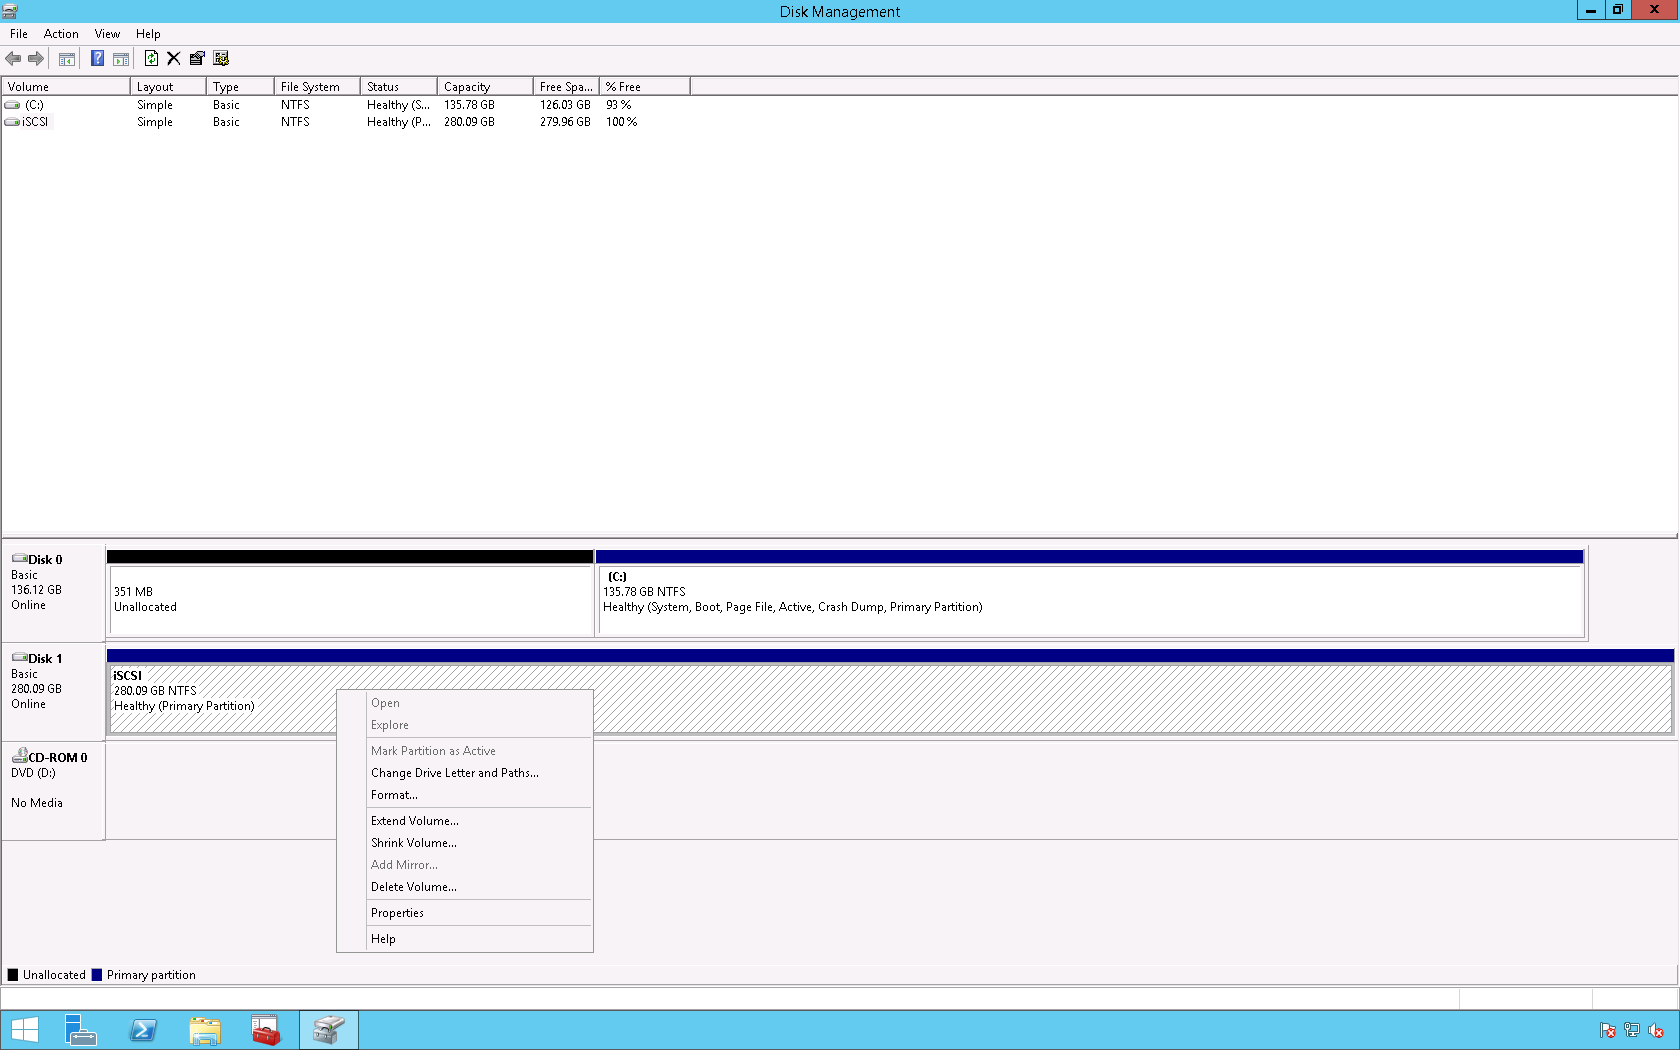
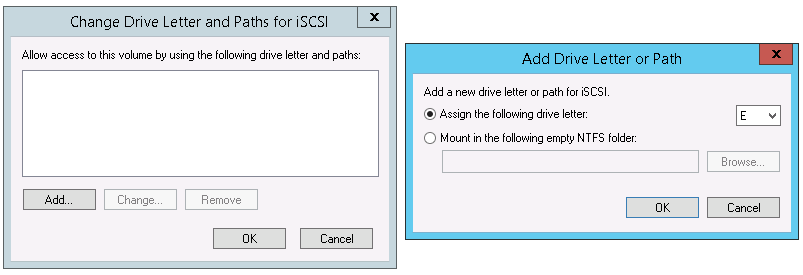
13. Right click the LUN and click Change Drive Letter and Paths….
14. On the Change Drive Letter and Paths for iSCSI click Add…. On the Add Drive Letter or Path dialog box click OK.
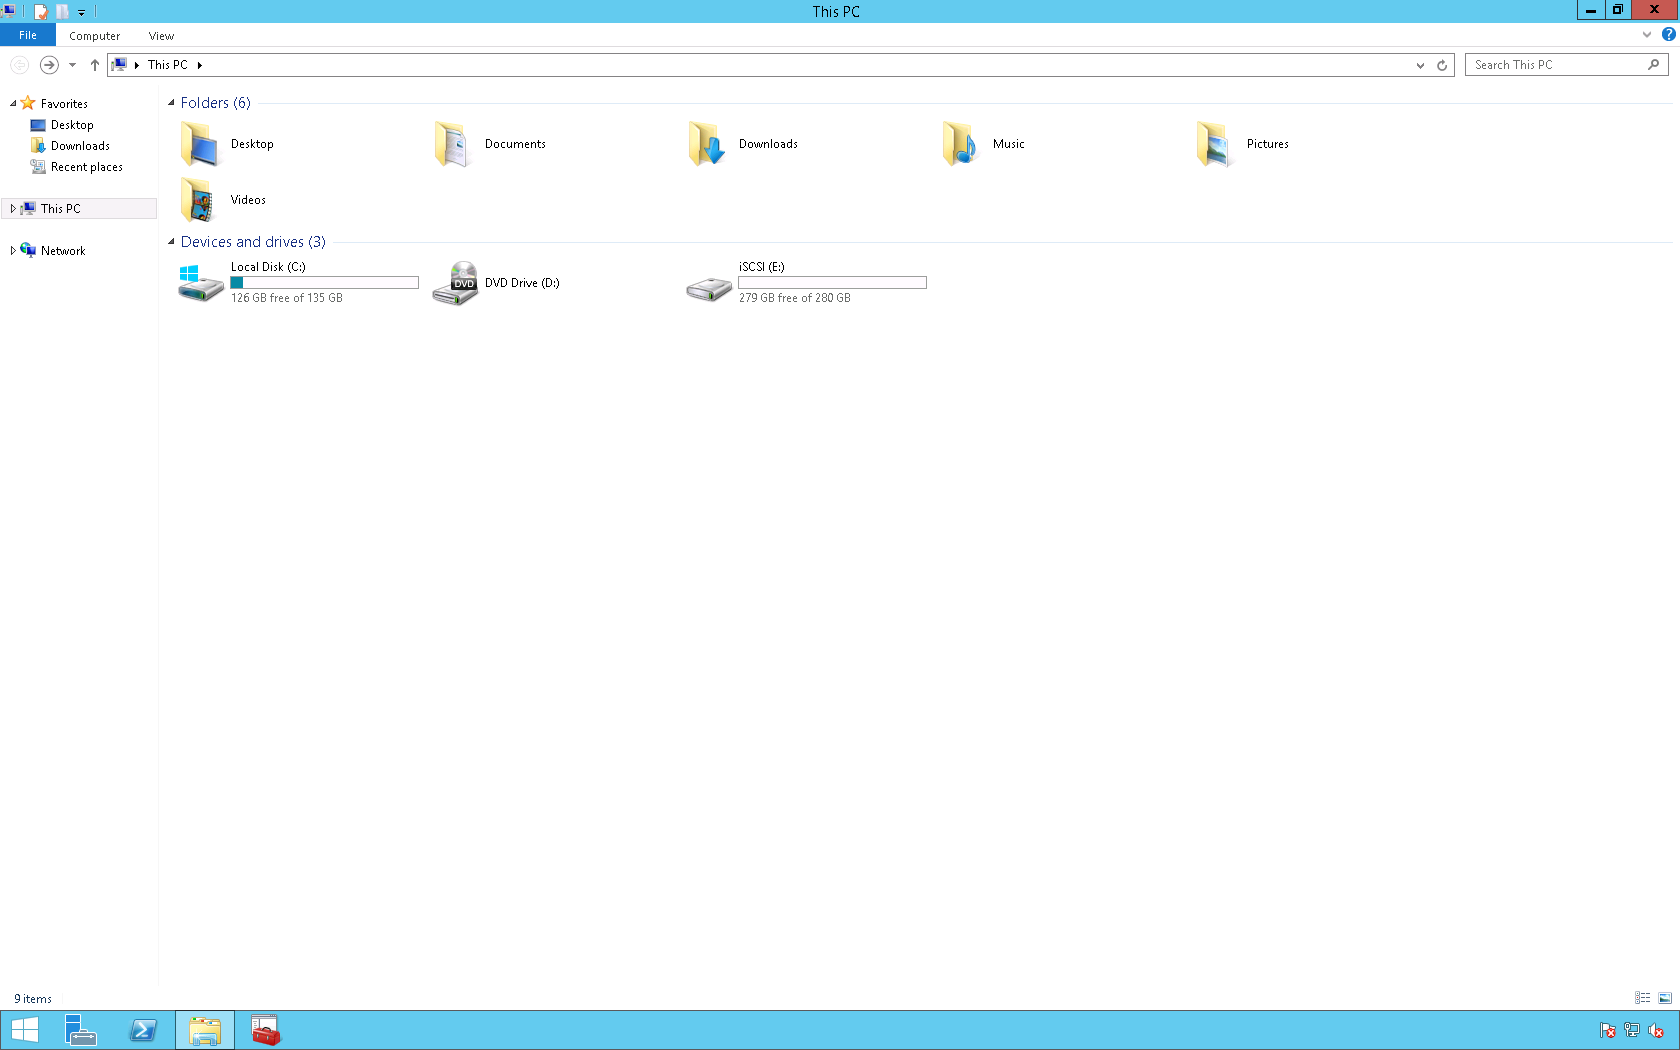
15. On the desktop right click the Windows icon and select File Explorer.
16. The iSCSI LUN is now available for use.
Enjoy!
You may use the following method to identify an iSCSI Initiator IQN in Microsoft Windows Server 2012 from Windows PowerShell.
After opening Windows PowerShell type the command iscsicli.
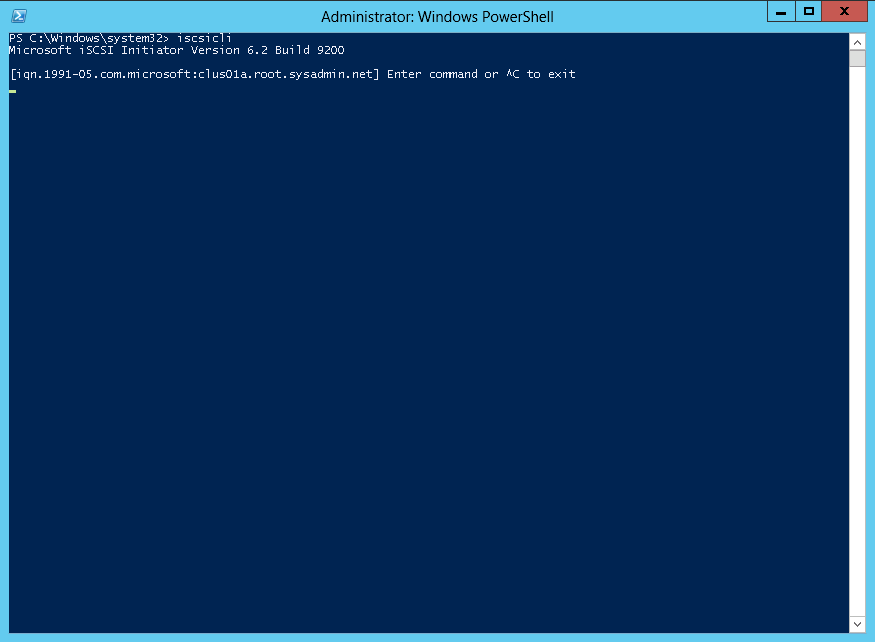
In this example the iSCSI Initiator IQN is iqn.1991-05.com.microsoft:clus01a.root.sysadmin.net.
Enjoy!
You may use the following method to very which iSCSI Initiators are currently connected to an iSCSI Target in Windows Storage Server 2012.
On the Server Manager navigate to File and Storage Services > iSCSI.
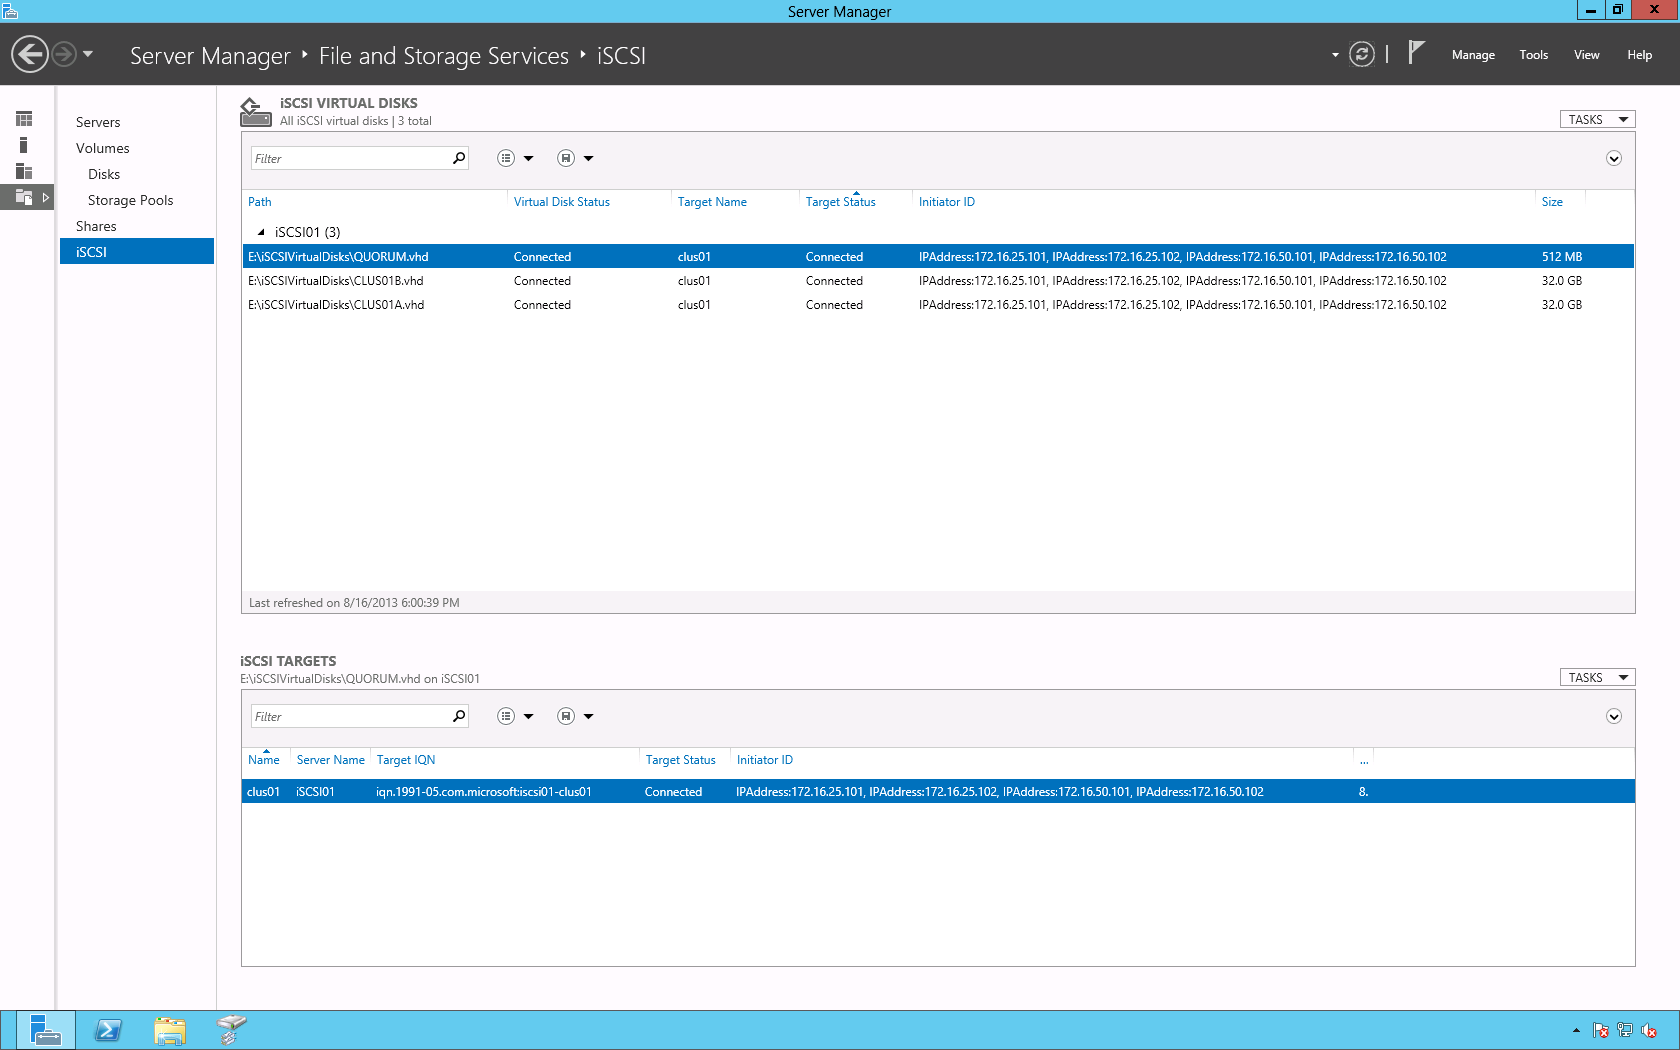
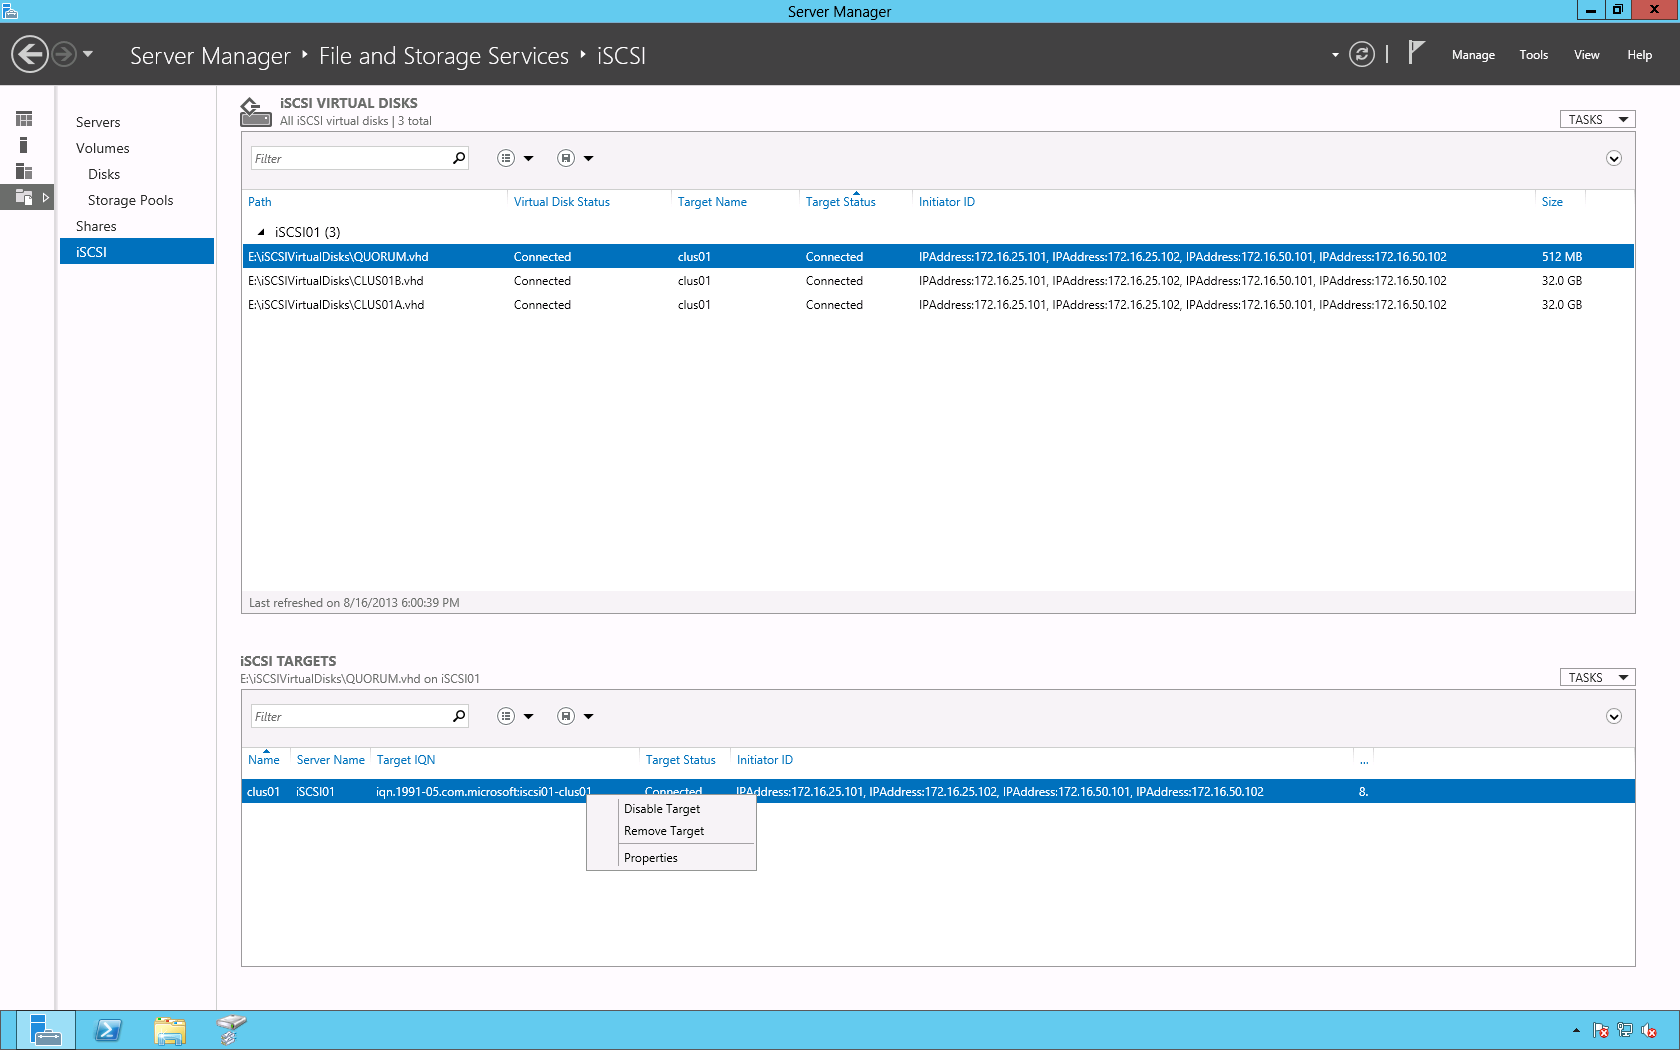
Right click the iSCSI Target that you would like to verify under the iSCSI TARGETS section and select Properties. In this example the iSCSI Target is iqn.1991-05.microsoft.com:iscsi01-clus01.
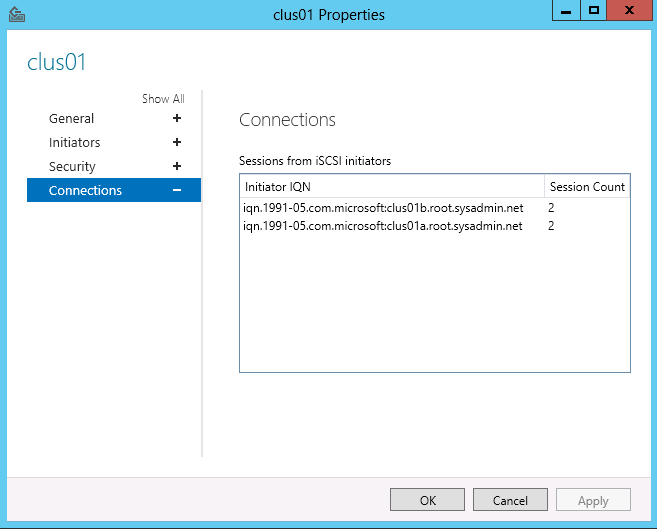
In the properties dialog box for the iSCSI Target select the Connections option to view the iSCSI Initiator Sessions. In this example there are (2) sessions from iqn.1991-05.com.microsoft.com:clus01a.root.sysadmin.net and iqn.1991-05.com.microsoft.com:clus01b.root.sysadmin.net.
Enjoy!
You may use the following method to install and configure the Windows Server 2012 Multipath I/O role that may be used for a Windows Server 2012 Failover Cluster. The steps below assume that an iSCSI target has already been properly configured. Additionally, below you will find the Internet Protocol (IP) information that will be used in this configuration.
iSCSI Targets: 172.16.25.1/24 & 172.16.50.1/24
iSCSI Initators: 172.16.25.102/24 & 172.16.50.102/24
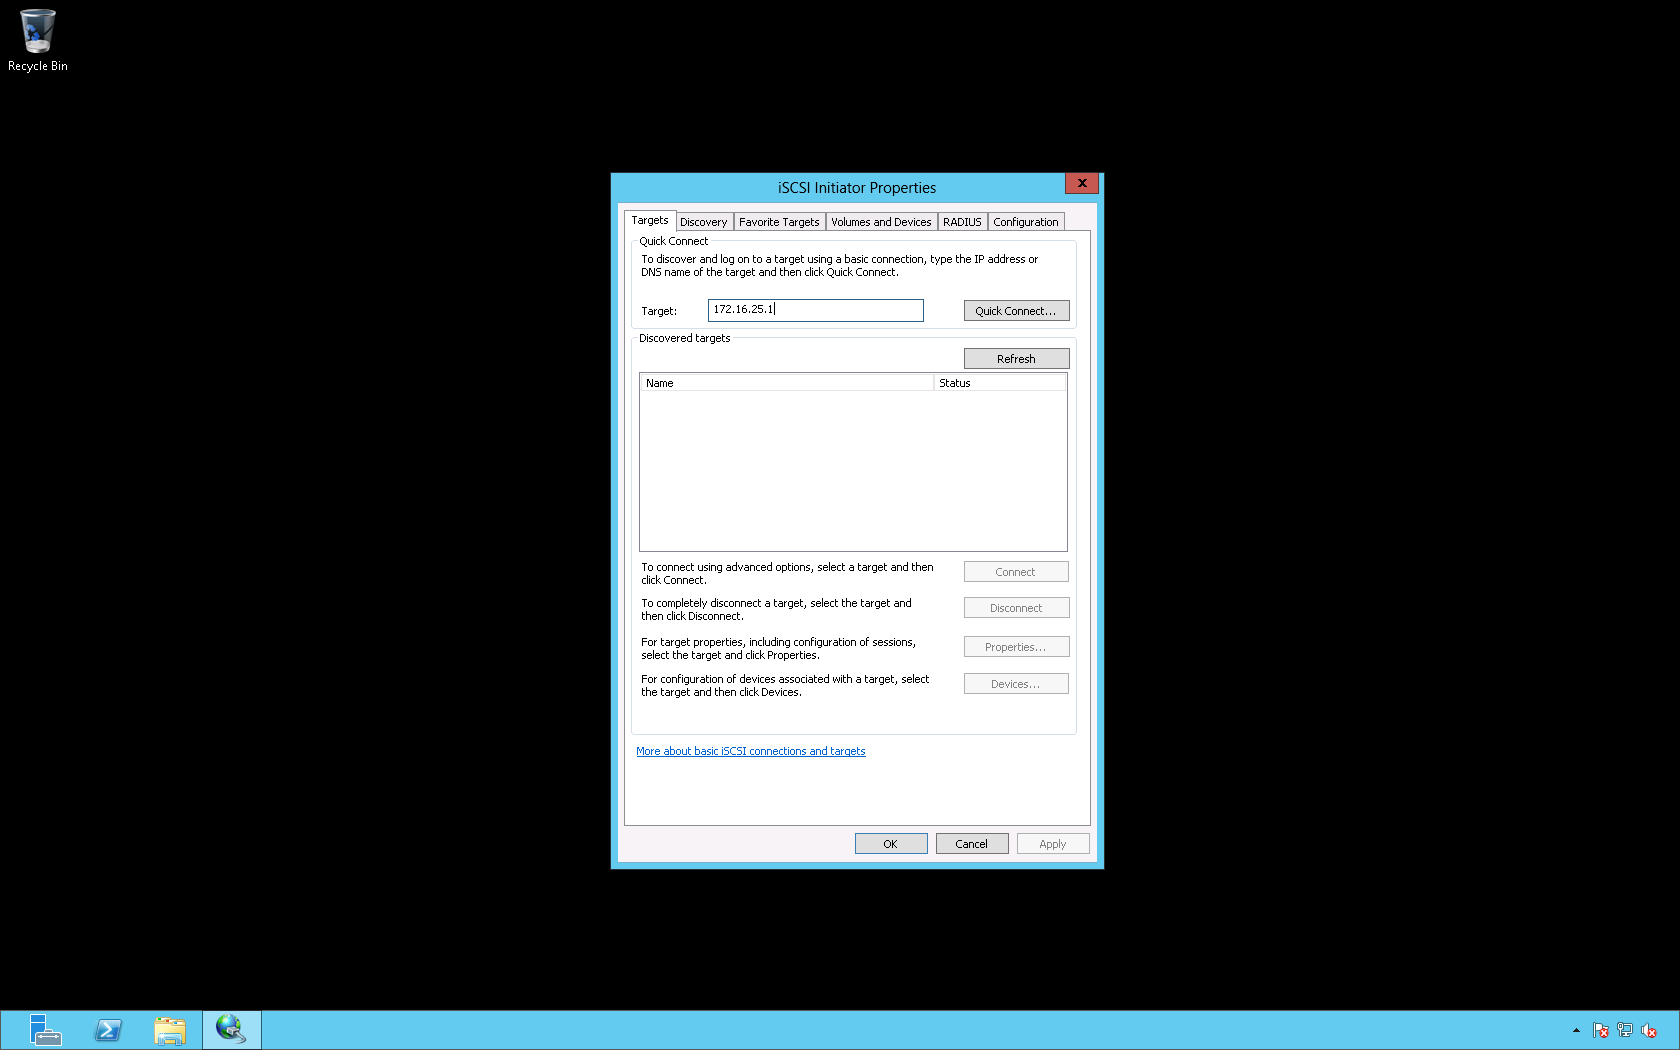
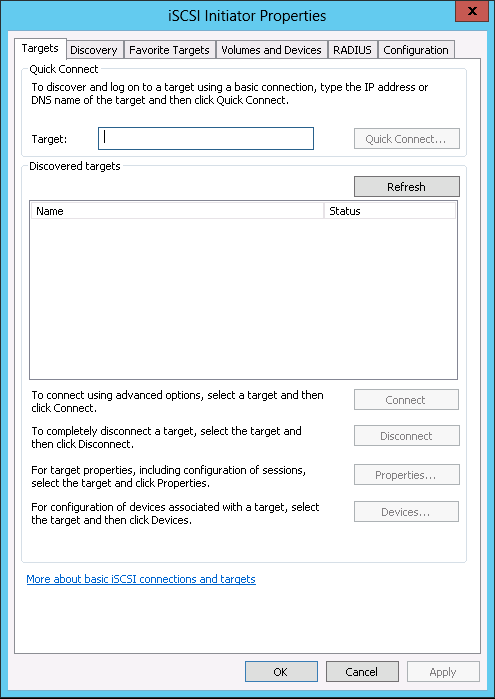
We begin by configuring the iSCSI Initiator on the server that will be utilizing the iSCSI SAN. On the Targets tab in the Target: field enter the Internet Protocol (IP) address of the iSCSI target and click Quick Connect….
In the Quick Connect dialog box click Done after verifying that the connection has been established successfully (Progress report > Login Succeeded.).
On the iSCSI Initiator Properties dialog box click OK.
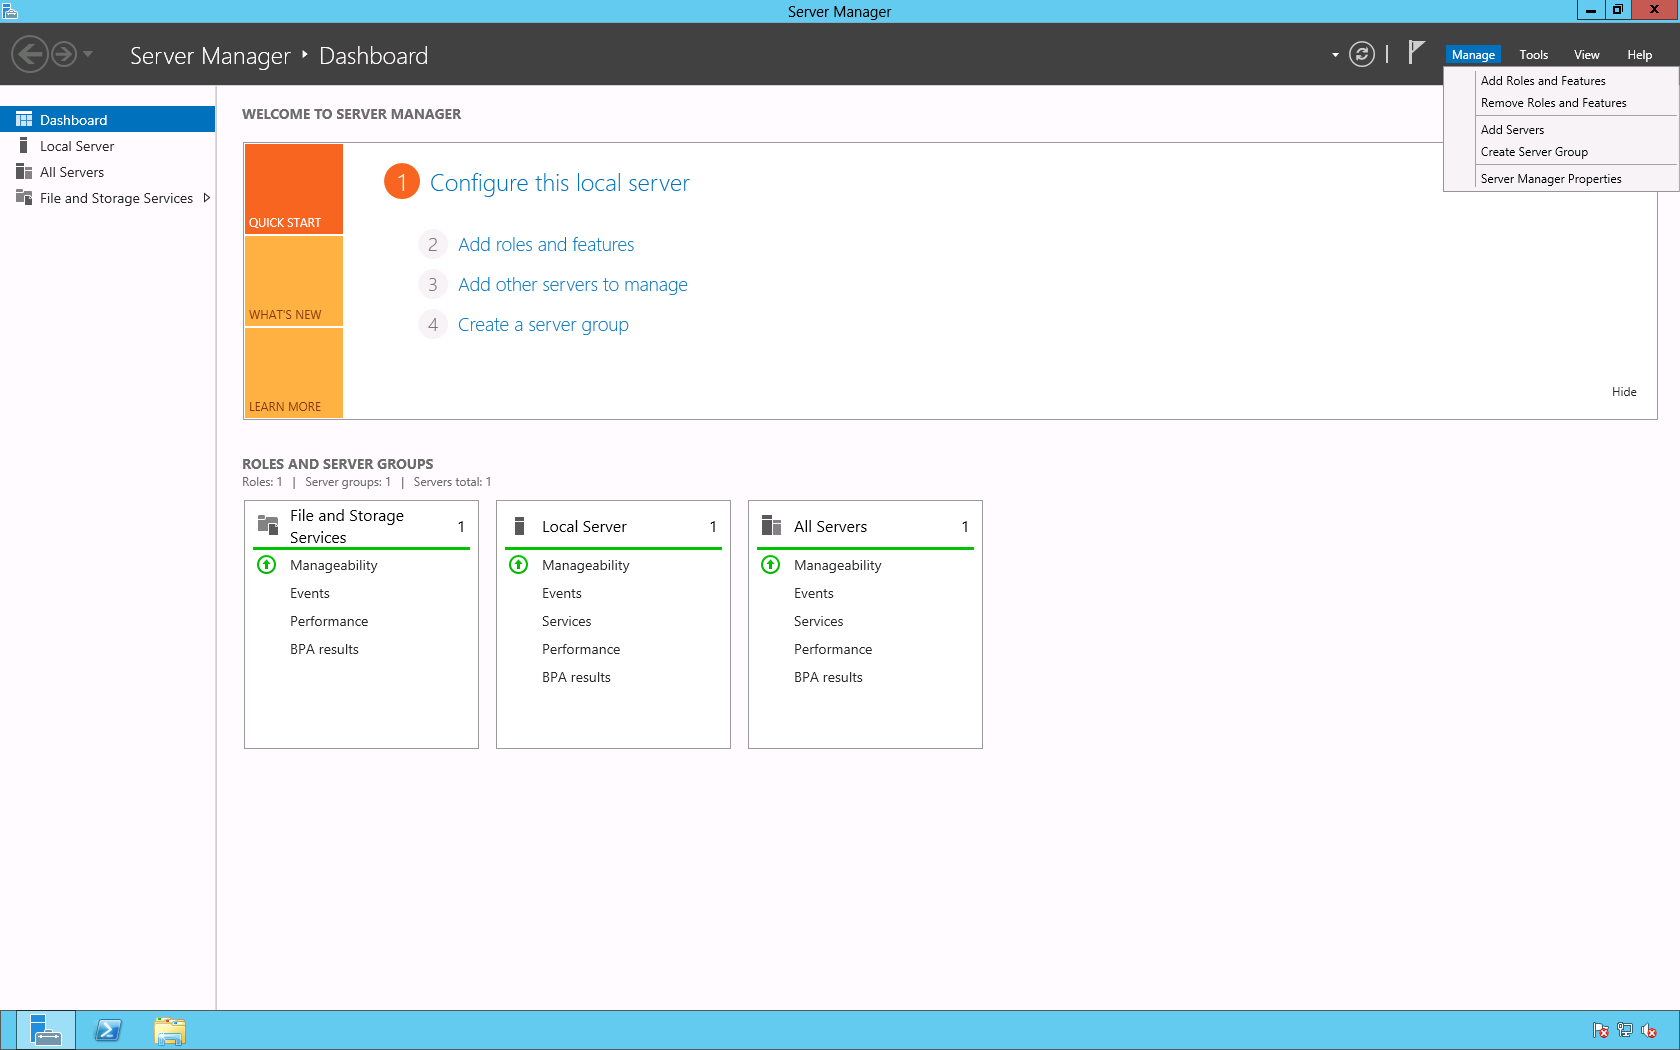
Next, we will enable the Multipath I/O feature. Begin by opening the Server Manager then navigate to Manage > Add Roles and Features.

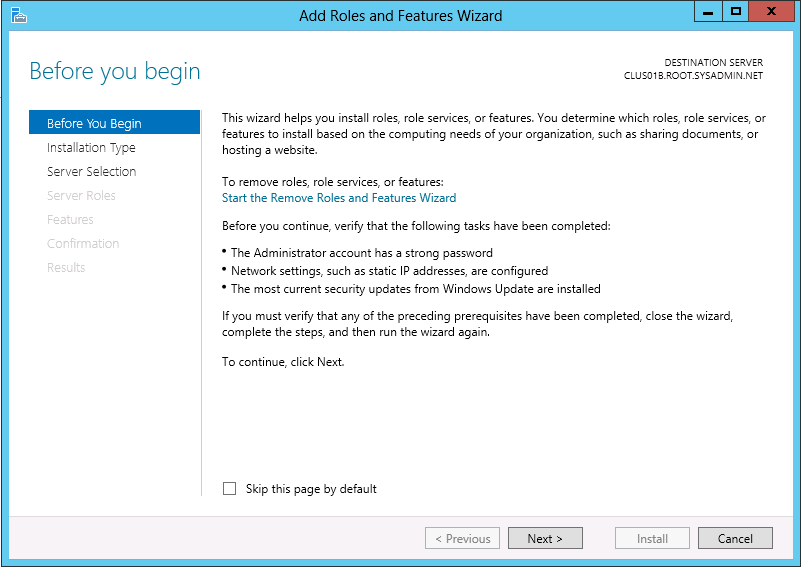
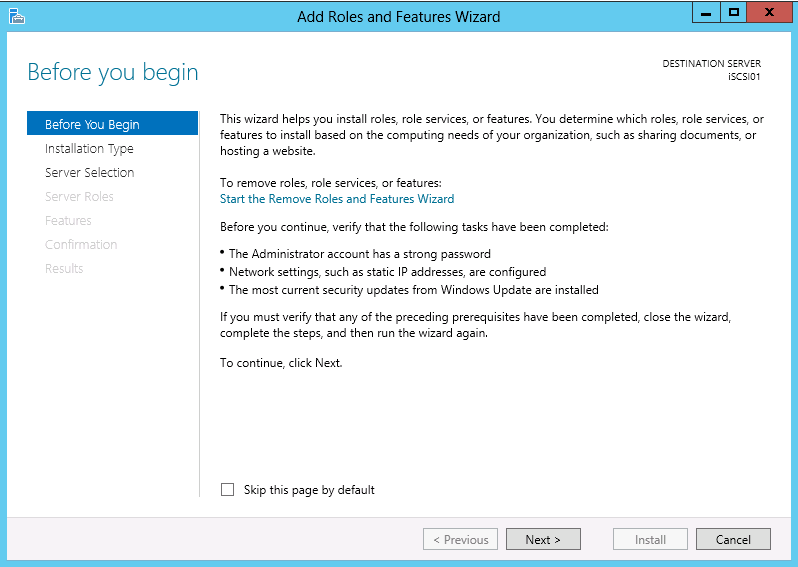
On the Before You Begin page click Next >.
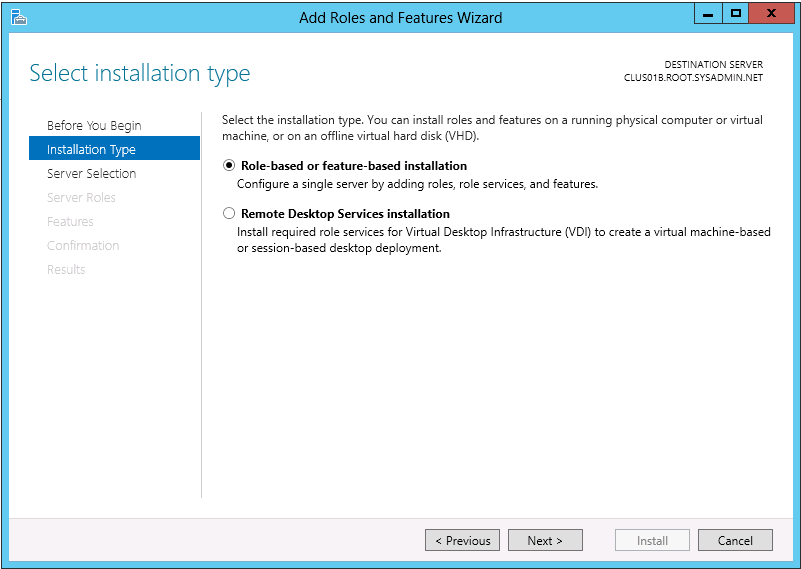
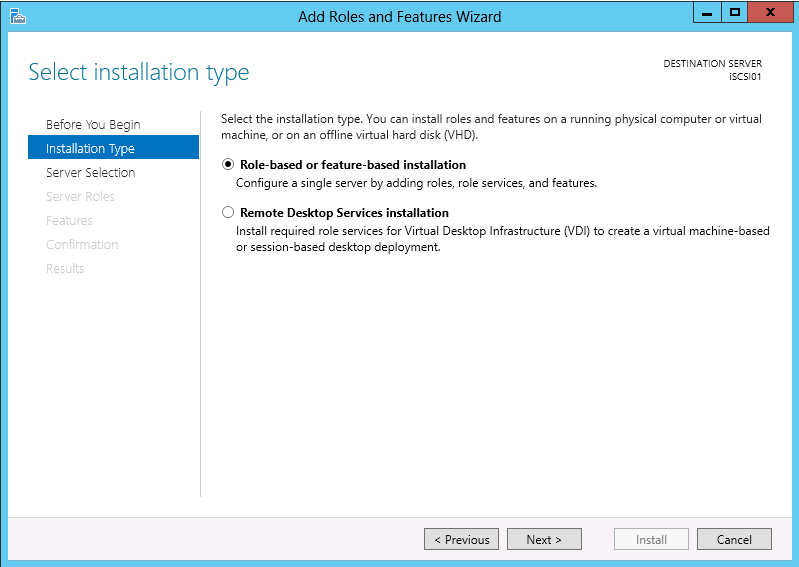
On the Installation Type page select Role-based or feature-based installation and click Next >.
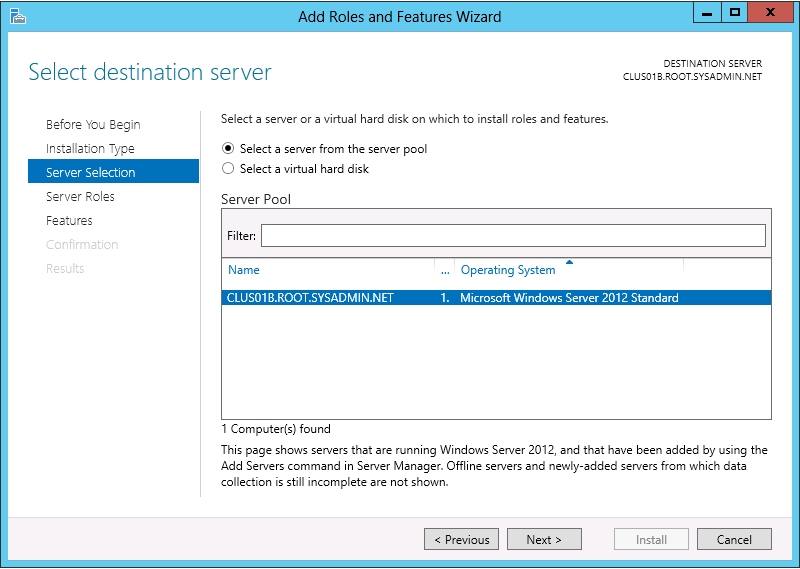
On the Server Selection page select the local server (in this example it is CLUS01B.ROOT.SYSADMIN.NET) then click Next >.
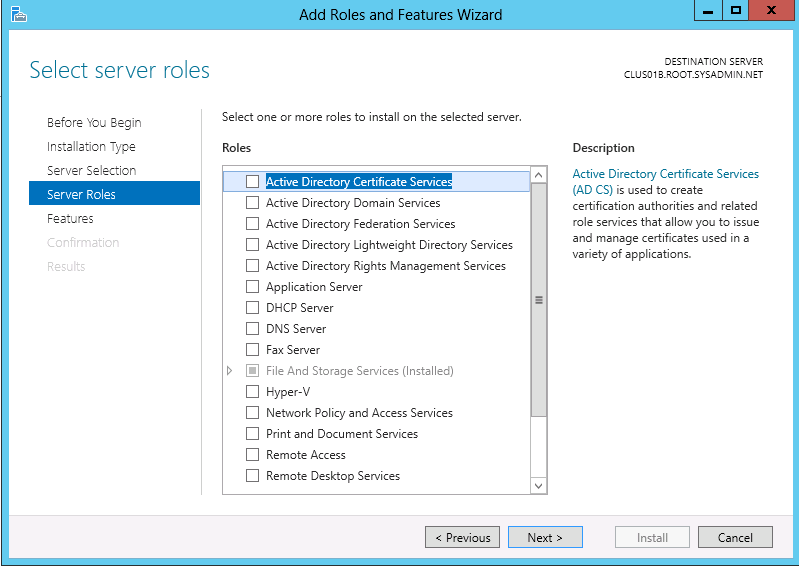
On the Server Roles page click Next >.
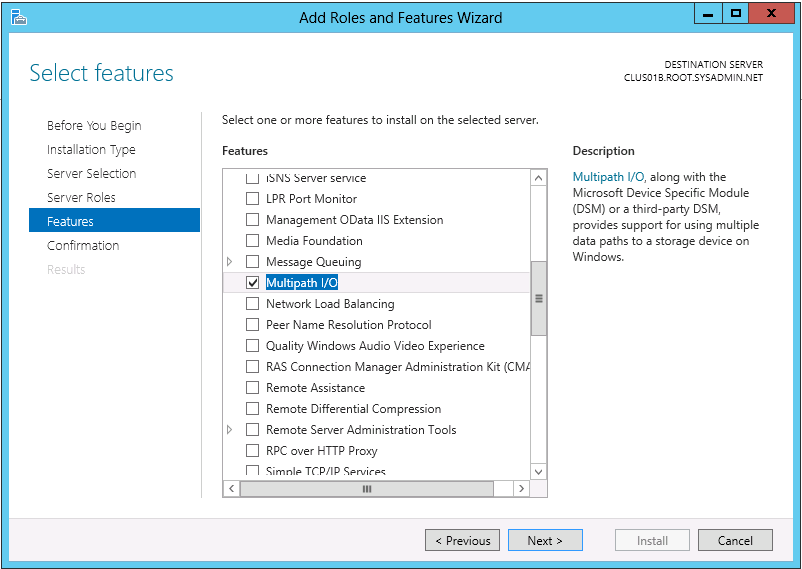
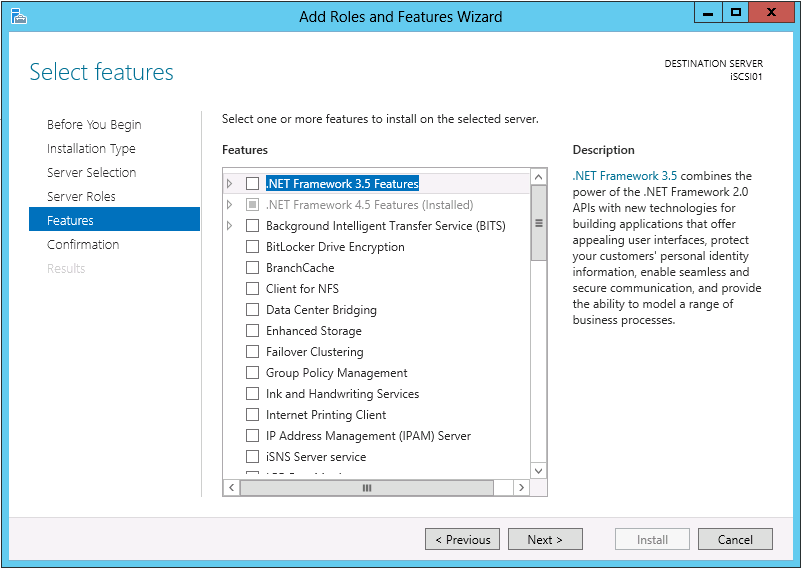
On the Features page click the box to select Multipath I/O then click Next >.
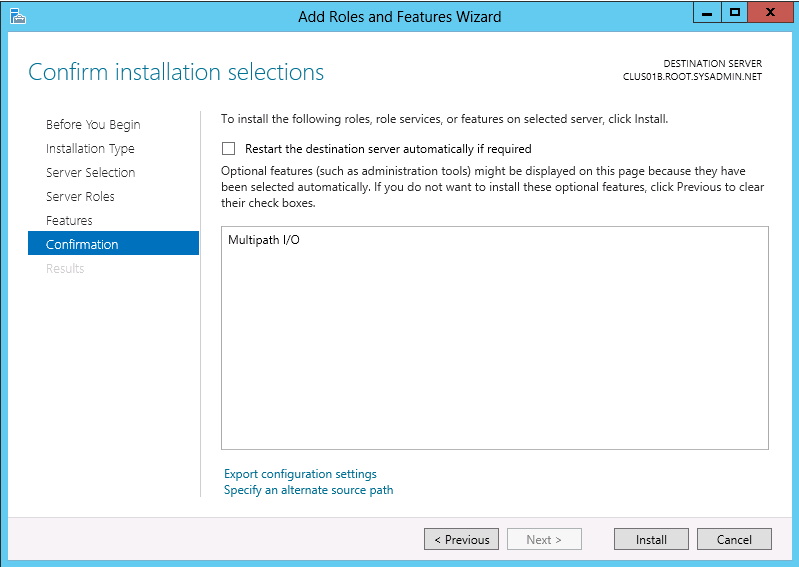
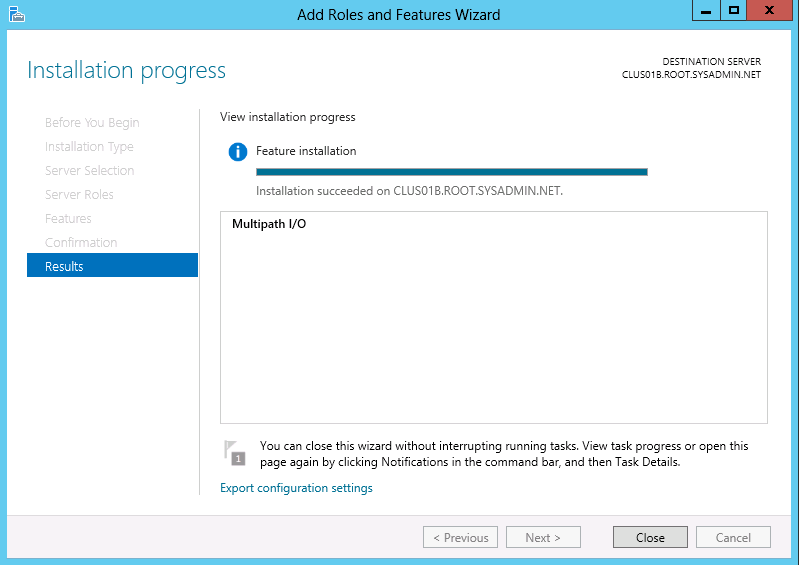
On the Confirmation page click Install.
On the Results page click Close.
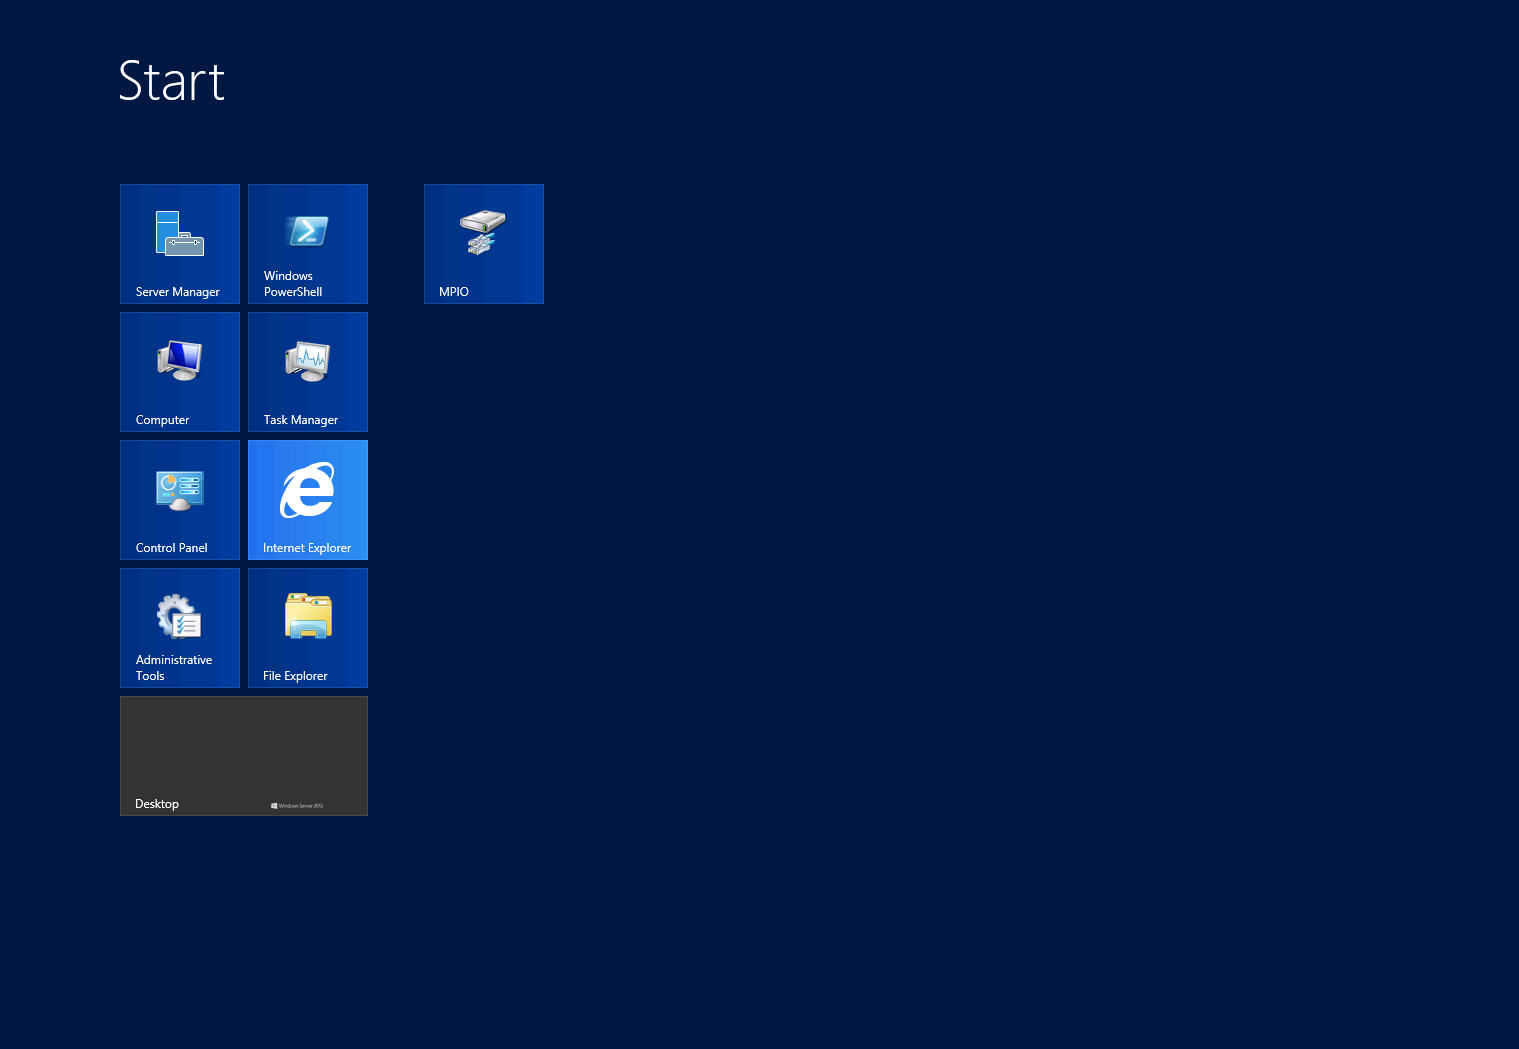
Next, we will enable iSCSI for Multipath I/O. Open the MPIO Properties dialog box by navigating to Start > MPIO.
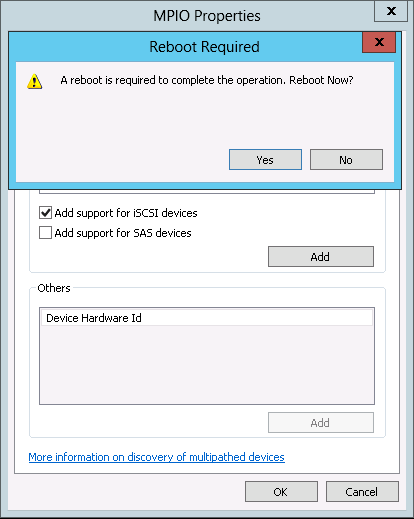
On the Discover Multi-Paths tab click the check box to Add support for iSCSI devices then click Add.

On the Reboot Required dialog click Yes.
After the reboot open the iSCSI Initiator Properties dialog box and remove the current sessions from the Target, Discovery and Favorite Targets tabs.
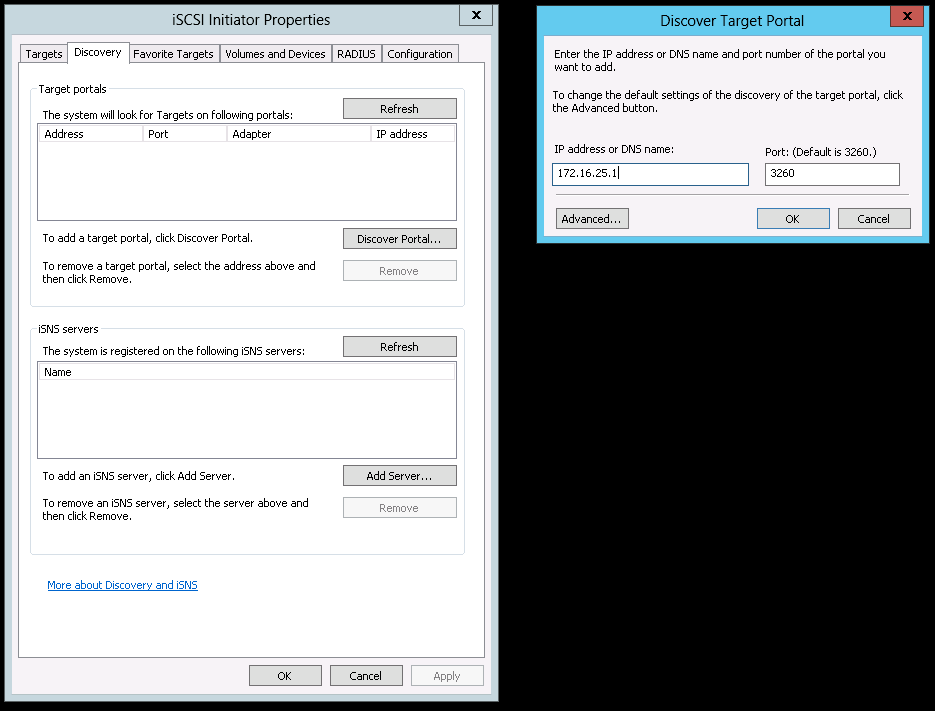
Click on the Discovery tab and click Discover Portal…then enter the IP address of the iSCSI target in the Discover Target Portal dialog and click OK.
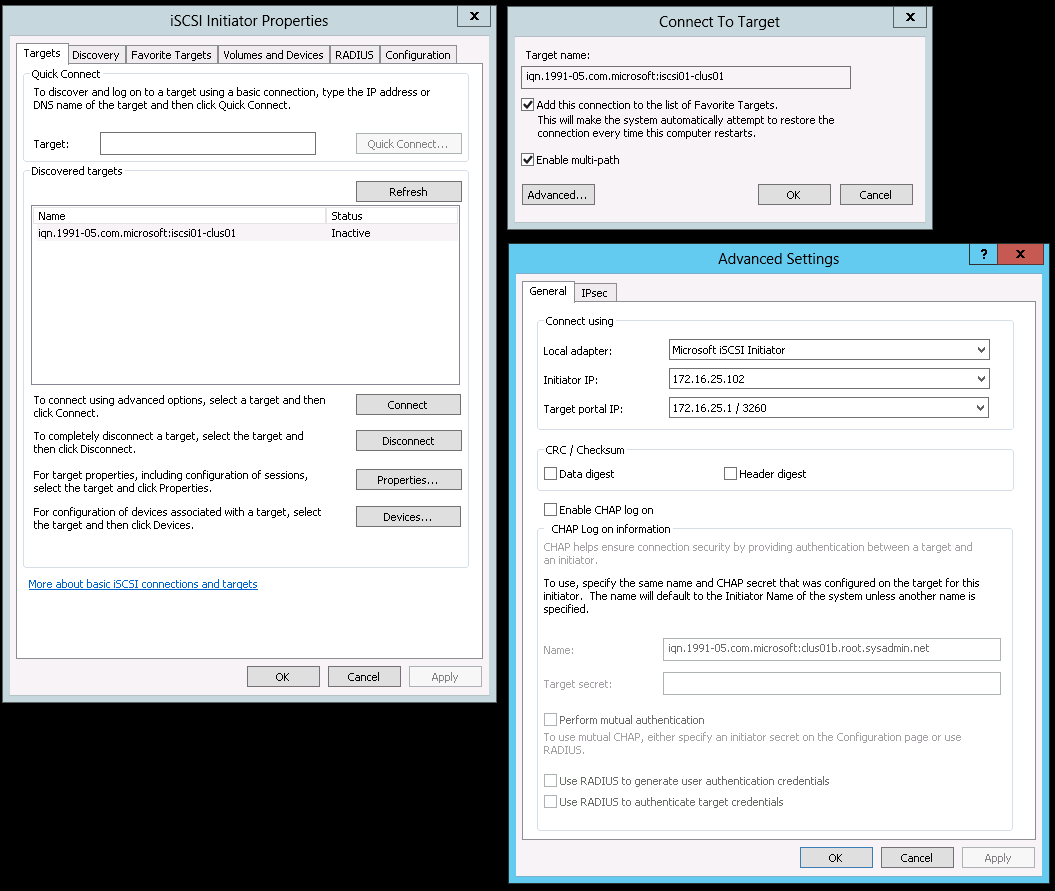
To create the first session switch to the Targets tab then click Connect. In the Connect To Target dialog box select the check box to Enable multi-path and click on Advanced…. In the Advanced Settings dialog box select Microsoft iSCSI Initator for the Local adapter:. Additionally, for the Initiator IP: select 172.16.25.102 and for the Target portal IP: select 172.16.25.1 / 3260. After these settings have been select continuing clicking OK to close out each dialog box.
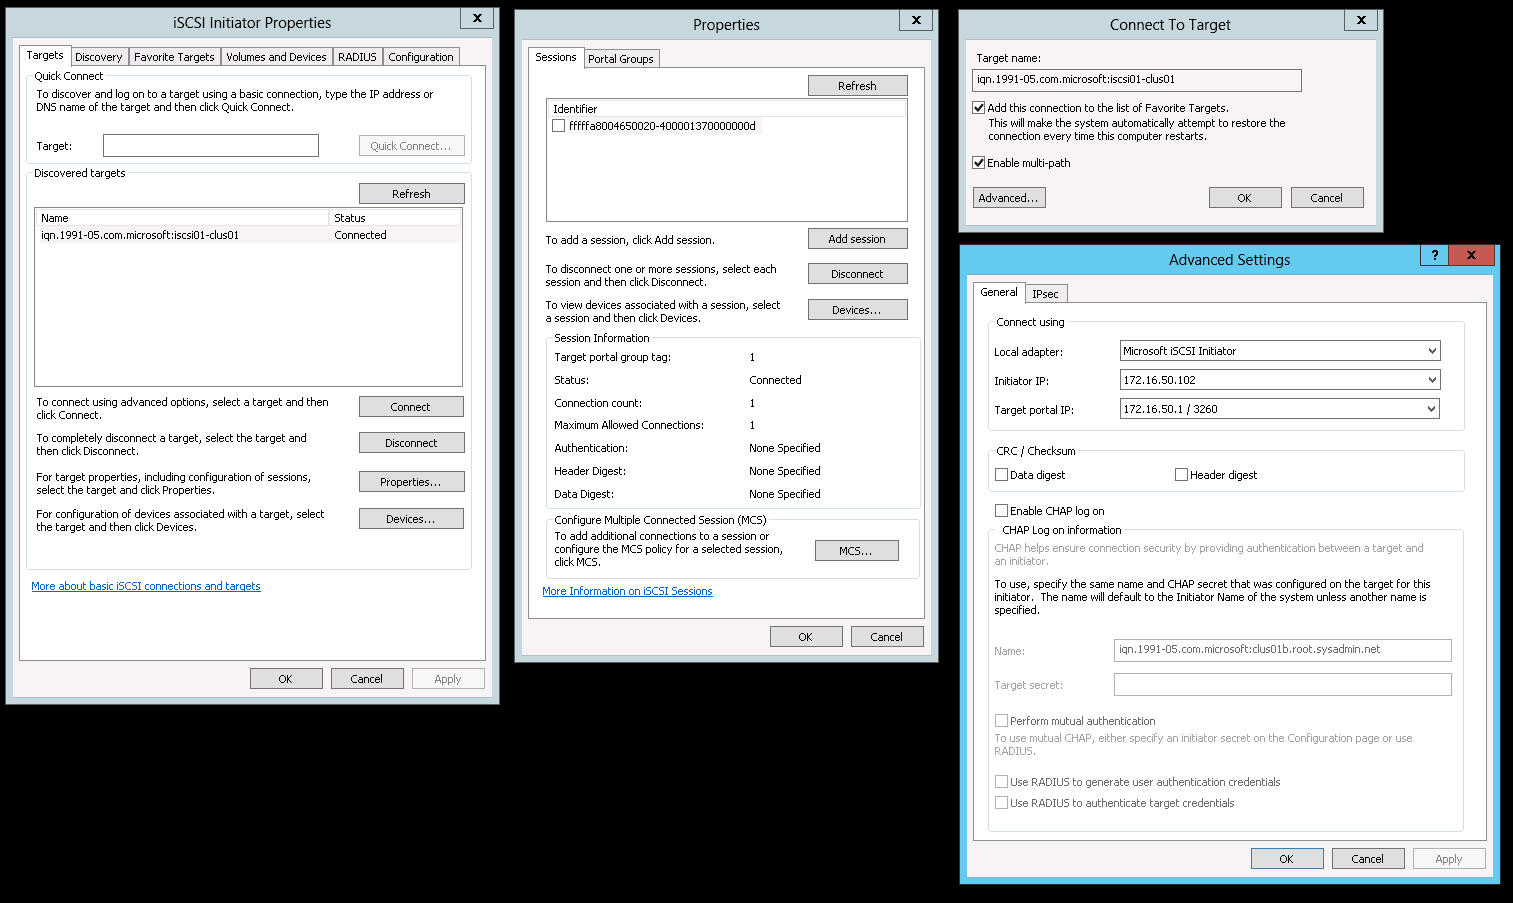
To create the second session click Properites… on the Targets tab. In the following Properties dialog box click Add Session. On the Connect To Target dialog box select the check box to Enable multi-path and click Advanced…. In the Advanced Settings select Microsoft iSCSI Initiator for the Local adapter:. Additionally, for the Initiator IP: select 172.16.50.102 and for the Target portal IP: select 172.16.50.1 / 3260. After these settings have been select continuing clicking OK to close out each dialog box.
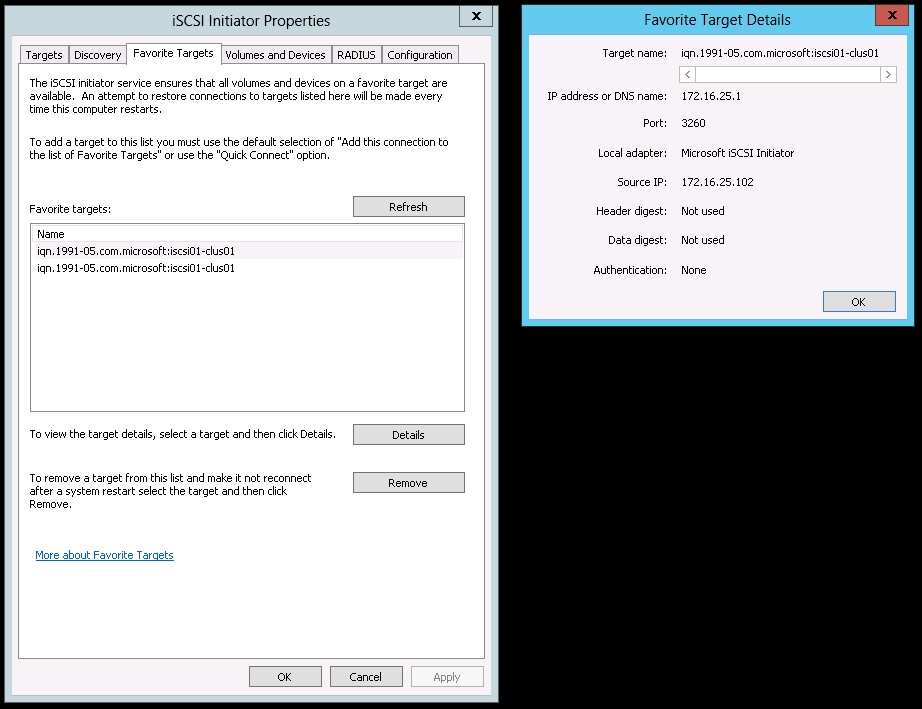
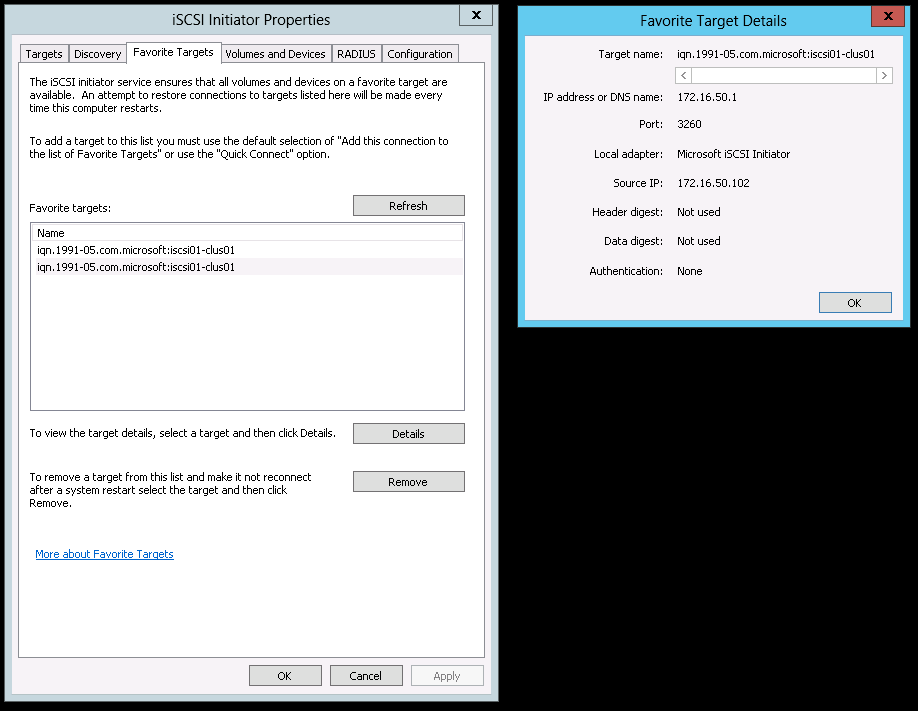
Lastly, we will verify the iSCSI sessions that we have just configured. On the Favorite Targets choose one of the each session then click Details.
Additionally, on the Targets tab click on Devices… to view a list of devices per session.

Now you may use Disk Management to mount the LUNs.
This completes the configuration.
Enjoy!
You may use the following method to connect your VMware ESXi 5.x host to an iSCSI SAN. Please keep in mind that this post assumes you have configured the SAN to allow the VMware host access to the appropriate LUN(s).
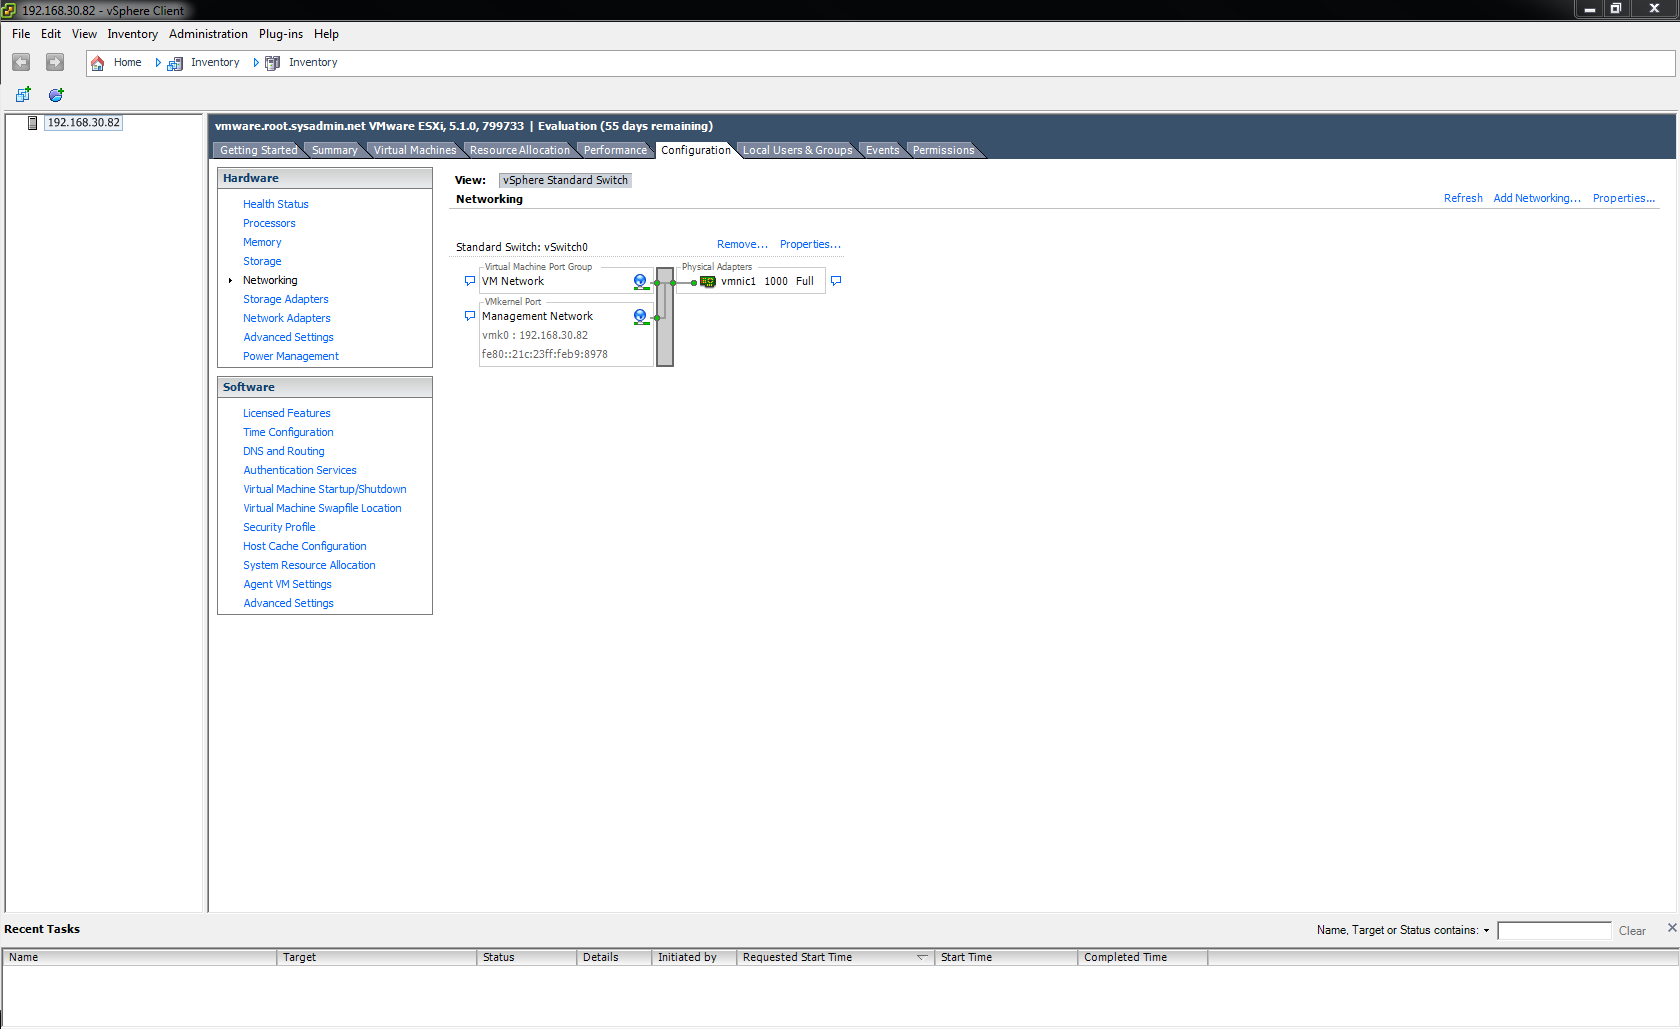
After logging into the vSphere Client navigate to Configuration > Networking then click Add Networking….
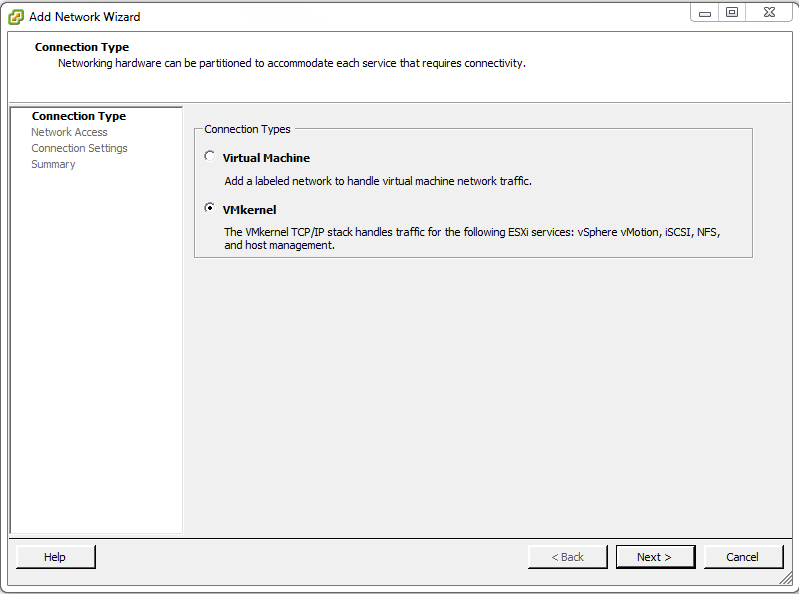
Under Connection Types select VMkernel then click Next >.
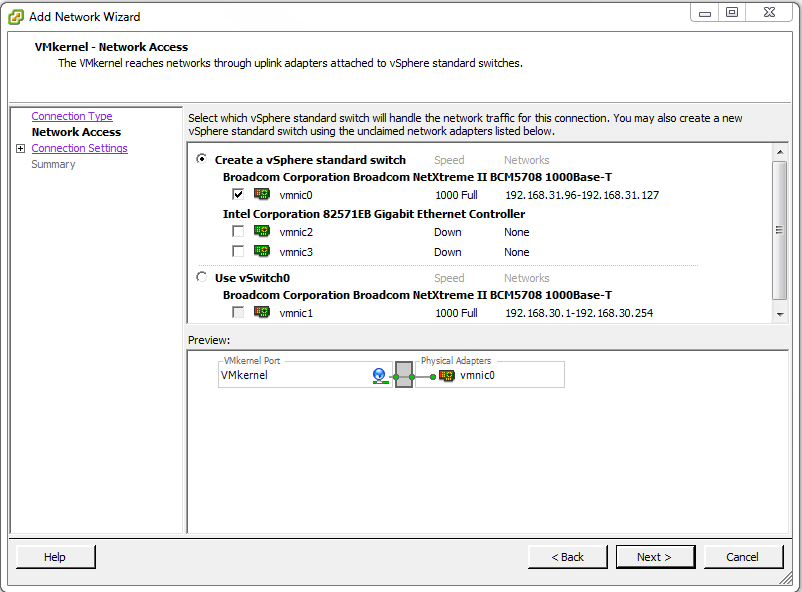
Select the vmnic that will be used for iSCSI traffic then click Next >. In this example it is vmnic0.
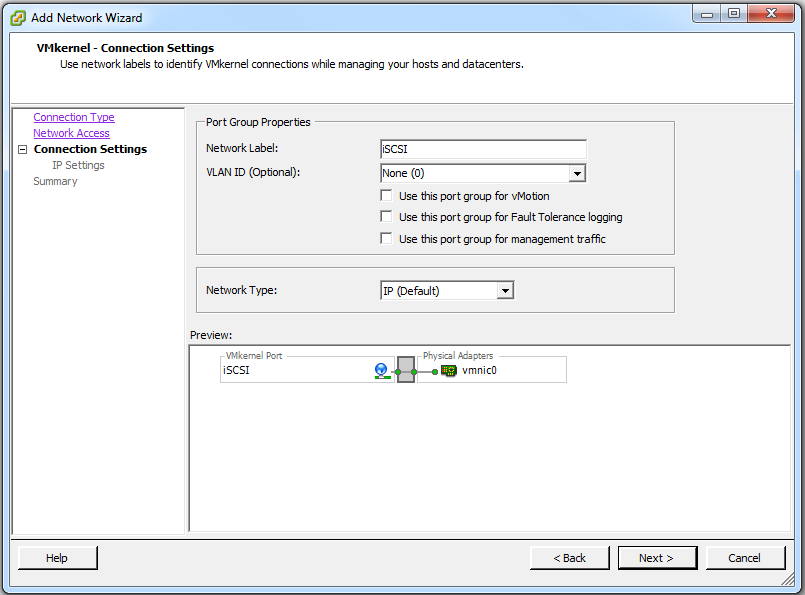
Type iSCSI for the Network Label: setting then click Next >.
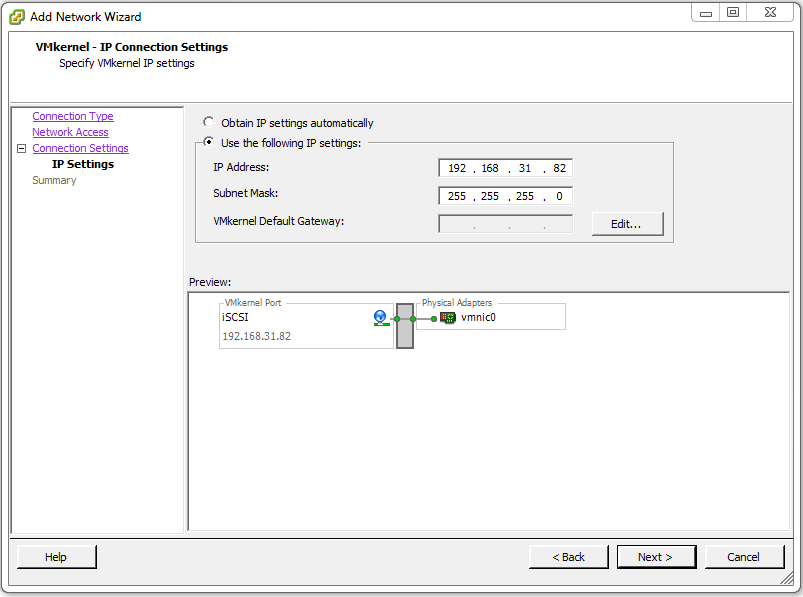
Select Use the following IP settings: and enter the correct Internet Protocol (IP) address and subnet mask for your particular network then click Next > (no VMkernel Default Gateway: setting is necessary because the iSCSI traffic will exist on the same local network). In this example the IP address is 192.168.31.82 and the subnet mask is 255.255.255.0. The iSCSI traffic will exist on the 192.168.31.0/24 network.
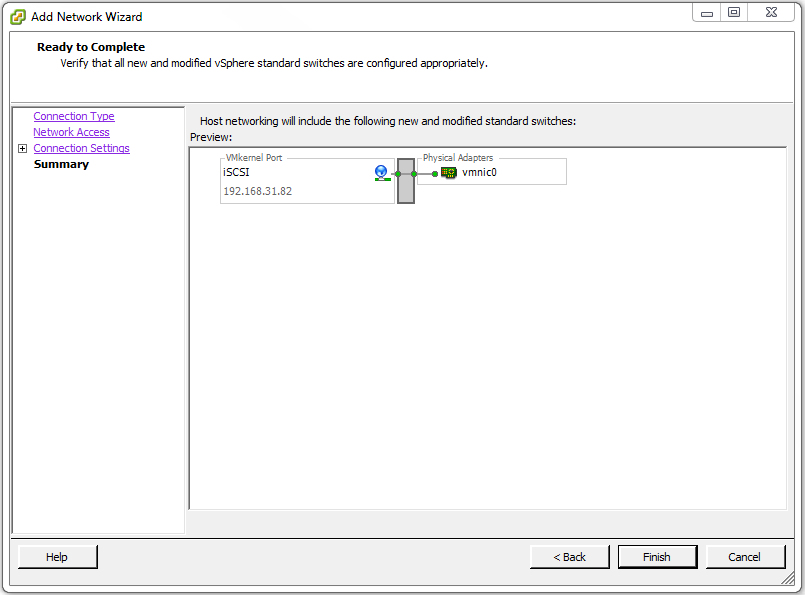
On the Ready to Complete page click Finish.
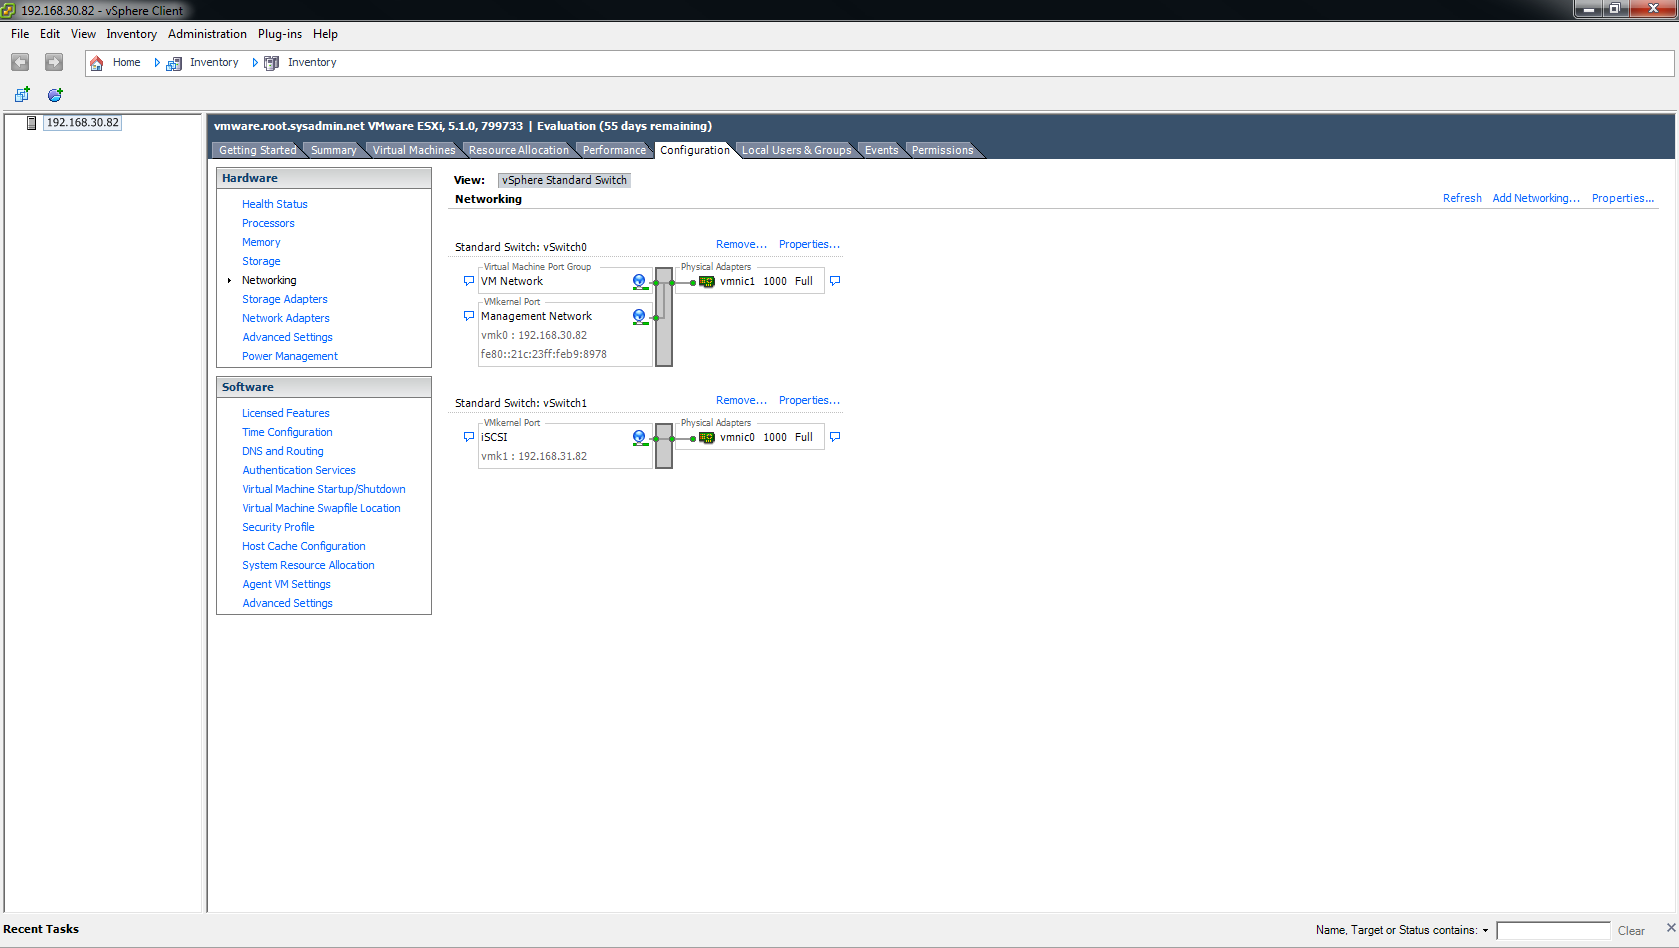
On the Configuration > Networking page you will now see a new switch labeled Standard Switch: vSwitch 1.
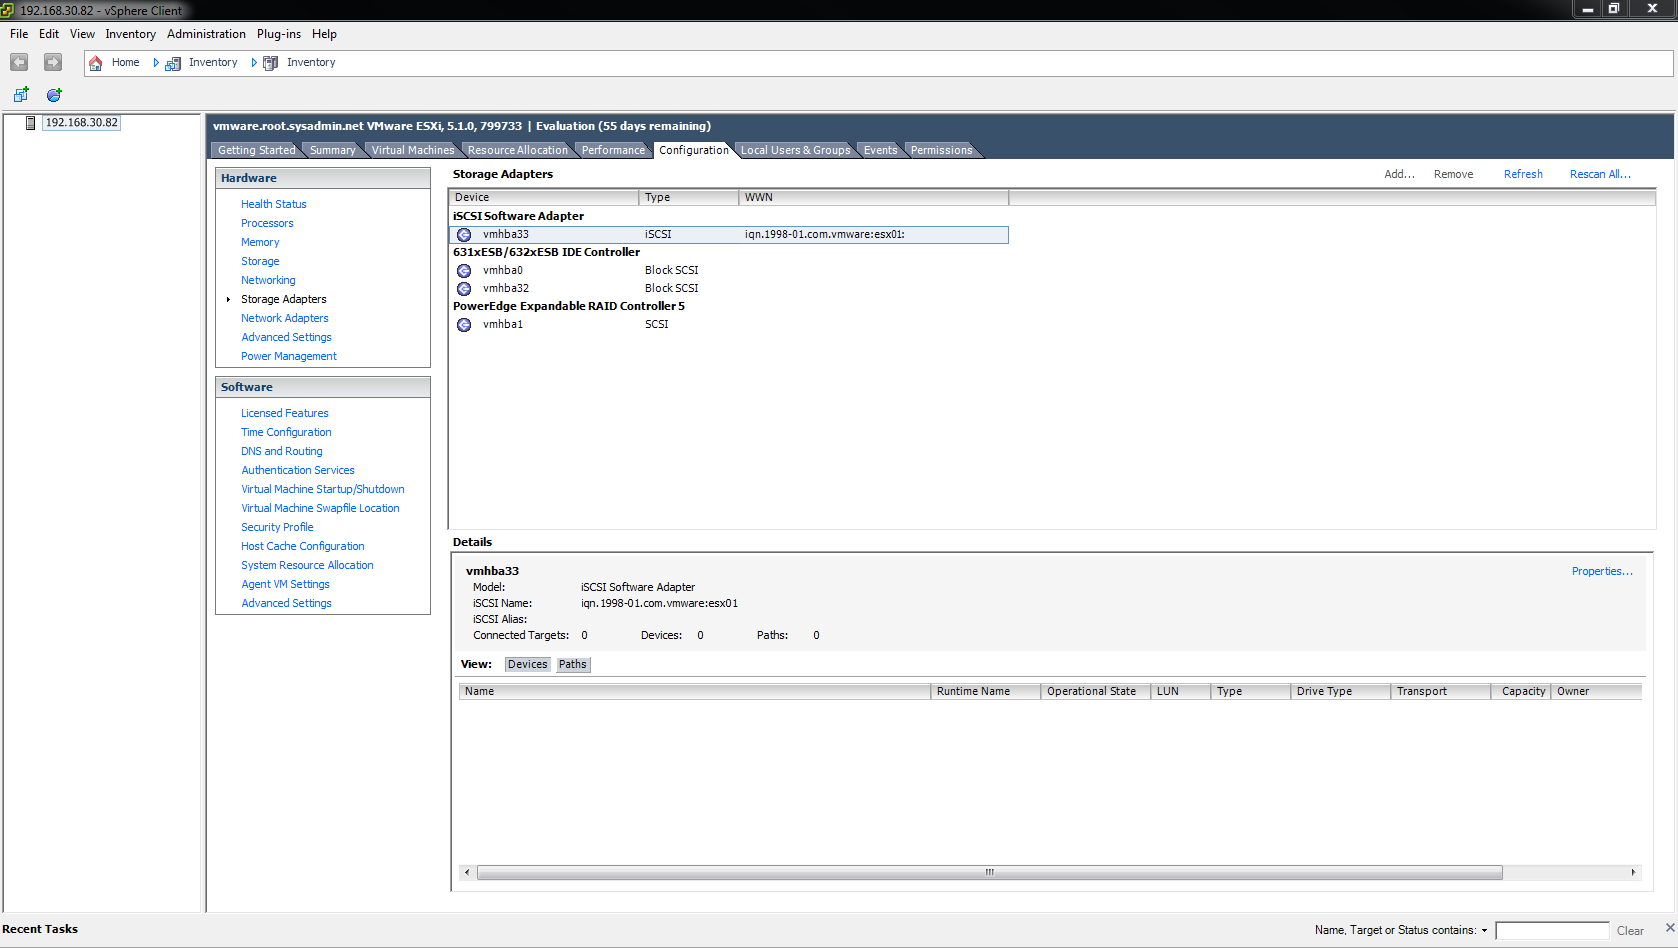
Next, navigate to Configuration > Storage Adapters. Right click the iSCSI Software Adapter (vmhbaxx) and select Properties….
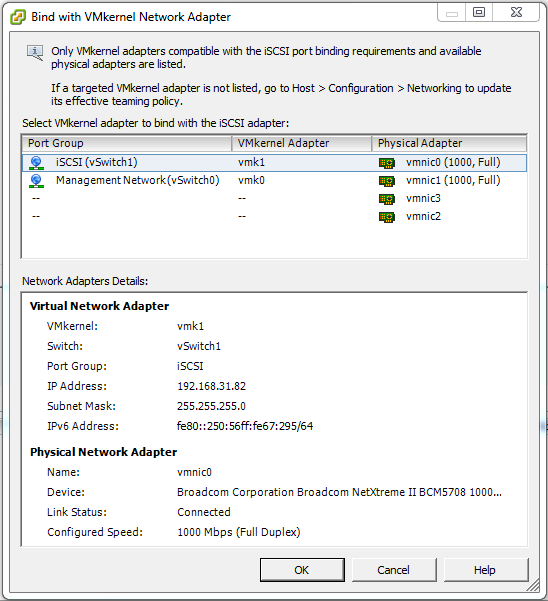
Under the Network Configuration tab click Add….

Under Port Group select iSCSI (vSwitch 1) and click OK.
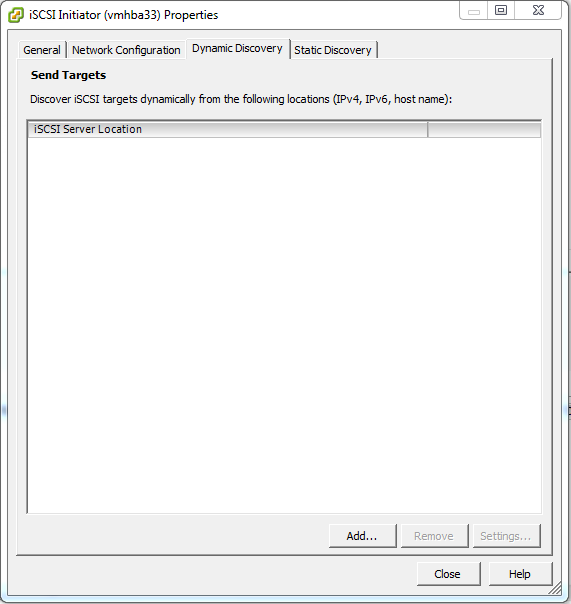
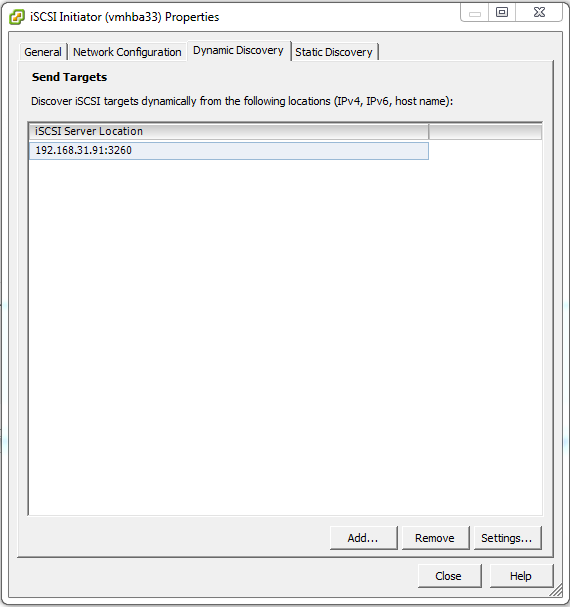
On the Dynamic Discovery tab click Add….
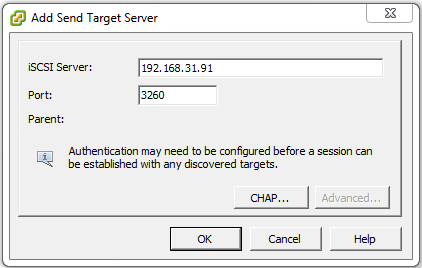
In the iSCSI Server: field type the IP address of the iSCSI target server then click OK. In this example it is 192.168.31.91.
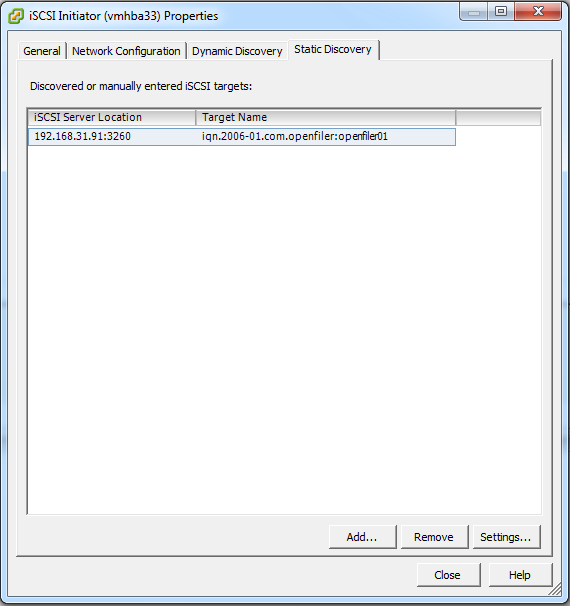
The IP address of the iSCSI targer server should now be visible under the Dynamic Discovery and Static Discovery tab. If so, click Close.
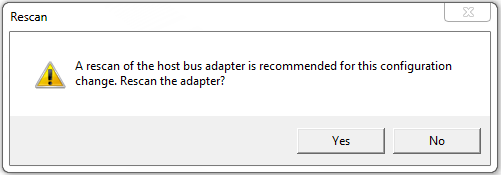
Select Yes when prompted to rescan the host bus adapter.
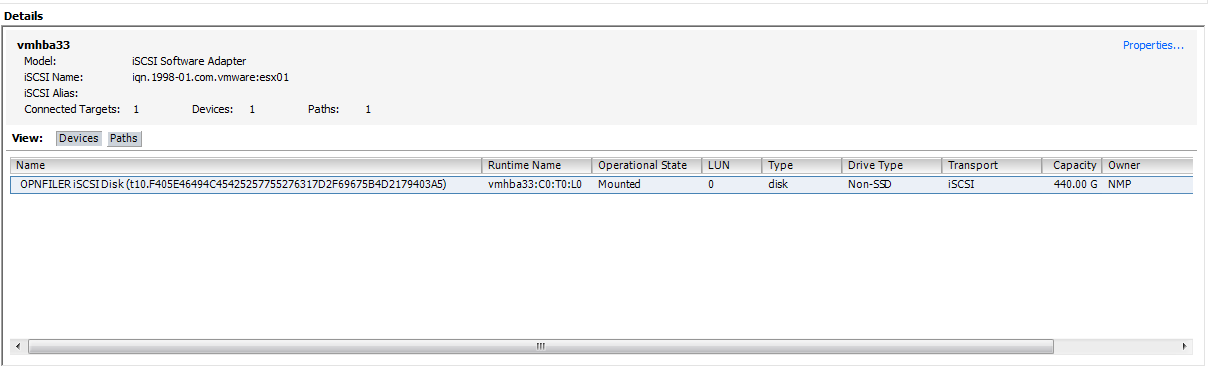
Under the Details section of the window you should now see the LUN(s) that have been configured for use.
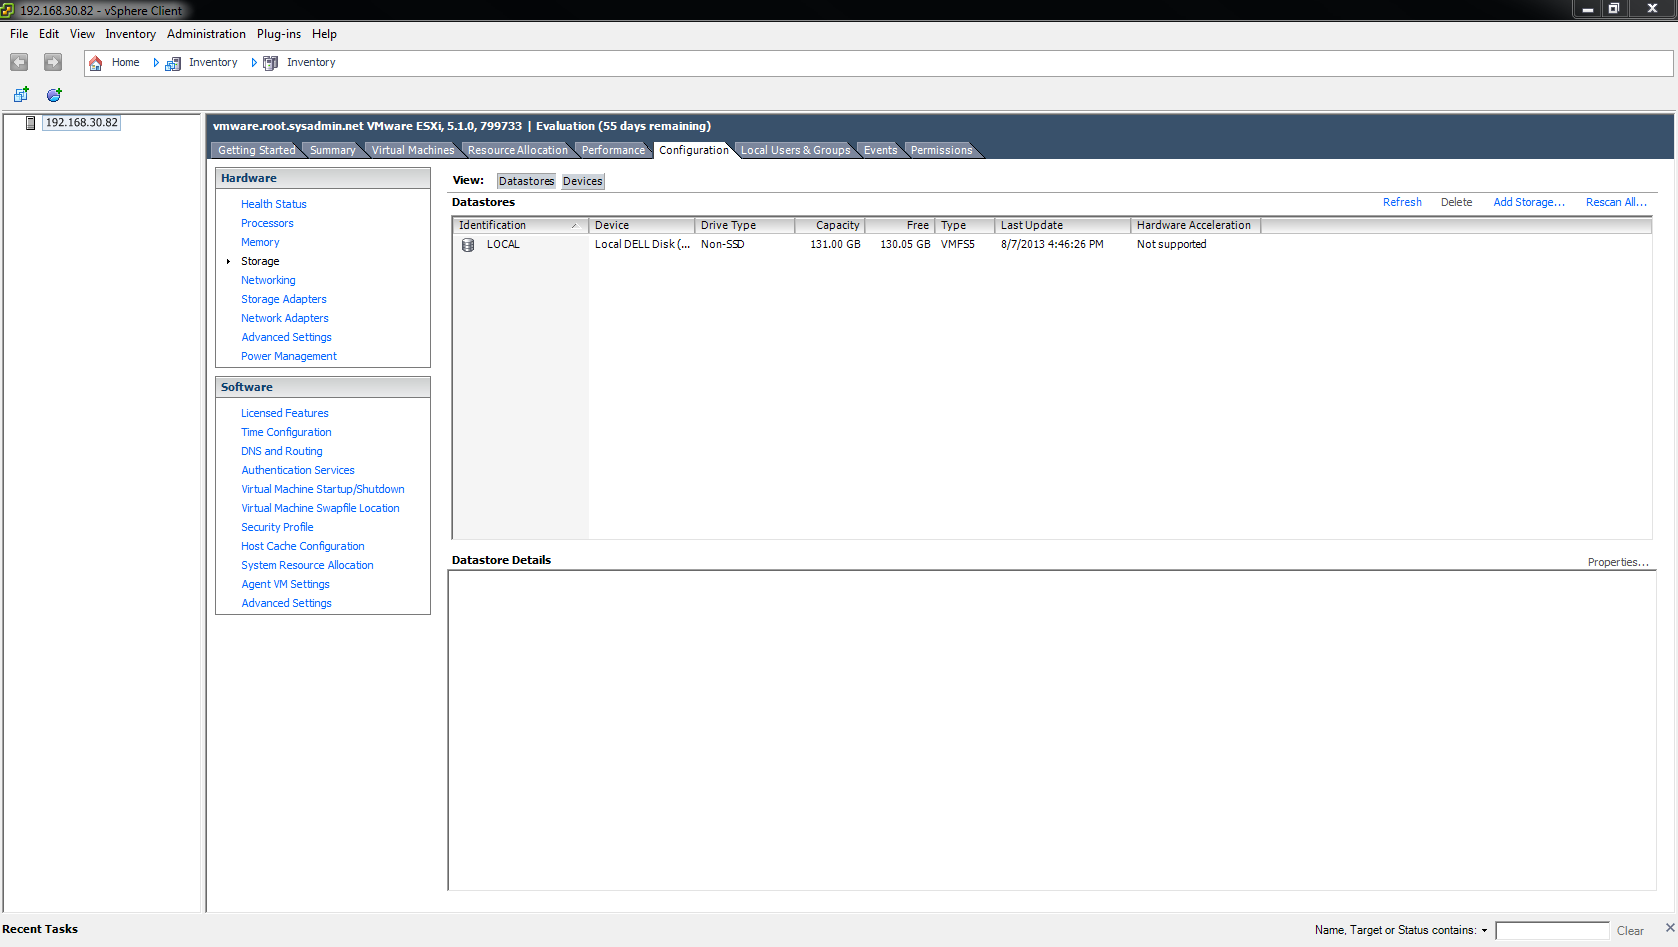
Next, navigate to Configuration > Storage then click Add Storage….
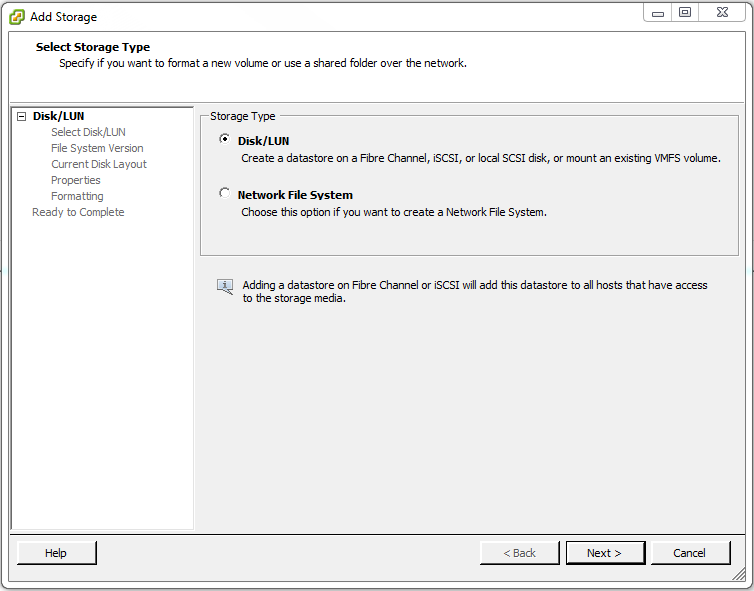
Under Storage Type select Disk/LUN then click Next >.
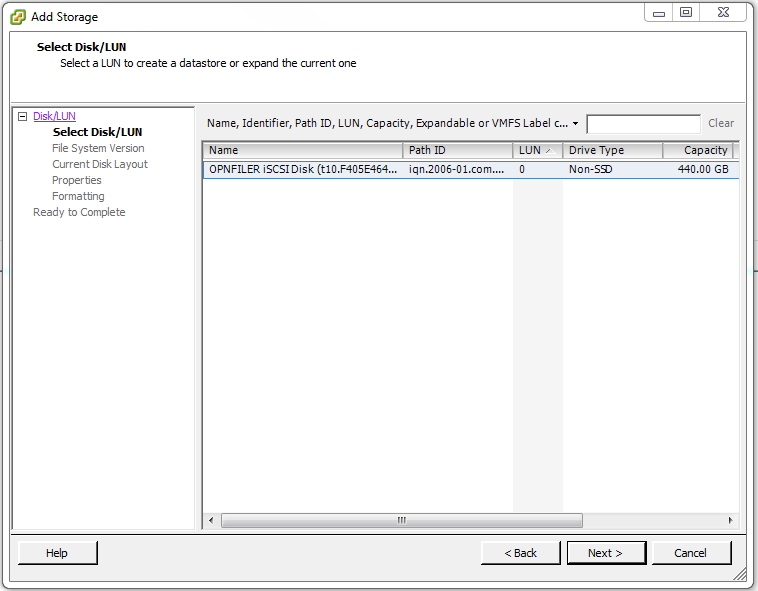
Select the LUN(s) then click Next >.
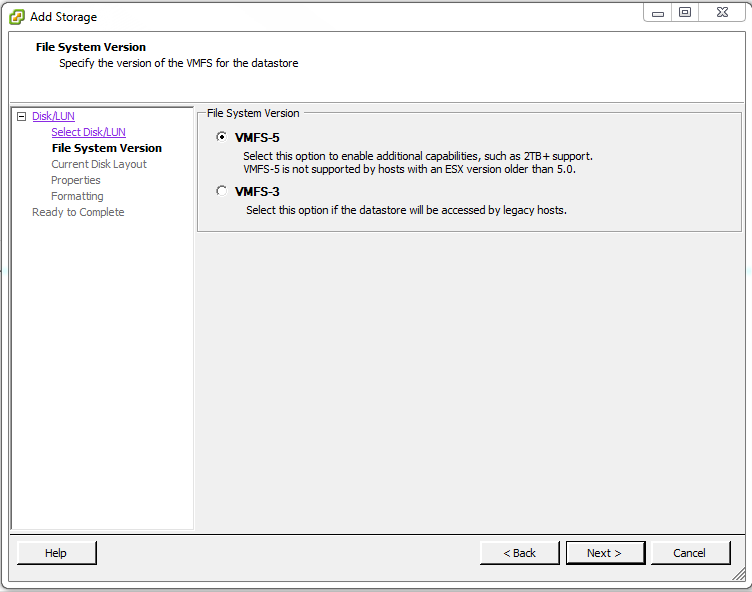
Under File System Version select VMFS-5 then click Next >.
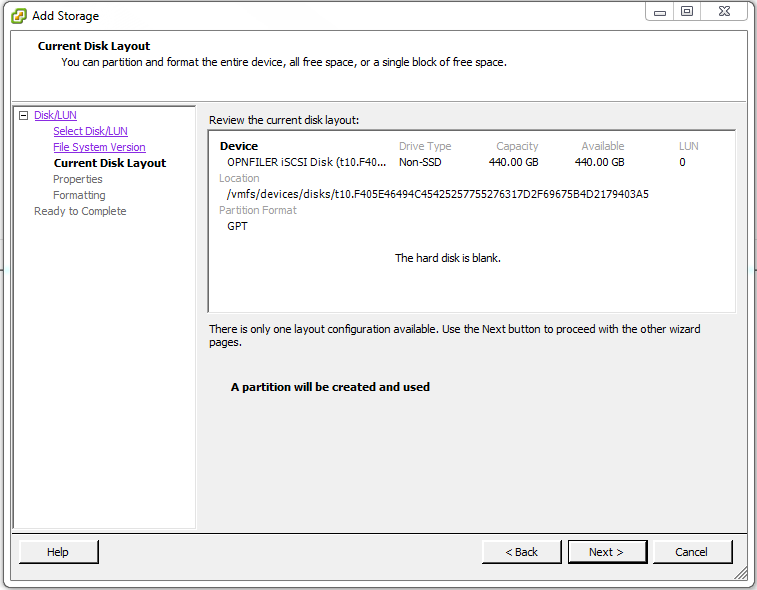
After reviewing the configuration click Next >.
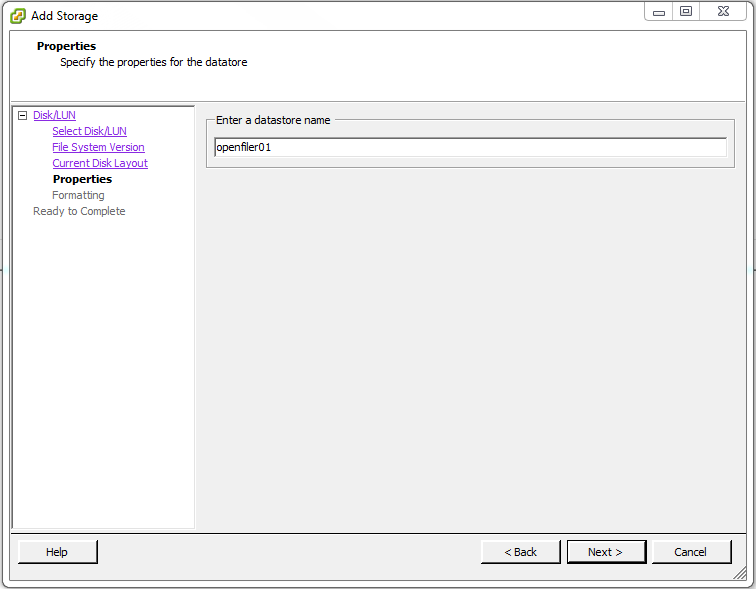
Enter a datastore name that will identify the datastore then click Next >. In this I chose openfiler01 because that is the hostname of the iSCSI SAN used in this example.
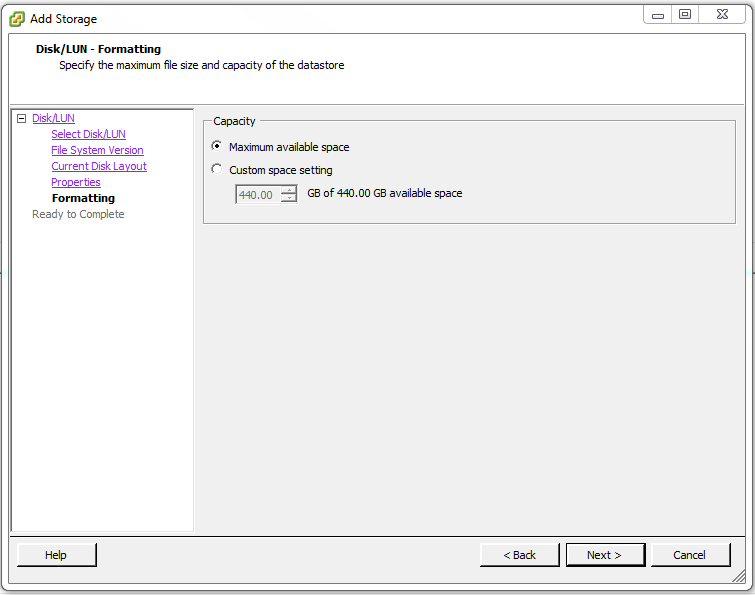
Under Capacity select Maximum available space then click Next >.
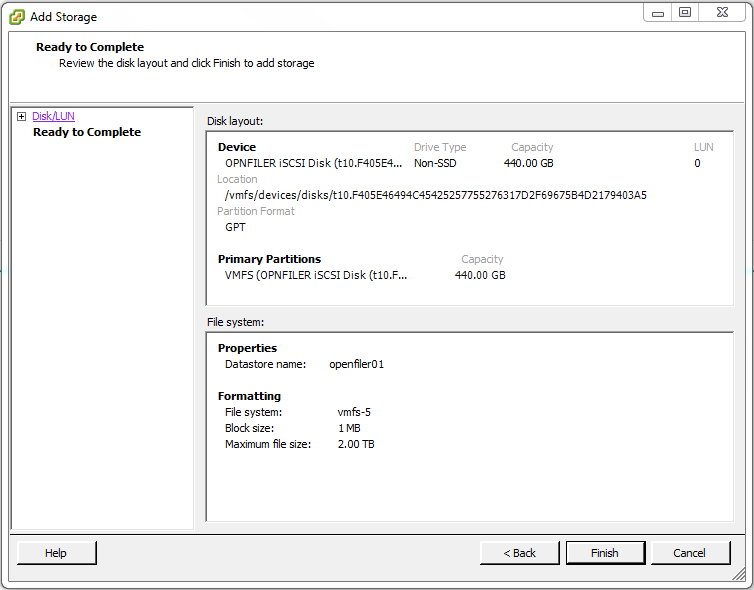
On the Disk layout: page click Finish.
After the VMFS datastore is created it will be visible on the Configuration > Storage page.
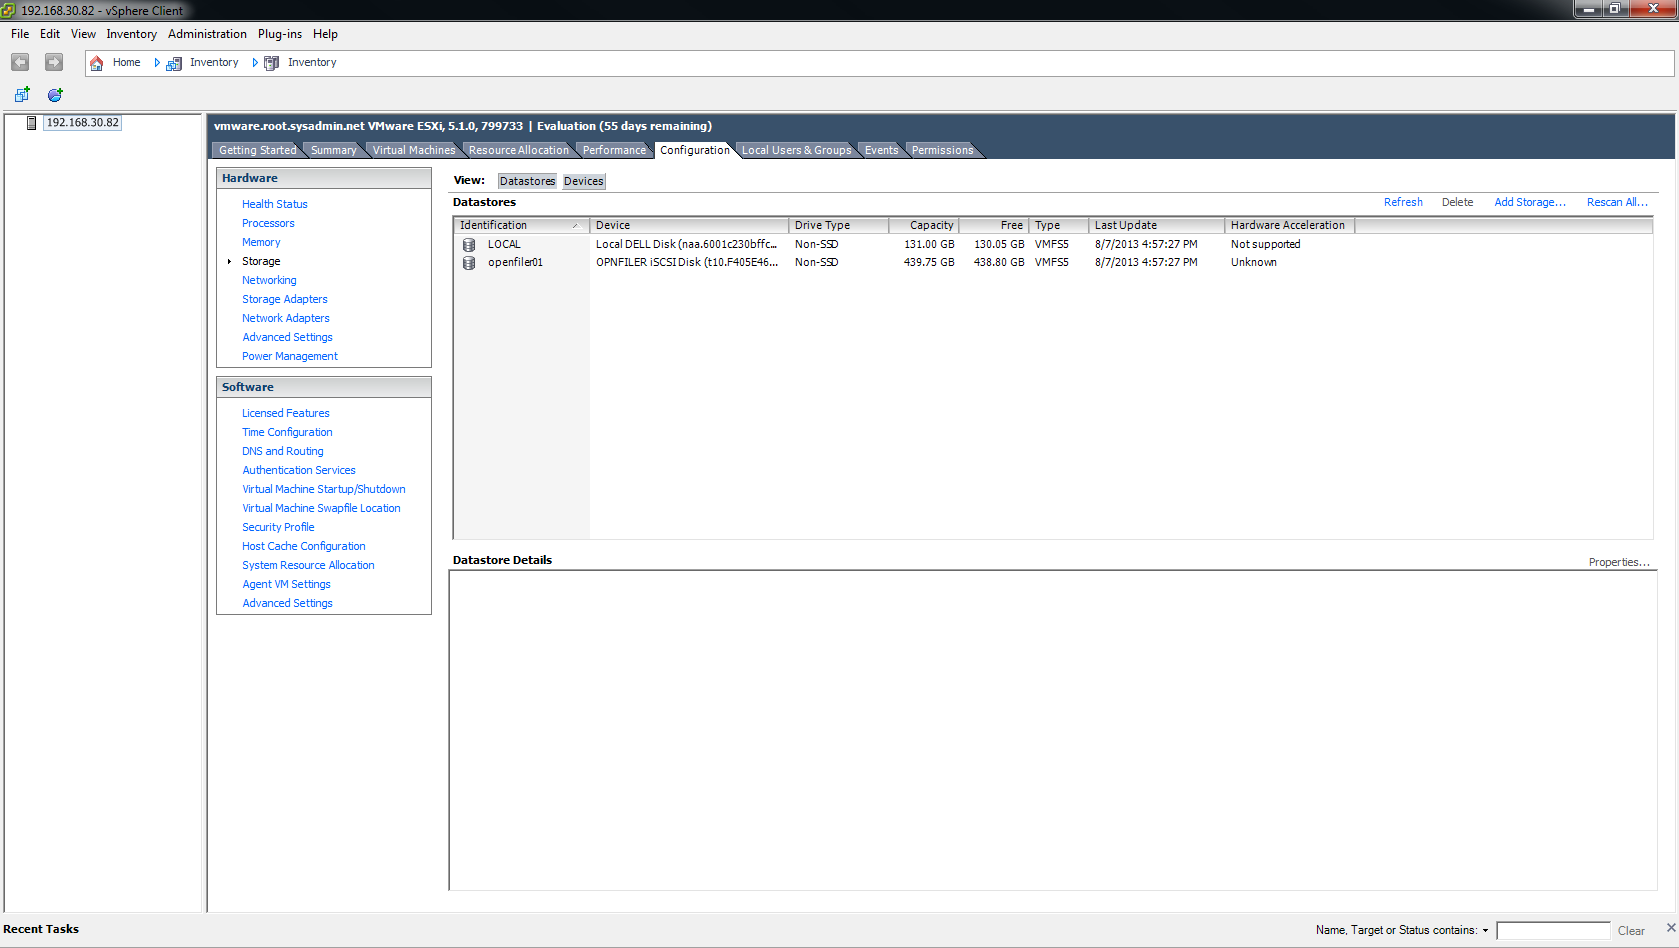
Now when you create virtual machines you may store them on this VMFS datastore.
This completes the process.
Enjoy!
You may use Microsoft Windows Storage Server 2012 as an iSCSI Storage Area Network (SAN). To do so you must install the iSCSI Target feature. Below you will find a step-by-step guide to installing this feature.
On the Server Manager > Dashboard page select Manage > Add Roles and Features.
On the Before you begin page click Next >.
On the Installation Type page select Role-based or feature-based installation and click Next >.
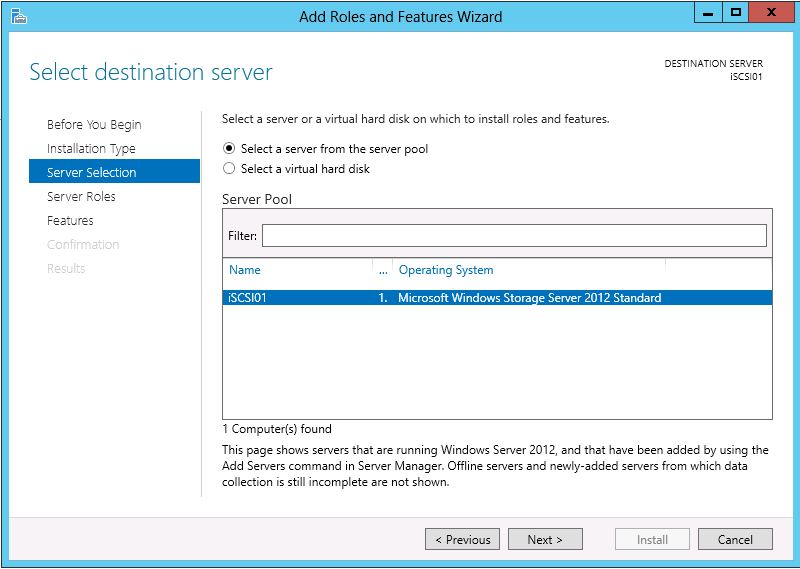
On the Server Selection page select the server that you would like to enable the iSCSI Target. In this example, I will be choosing iSCSI01. After selecting the server click Next >.
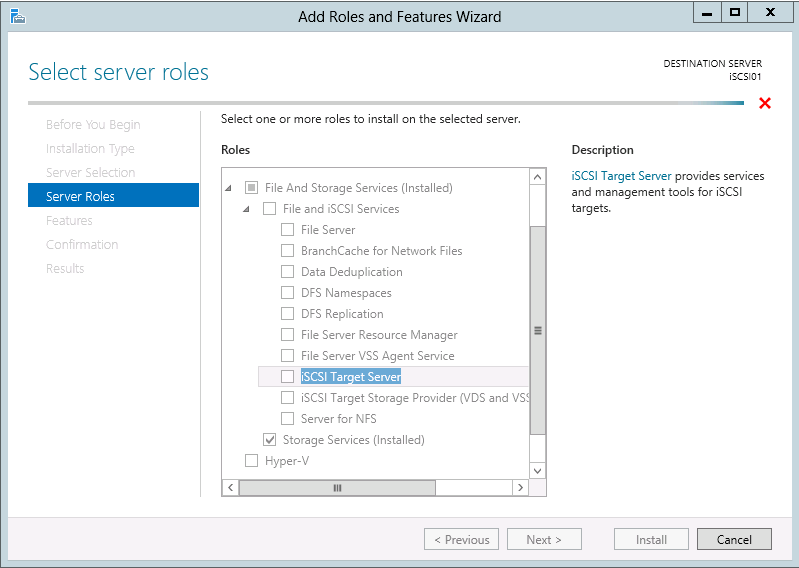
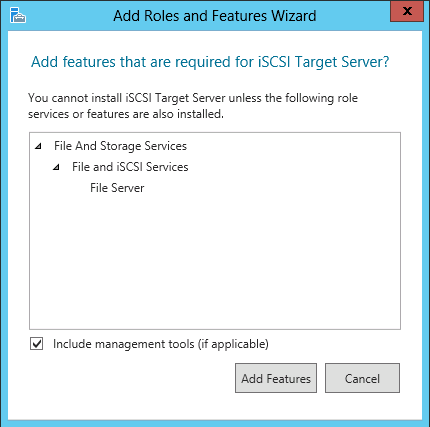
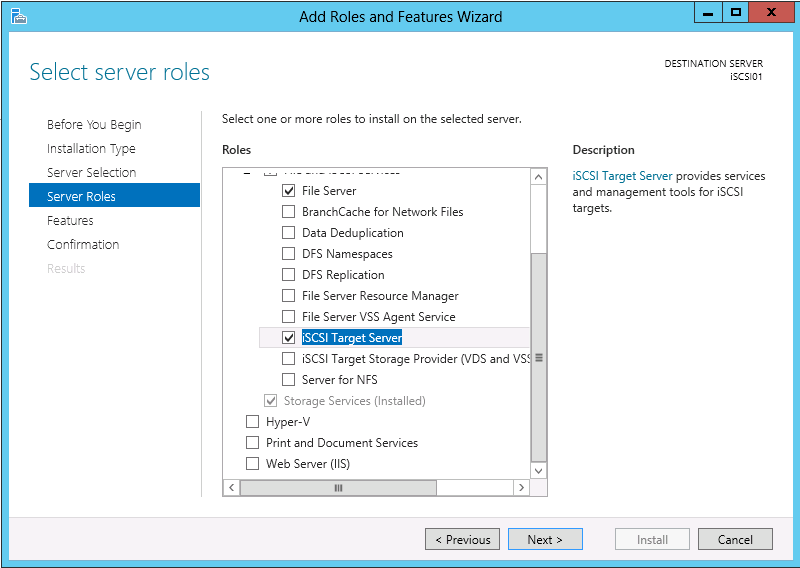
On the Server Roles page select File And Storage Services (Installed) > File and iSCSI Services > iSCSI Target Server. When the Add features that are required for iSCSI Targer Server? dialog box appears click Add Features. When you return to the Server Roles page click Next >.
On the Features page click Next >.
On the Confirmation page click Install.

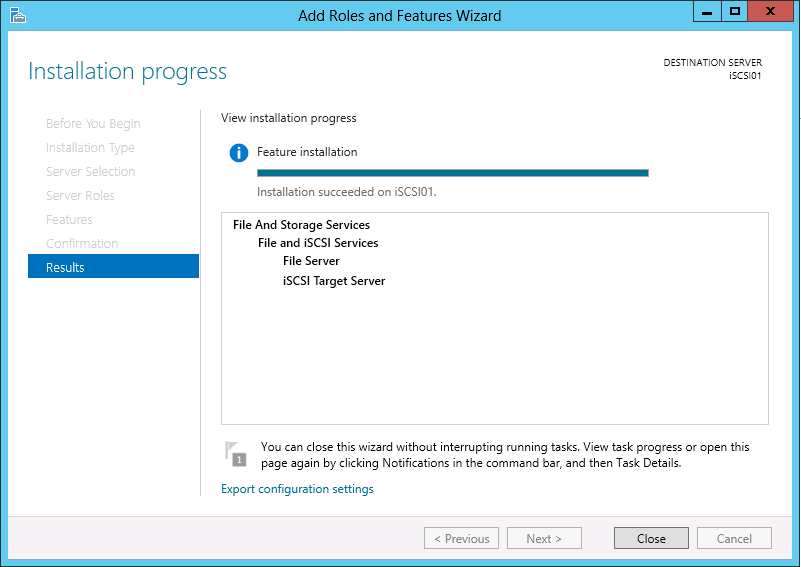
On the Results page verify that the installation was successful (i.e. Installation succeeded on server), then click Close.
This completes the installation.
Enjoy!
You may use the following method to add storage disks, from an iSCSI SAN, to a server running the Microsoft Windows Server 2012 operating system (OS). All of the configuration will be completed from the operating system so this post assumes that the iSCSI initiator service is running and has been properly configured. Additionally, this post assumes that the SAN has been properly configured (volume, iSCSI IQN, LUN masking, etc.).
Begin by right clicking the Start menu and selecting Disk Management.
Next, right click the LUN that was configured on the SAN and select Online.
Next, right click the LUN that was brought Online and select New Simple Volume.

On the Welcome to the New Simple Volume Wizard page click Next >.

On the Specify Volume Size windows specify the size of the volume and click Next >. In this example it is 50 GB.
On the Assign Driver Letter or Path page you may assign a drive letter, use the LUN as an NTFS mounted drive or choose not to any assign any drive letter. In this example I will use the drive letter I.
On the Format Partition page keep the default values and click Next >.
On the Completing the New Simple Volume Wizard page verify the configuration and click Next >.

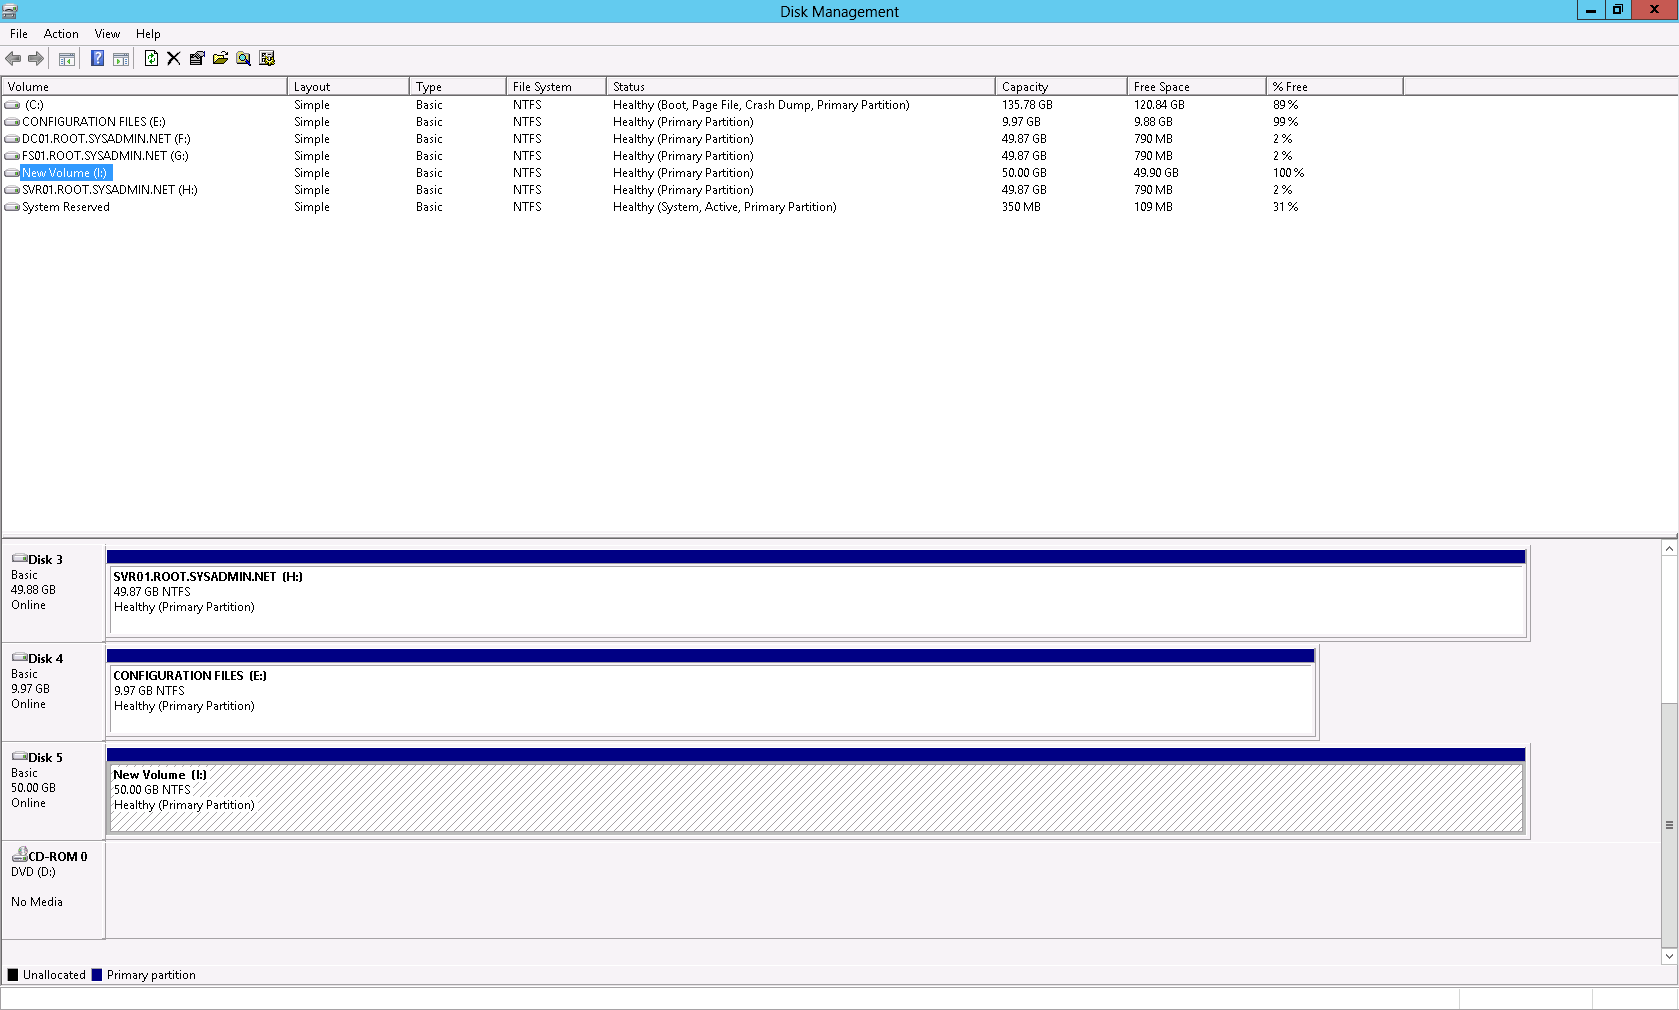
Lastly, on the Disk Management console you may see that the iSCSI disk is now available for use by the Windows Server 2012 operating system.
 Enjoy!