Month: February 2016

VMware ESXi 6.0 – Configuring Network Time Protocol

The following is a step by step guide on configuring Network Time Protocol (NTP) for a VMware ESXi 6.0 host.

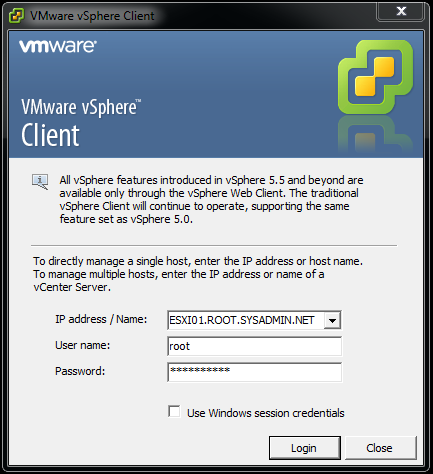
  1. Using the VMware vSphere Client enter the authentication credentials for the root account and click Login.01
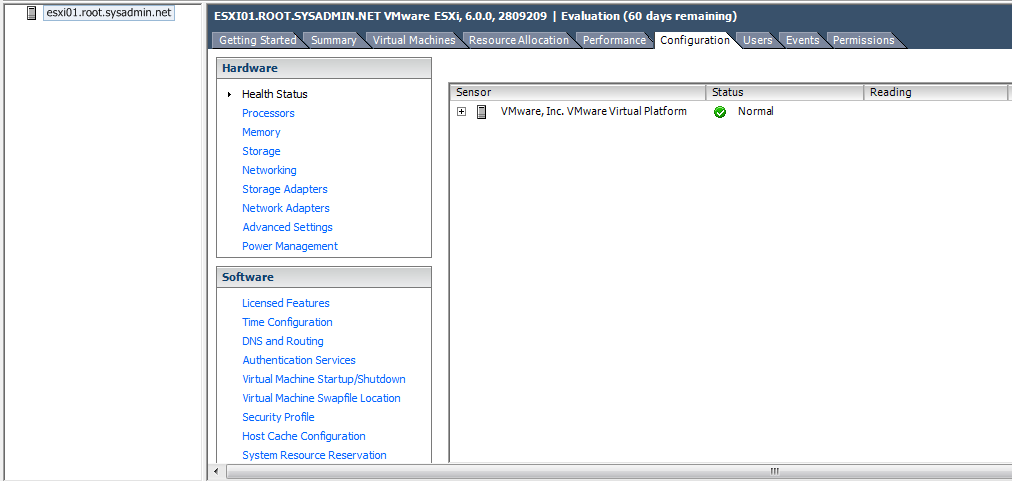
  2. On the graphical user interface (GUI) of the VMware vSphere Client select Configuration.02
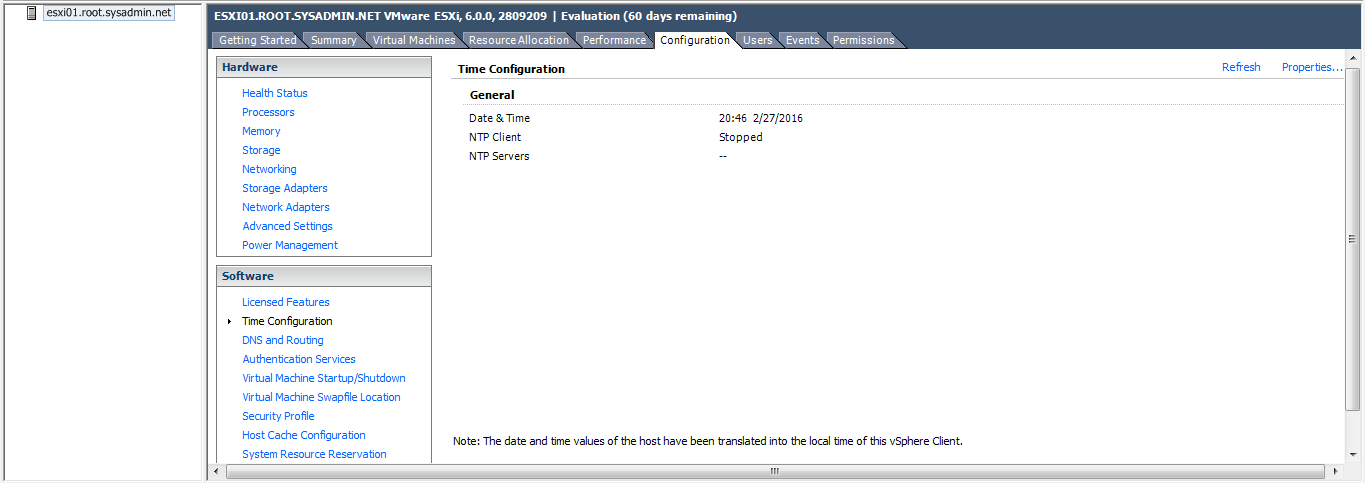
  3. Under the Software Menu select Time Configuration then click Properties.03
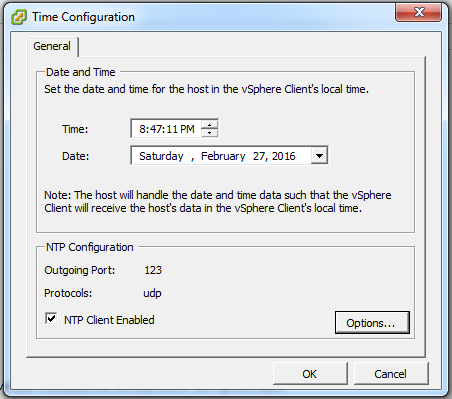
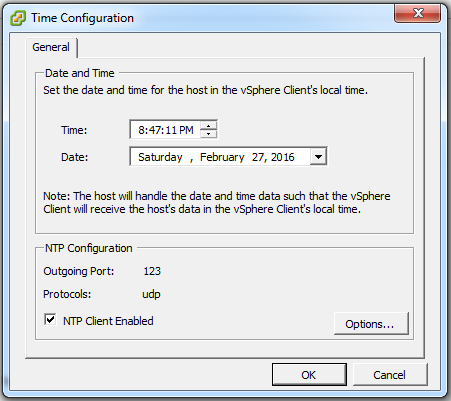
  4. In the Time Configuration dialog box click to check box for the NTP Client Enabled option. Then click Options….08
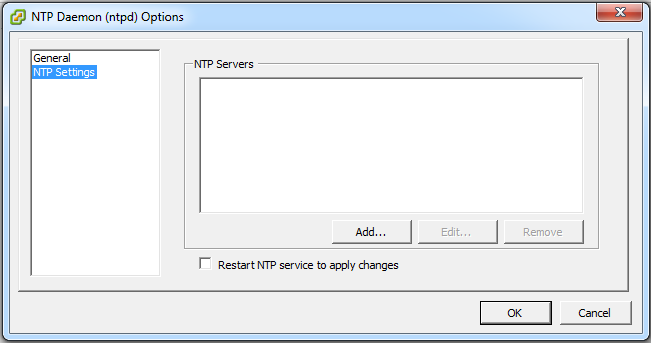
  5. In the NTP Daemon (ntpd) Options dialog box select NTP Settings and click Add….05
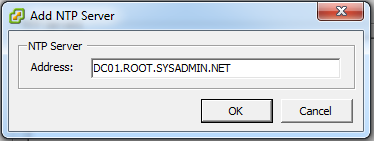
  6. In the Add NTP Server dialog box add the hostname or Internet Protocol (IP) address of an NTP server. Then, click OK.06
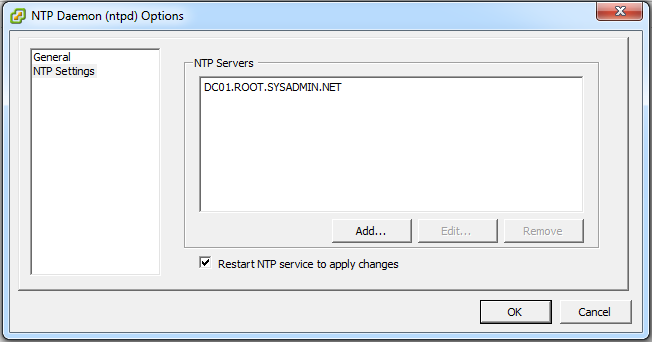
  7. In the NTP Daemon (ntpd) Options dialog box select the check box to Restart NTP service to apply changes. Then click OK.07
  8. In the Time Configuration dialog box click OK.04
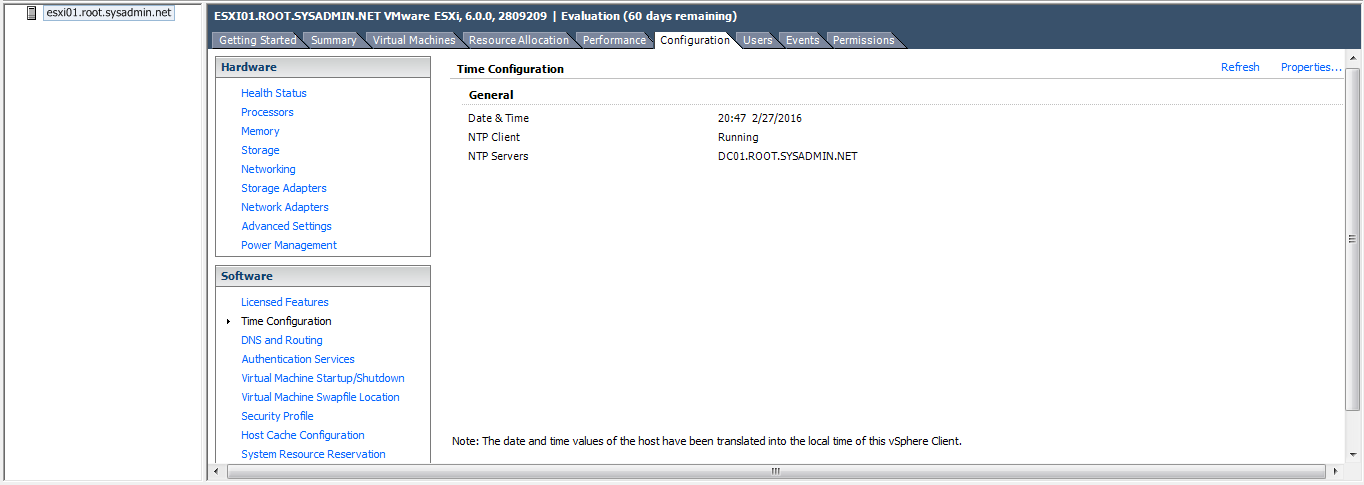
  9. On the GUI of the VMware vSphere Client verify the NTP Client is Running.09

VMware ESXi 6.0 – Configuring Name Resolution

The following is a step by step guide on configuring Domain Name System (DNS) resolution for a VMware ESXi 6.0 host.

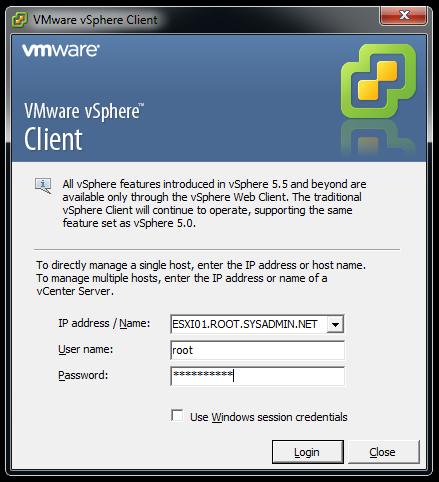
  1. Using the VMware vSphere Client enter the IP address or hostname of the VMware ESXi 6.0 host and enter the authentication credentials for the root user account and click Login.01
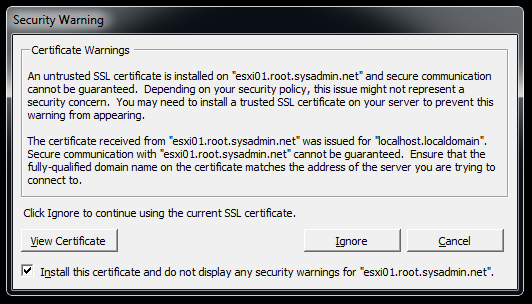
  2. In the Security Warning dialog box select the check box to Install this certificate and do not display any secure warnings for “hostname“ then select Ignore.02
  3. On the graphical user interface (GUI) of the VMware vSphere Client select Configuration > DNS and Routing. Then, select Properties. 04
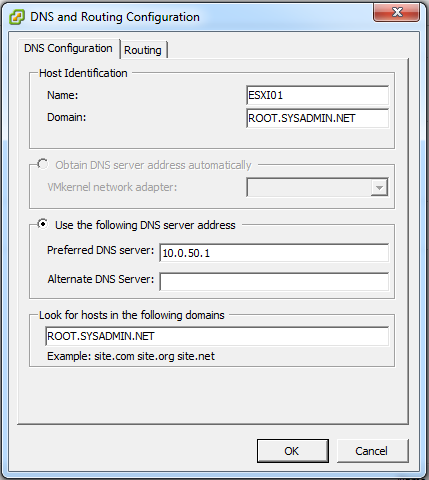
  4. In the DNS and Routing Configuration dialog box enter the Name:, Domain:, Preferred DNS server: and domain name then click OK. 05
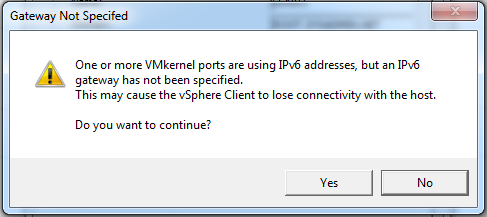
  5. In the Gateway Not Specified dialog box click Yes. 06
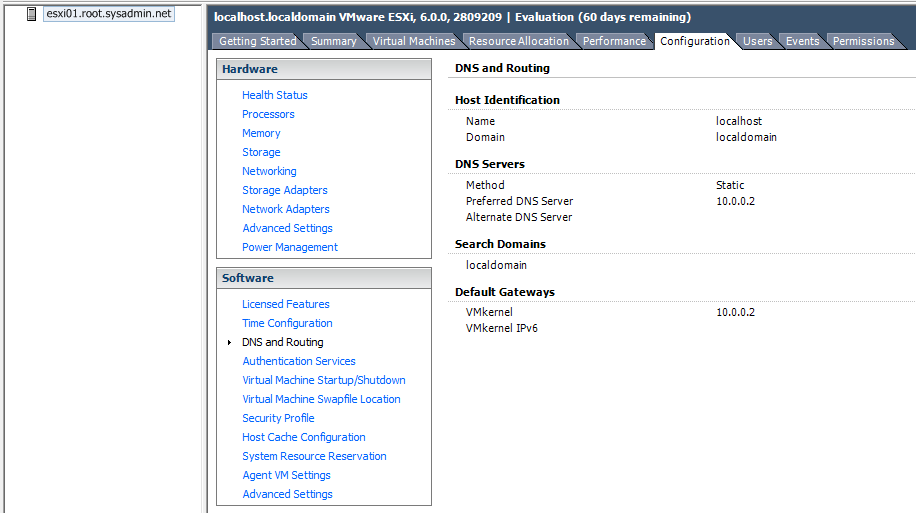
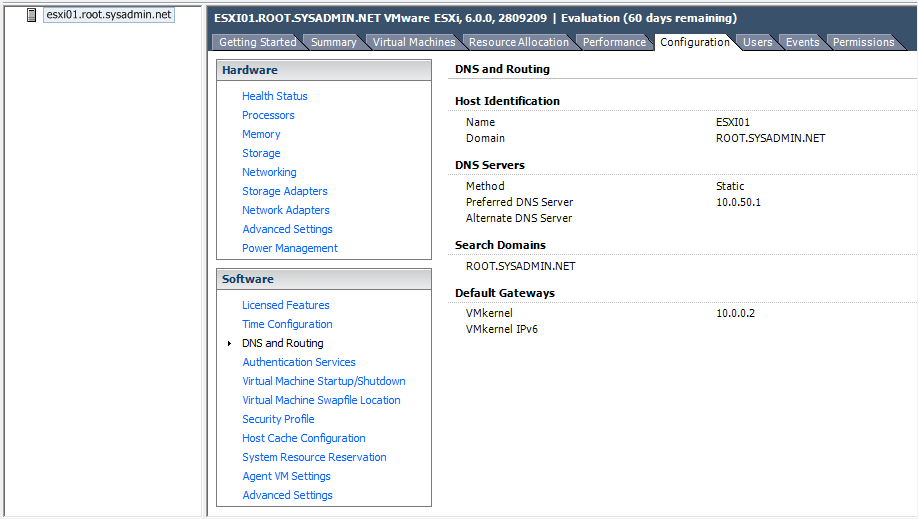
  6. On the GUI of the VMware vSphere Client verify that the DNS configuration is correct.07

VMware ESXi 6.0 – Configure the ESXi Management Network

The following is a step by step guide for configure the ESXi Management Network for a VMware ESXi 6.0 host.

  1. On the Direct Console User Interface (DCUI) press F2.10
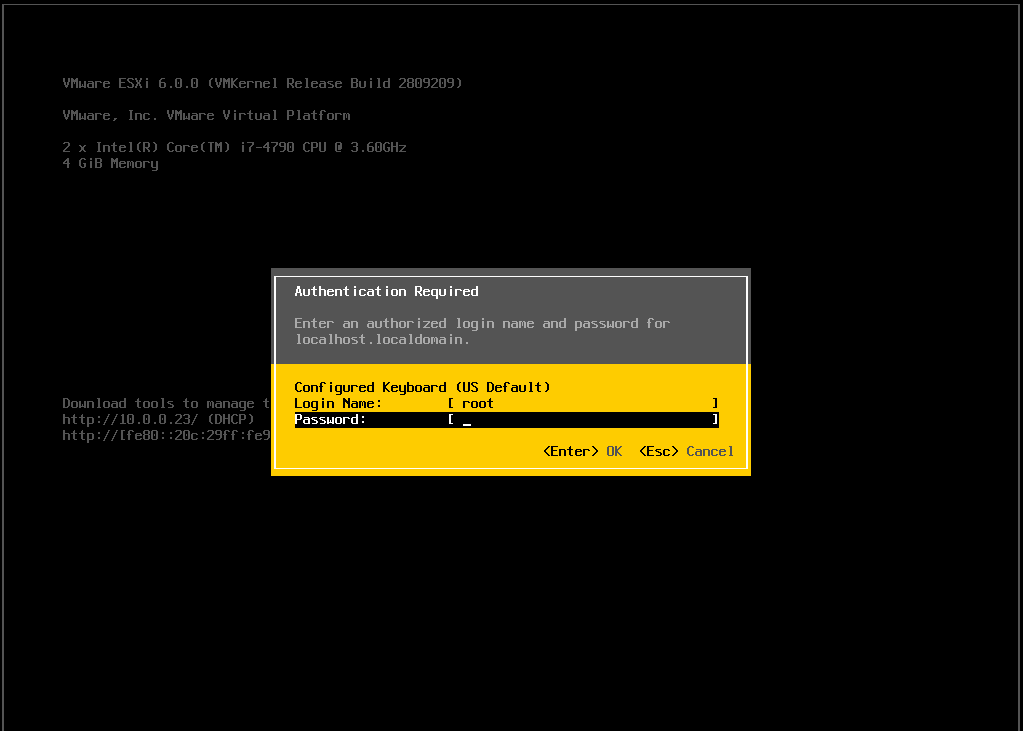
  2. In the Authentication Required dialog box enter the root user password and press Enter. 01
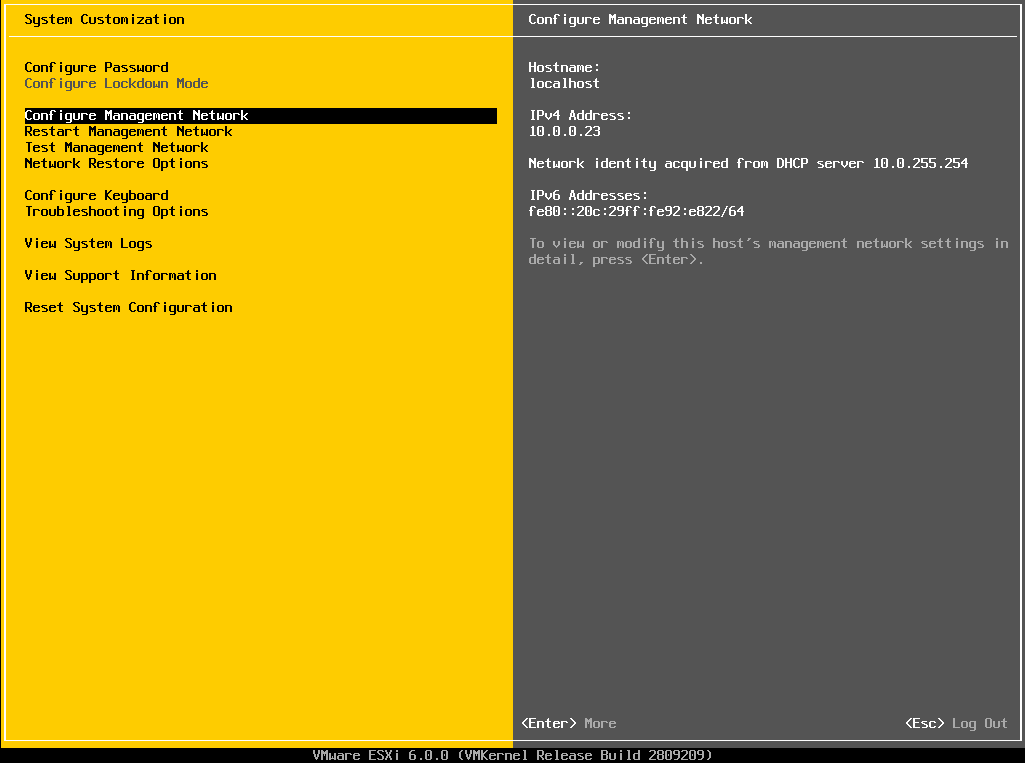
  3. Select Configure Management Network and press Enter. 02
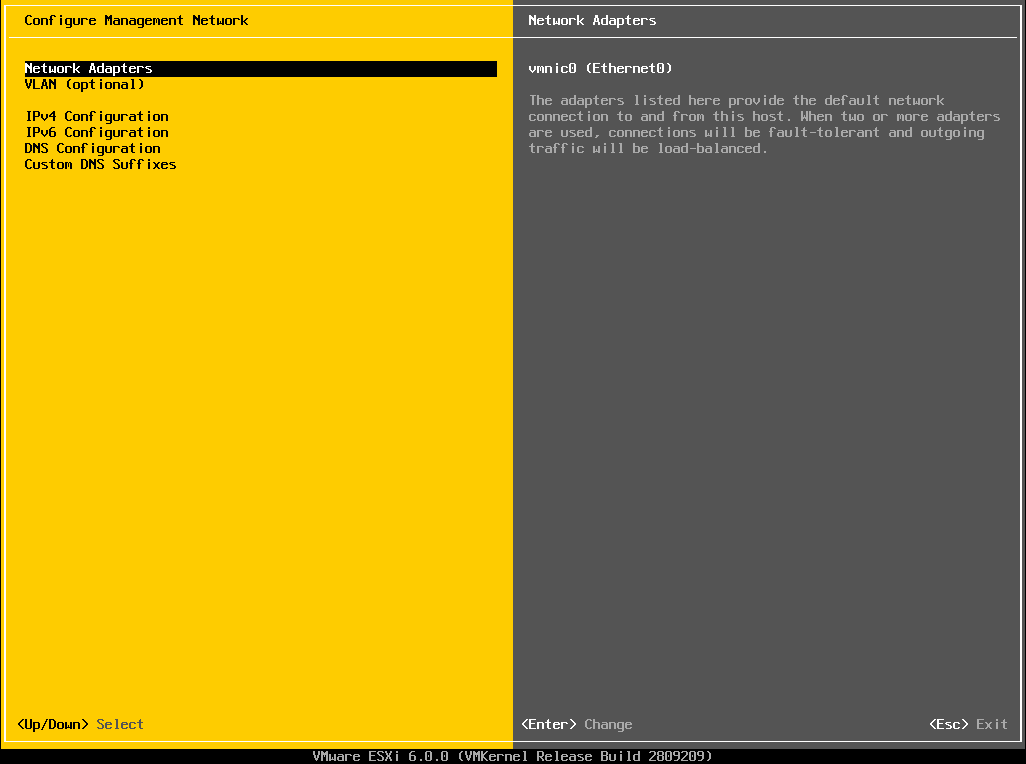
  4. Select Network Adapters and press Enter. 03
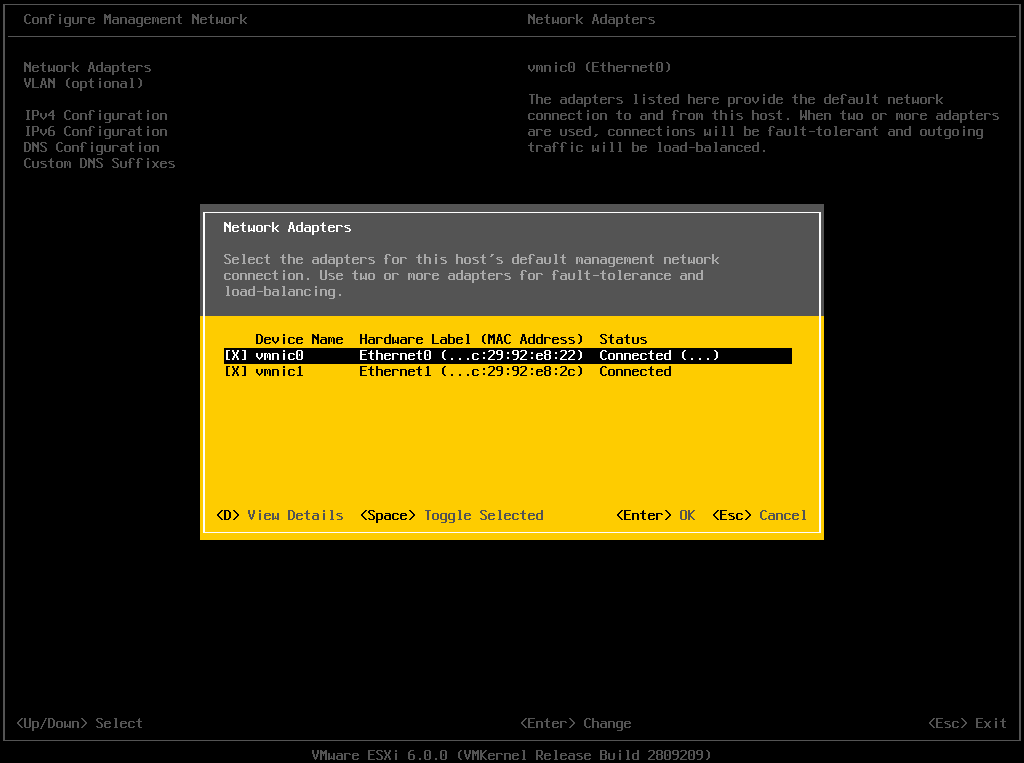
  5. On the Network Adapters dialog box select vmnic0 and vmnic1 for a fault tolerant management network. 04
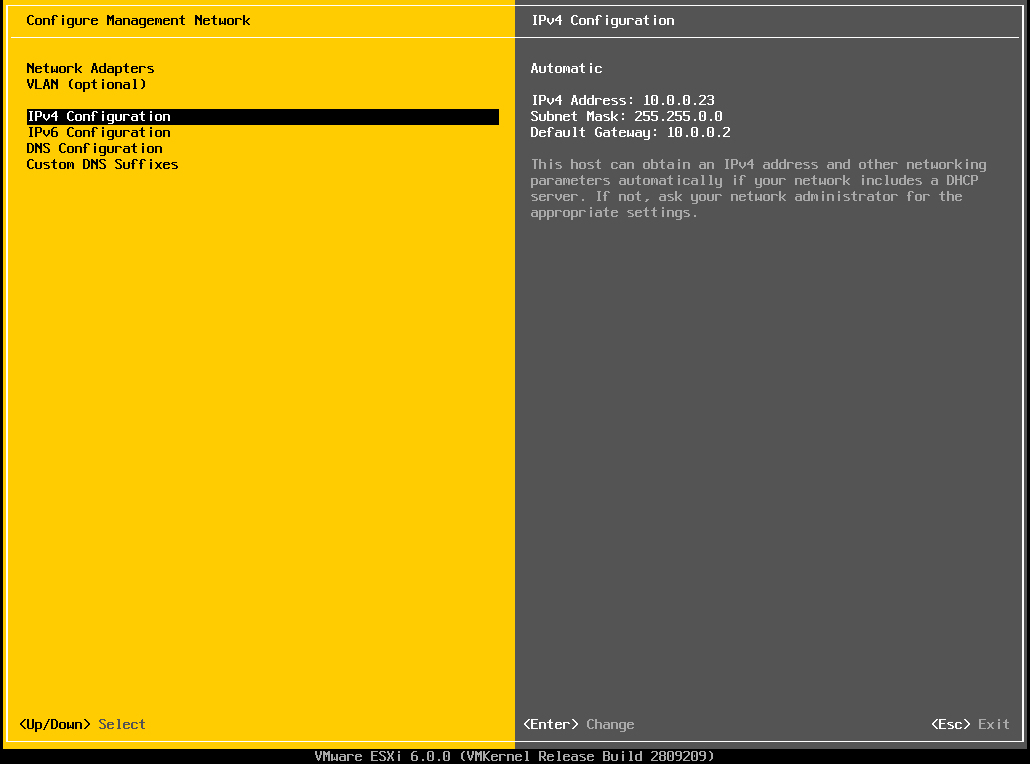
  6. Select IPv4 Configuration and press Enter. 05
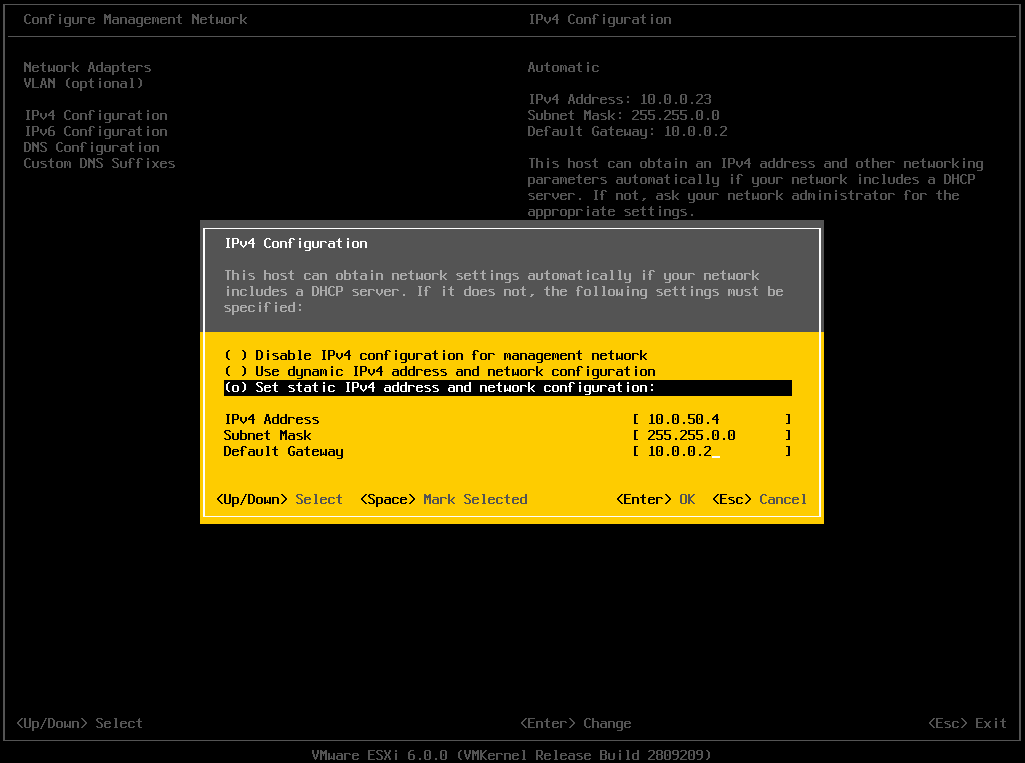
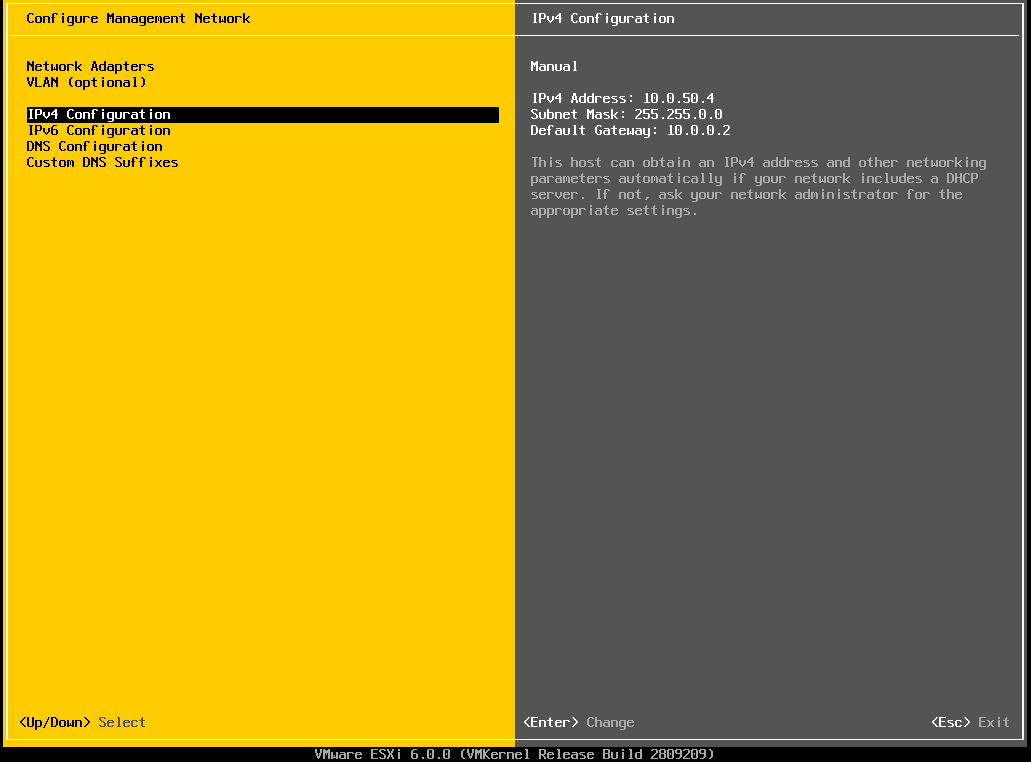
  7.  Select Set static IPv4 address and network configuration: and enter the IP address, subnet mask and default gateway of the host and press Enter. 06
  8. On the Configure Management Network page press Esc. 07
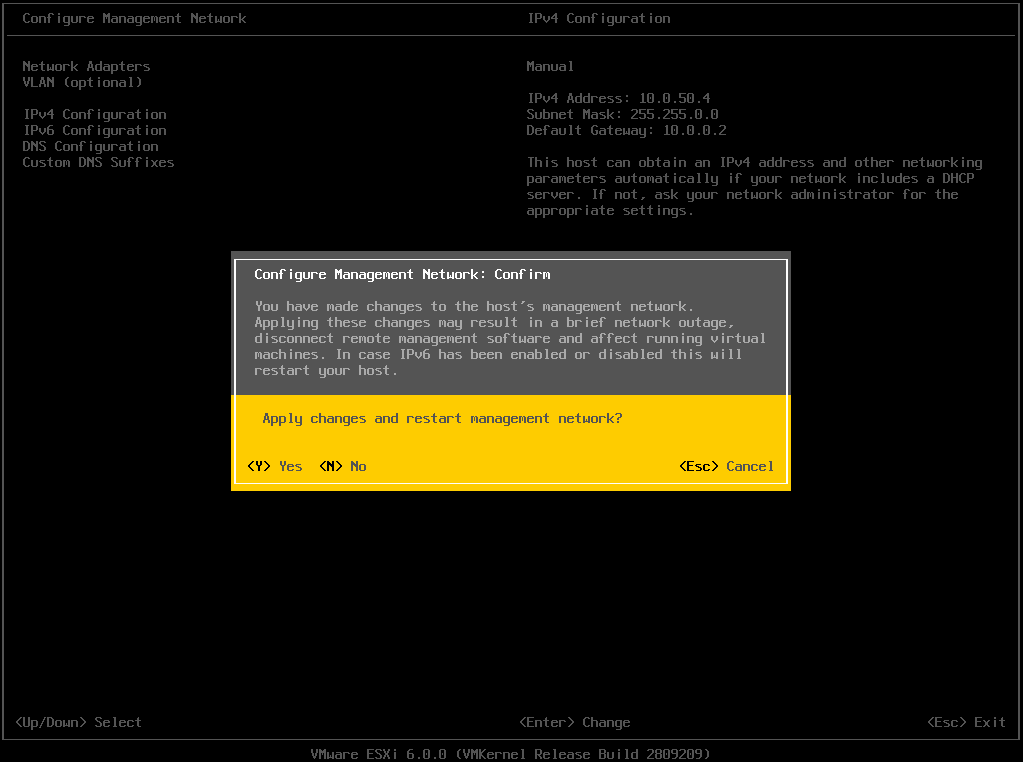
  9. On the Configure Management Network: Confirm dialog box press Y. 08
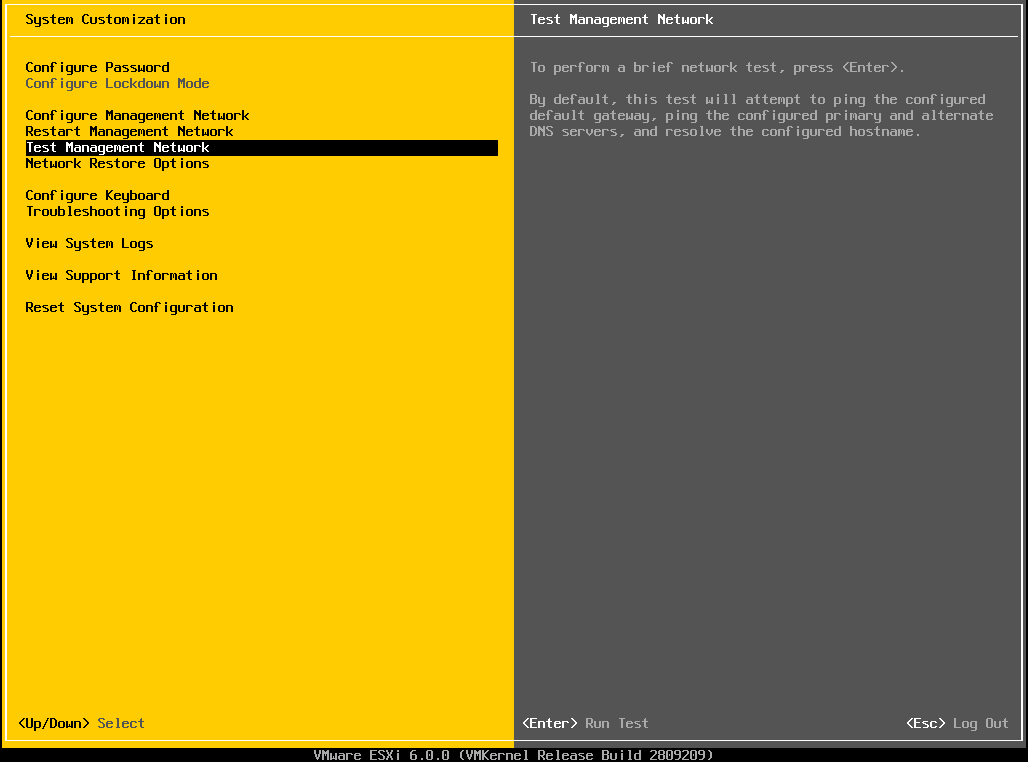
  10. Select Test Management Network and press Enter. 12
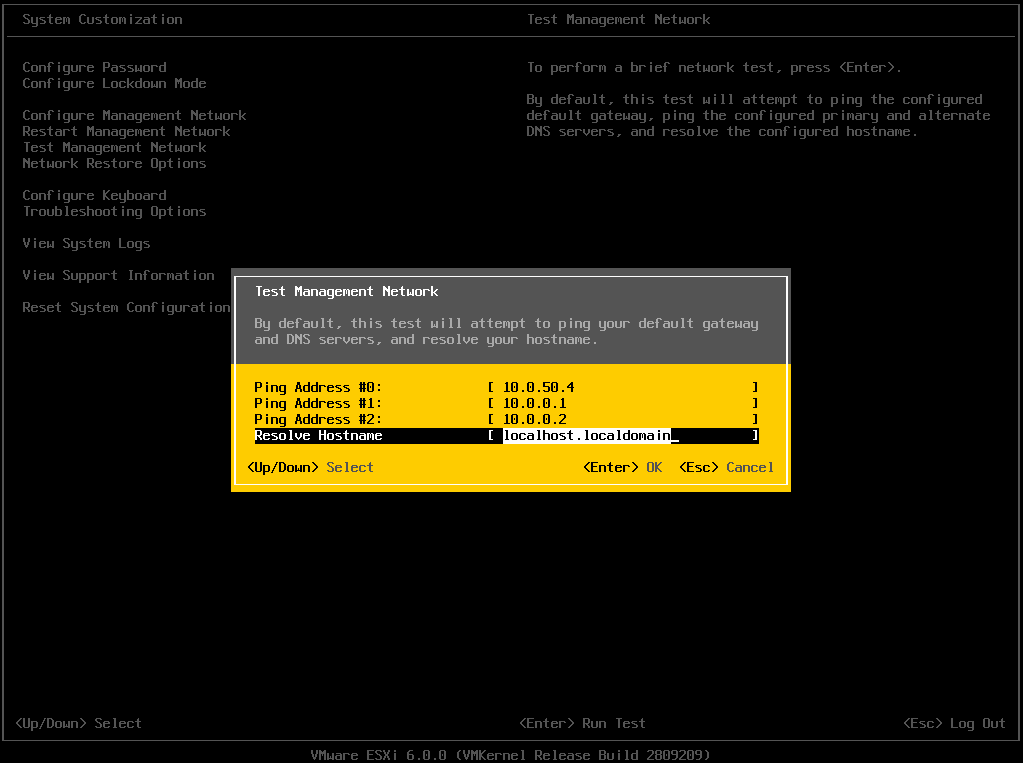
  11. On the Test Management Network dialog box enter the appropriate IP addresses and local hostname. Then, press Enter. 10
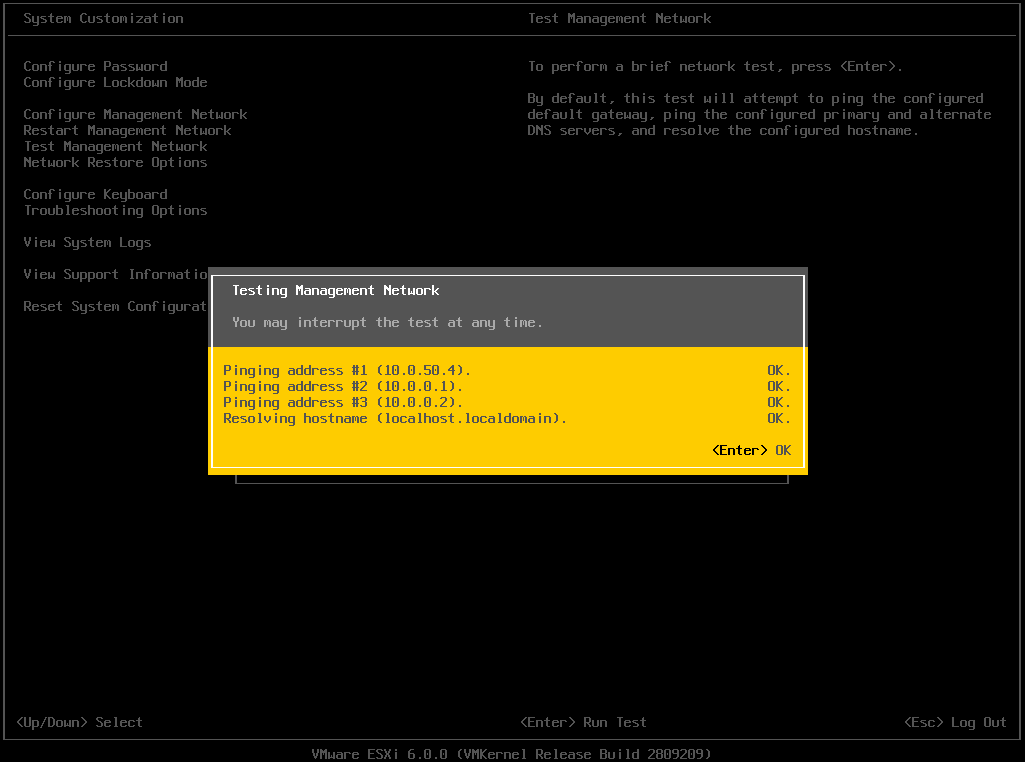
  12. On the Test Management Network dialog box verify that all tests have passed (i.e. OK.). 11
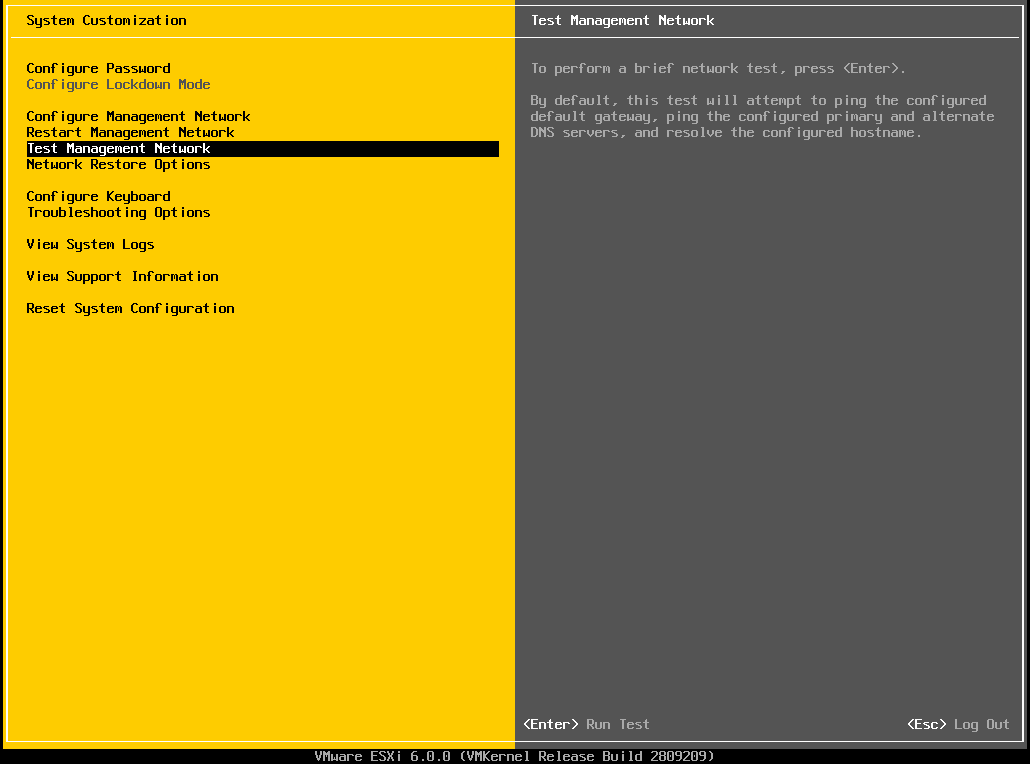
  13. On the System Customization page press Esc to Log Out. 09
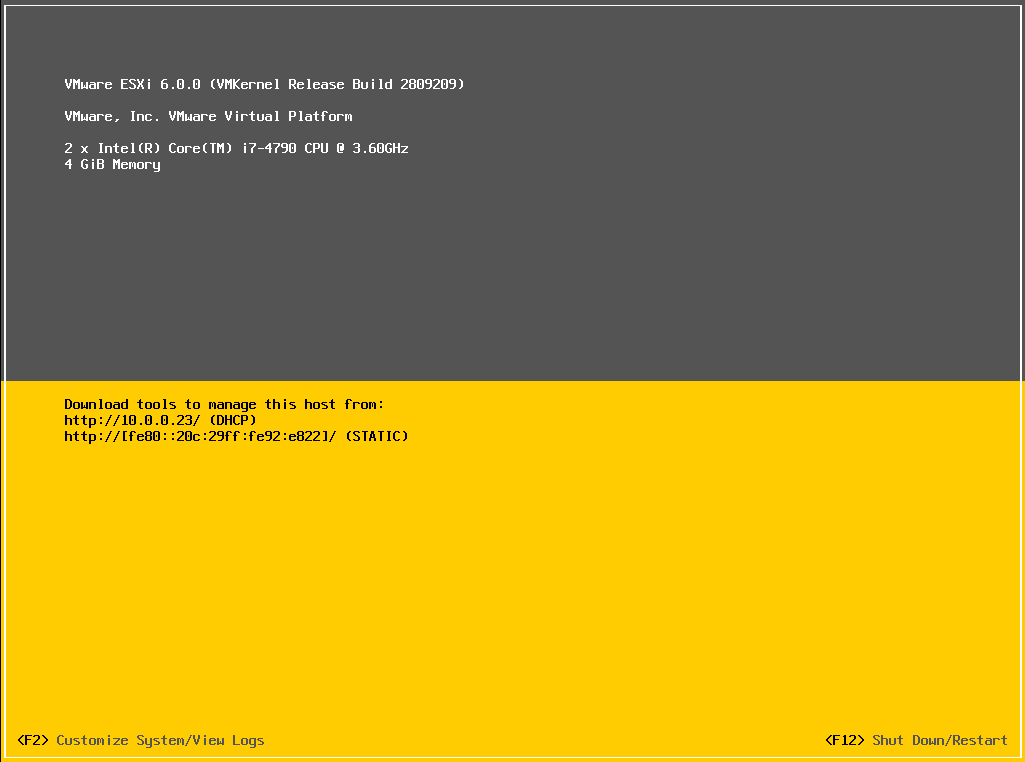
  14. Verify the DCUI is displaying the correct IP address. 13

VMware ESXi 6.0 – Interactive Installation

You may use the following method to perform an interactive installation of  VMware ESXi 6.0.

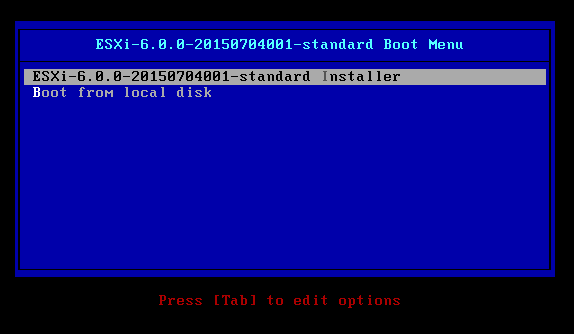
  1. On the ESXi-6.0.0-20150704001-standard Boot Menu page select ESXi-6.0.0-20150704001-standard installer and press Enter.

01

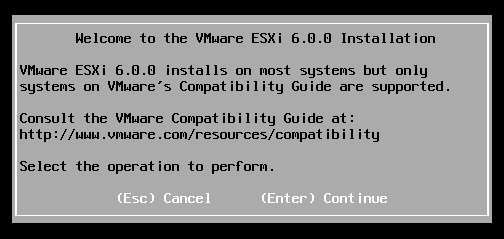
2. On the Welcome to the VMware ESXi 6.0.0 Installation page press Enter to continue.

02

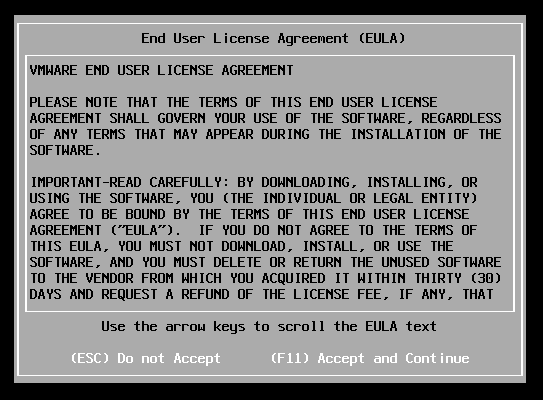
3. On the End User License Agreement (EULA) page press F11 to Accept and Continue.

03

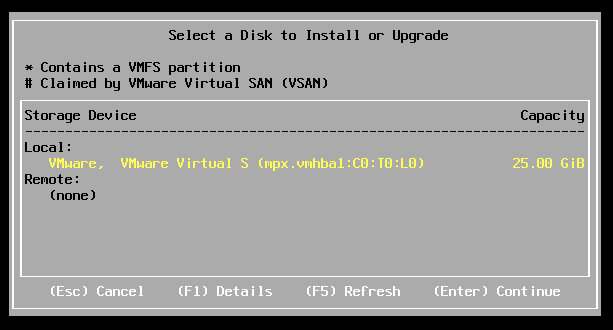
4. On the Select a Disk to Install or Upgrade page select the appropriate storage device and press Enter to Continue.

04

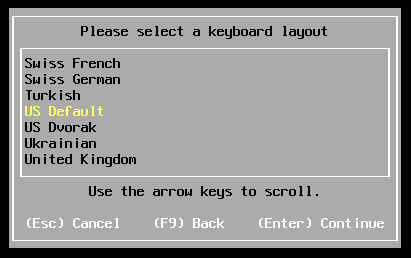
5. On the Please Select a Keyboard Layout page select US Default and press Enter to Continue.

05

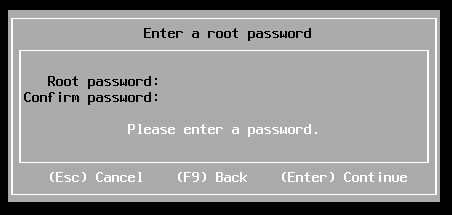
6. On the Enter a root password page enter the appropriate password and press Enter to Continue.

06

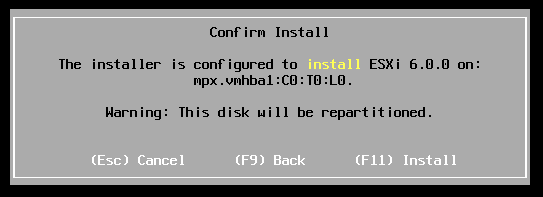
7. On the Confirm Install page press F11 to Continue.

07

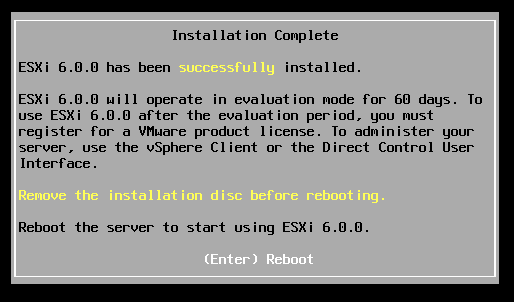
8. On the Installation Complete page press Enter to Reboot.

09

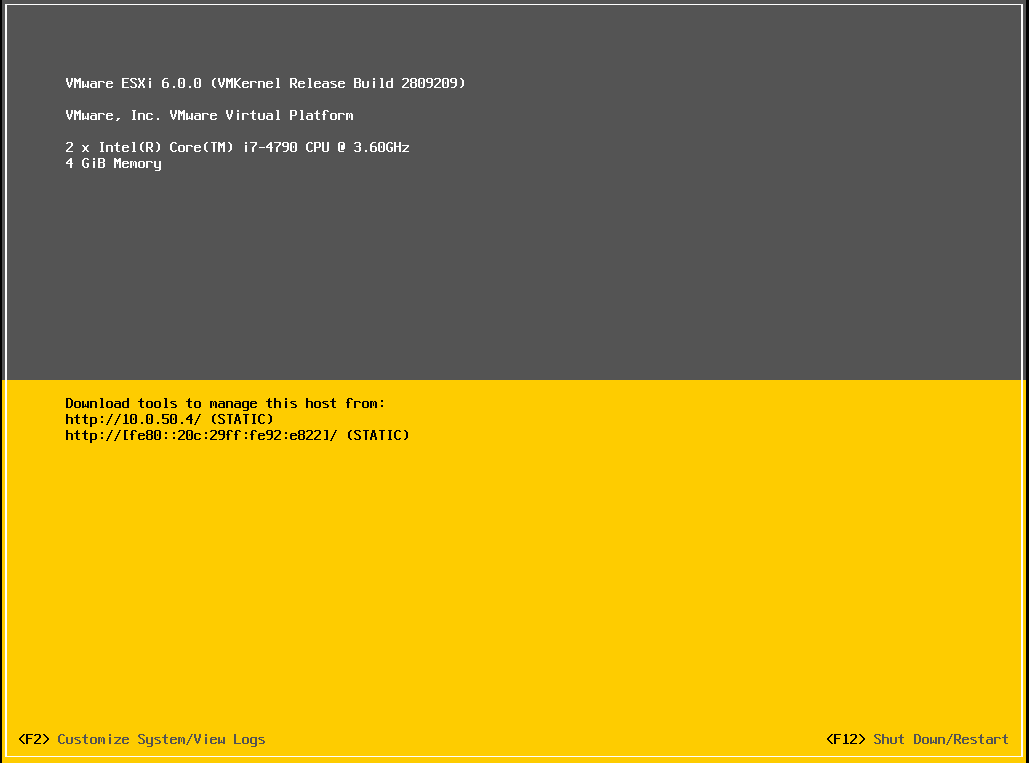
9. After the reboot you will be directed to the VMware ESXi 6.0 Direct Console User Interface (DCUI).

10


Microsoft Exchange Server 2007 – External E-Mails to an Internal Distribution Group

In order to send emails to a Microsoft Exchange Server 2007 distribution group from an external user uncheck the following setting in the properties of the distribution group.

Mail Flow Settings > Message Delivery Restrictions > Require that all senders are authenticated

Enjoy!


Microsoft Windows Server 2012 R2 – Resynchronize Network Time Protocol Client

You may use the following Windows PowerShell command to resynchronize the Network Time Protocol (NTP) client, in Microsoft Windows Server 2012 R2, with it’s NTP server.

w32tm /resync /nowait

Enjoy!


Microsoft Windows Server 2012 R2 – Configure Network Time Protocol

You may use the following commands, run as an administrator in Windows PowerShell, to configure the Network Time Protocol (NTP) settings for Microsoft Windows Server 2012 R2. In this example, the NTP server to be configured is pool.ntp.org, which is a round-robin of NTP server.

w32tm /config /manualpeerlist:pool.ntp.org /syncfromflags:MANUAL
Stop-Service w32time
Start-Service w32tim

Enjoy!


Microsoft Windows Server 2012 R2 – Query Network Time Protocol Configuration

You may use the following (2) commands to view the Network Time Protocol (NTP) settings for Microsoft Windows Server 2012 R.

  1. w32tm /query /peers
  2. w32tm /query /source

Enjoy!