The following is a step by step guide for installing the vSphere Update Manager Client.
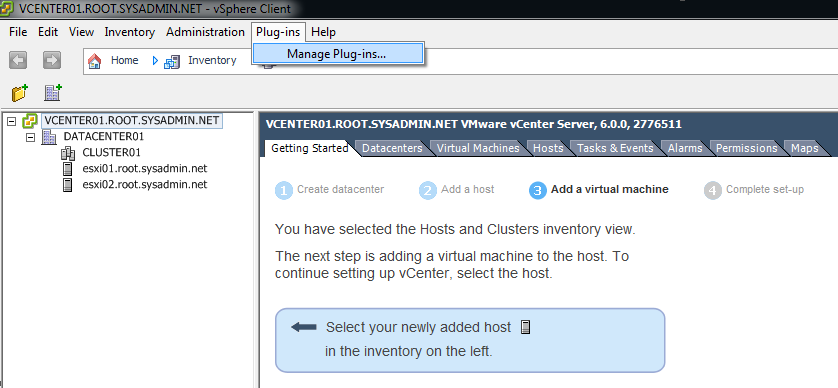
- On the vSphere Client navigate to Plug-ins > Manage Plug-ins….
- On the Plug-in Manager dialog box click the blue Download and Install link to install the VMware vSphere Update Manager Extension.

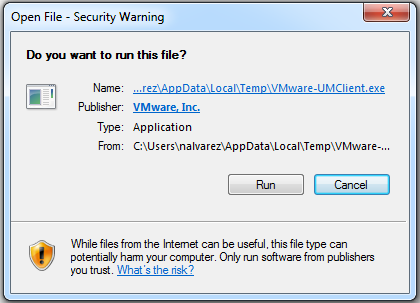
- On the Open File – Security Warning dialog box click Run.
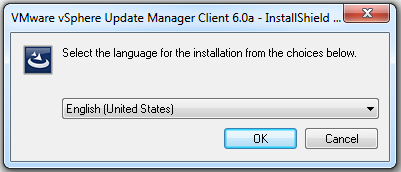
- On the VMware vSphere Update Manager Client 6.0a – InstallShield … dialog box click OK.
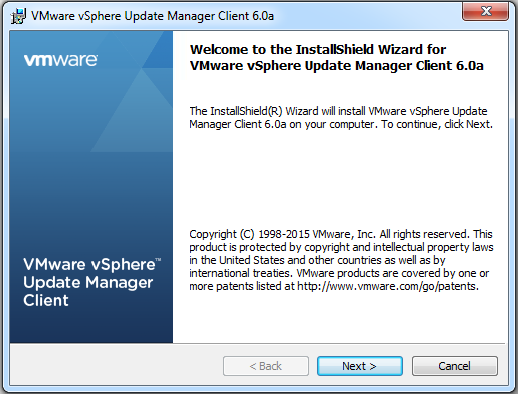
- On the VMware vSphere Update Manager Client 6.0a dialog box click Next >.
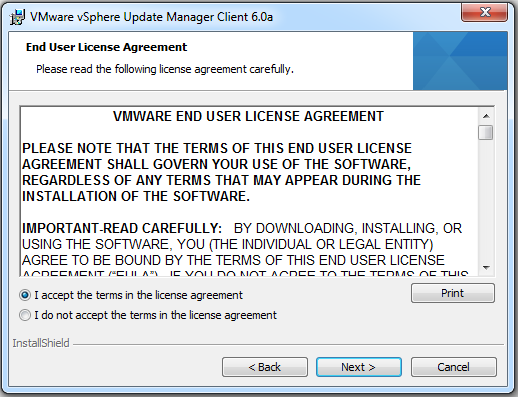
- On the End User License Agreement dialog box select the check box for I accept the terms in the license agreement and click Next >.
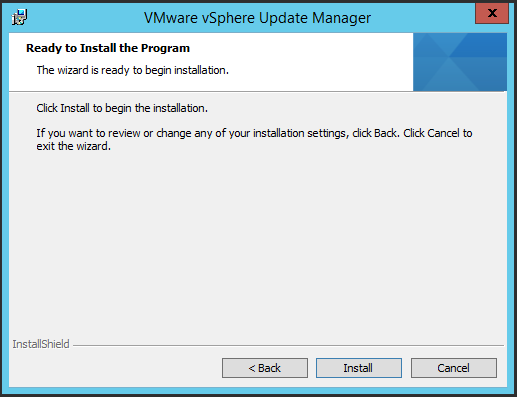
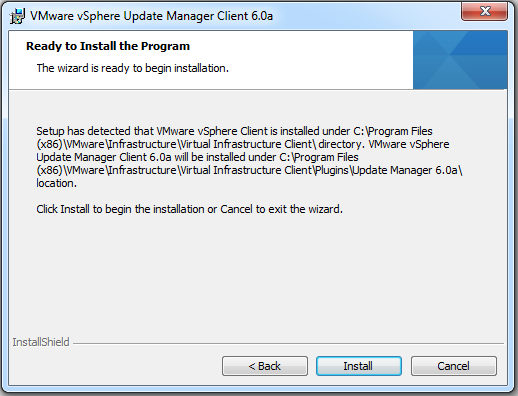
- On the Read to Install the Program dialog box click Install.
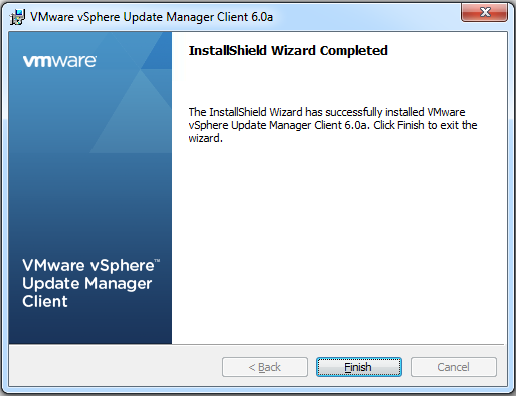
- On the InstallShield Wizard Completed dialog box click Finish.
- On the Plug-in Manager dialog box verify the VMware vSphere Update Manager Extension is Enabled.