The following is a step by step guide for installing vSphere Update Manager (VUM) 6.0.
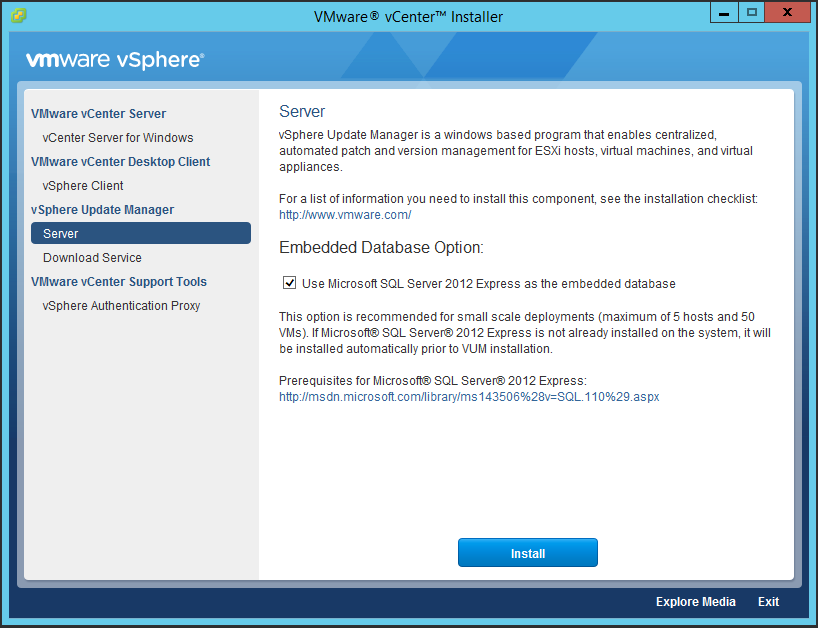
- On the VMware vCenter Installer dialog box select Server under the vSphere Update Manager section and click Install. Additionally, this is a lab environment so Microsoft SQL Server 2012 Express will be utilized.
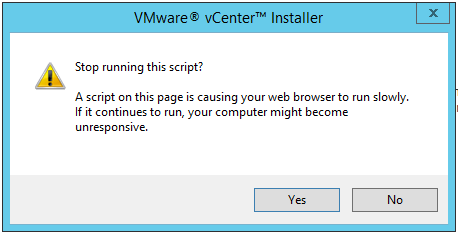
- On the VMware vCenter Installer dialog box click No.
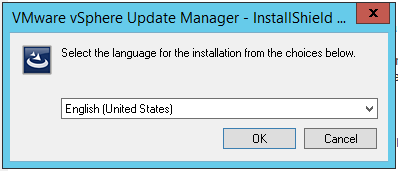
- On the VMware vSphere Update Manager – InstallShield … dialog box select a language and click OK.
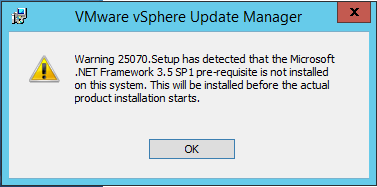
- On the VMware vSphere Update Manager dialog box click OK.
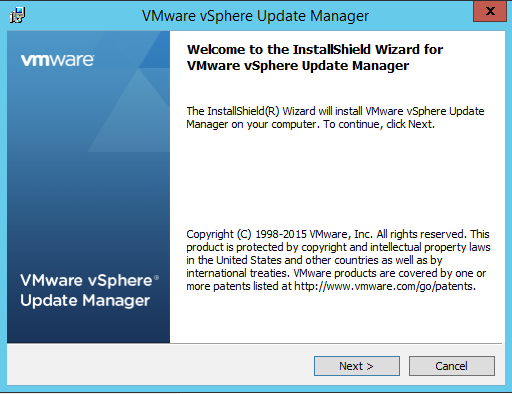
- On the Welcome to the InstallShield Wizard for VMware vSphere Update Manager dialog box click Next >.
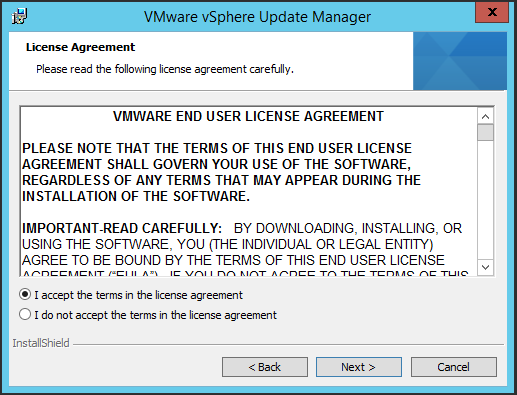
- On the License Agreement dialog box select the check box for the option that states I accept the terms in the license agreement and click Next >.
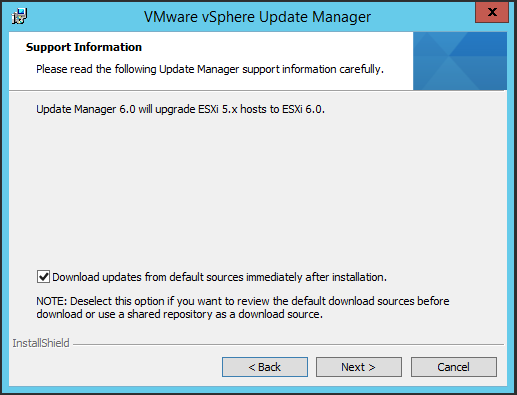
- On the Support Information dialog box accept the default settings and click Next >.
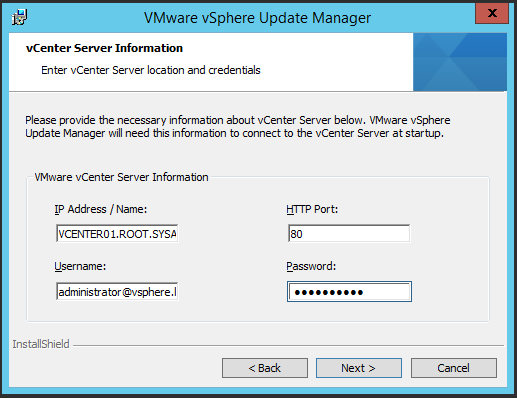
- On the vCenter Server Information dialog box enter the information for an instance of vCenter Server and click Next >.
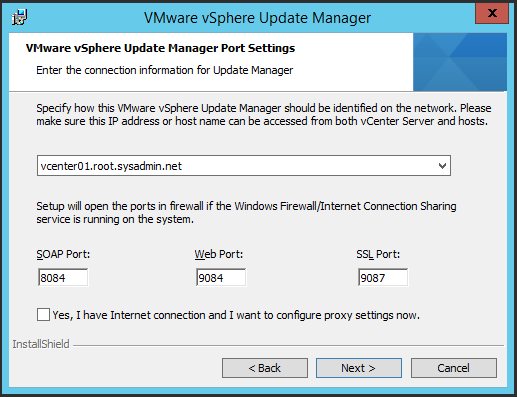
- On the VMware vSphere Update Manager Port Settings dialog box select the hostname or Internet Protocol (IP) address from the drop down box and click Next >.
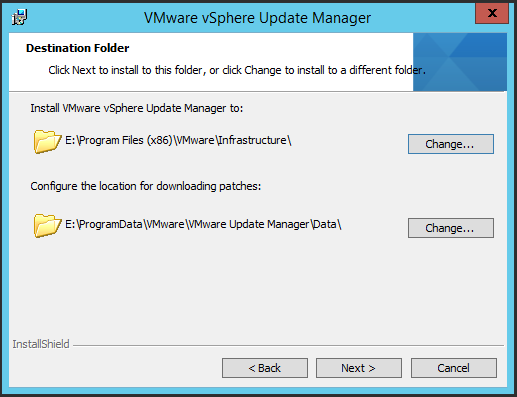
- On the Destination Folder dialog box change the drive letters to E: and click Next >.
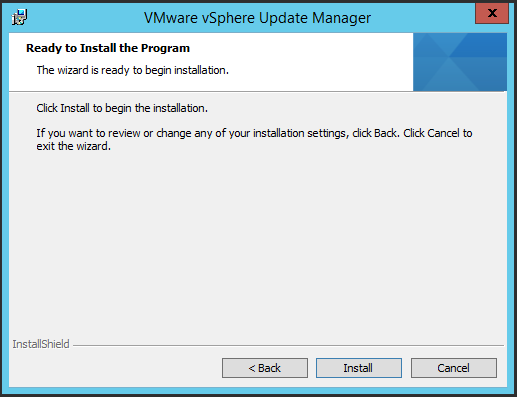
- On the Ready to Install the Program dialog box click Install.
- On the InstallShield Wizard Completed dialog box click Finish.
