You may use the following method to configure the iSCSI Initiator in Windows Server 2012 R2.
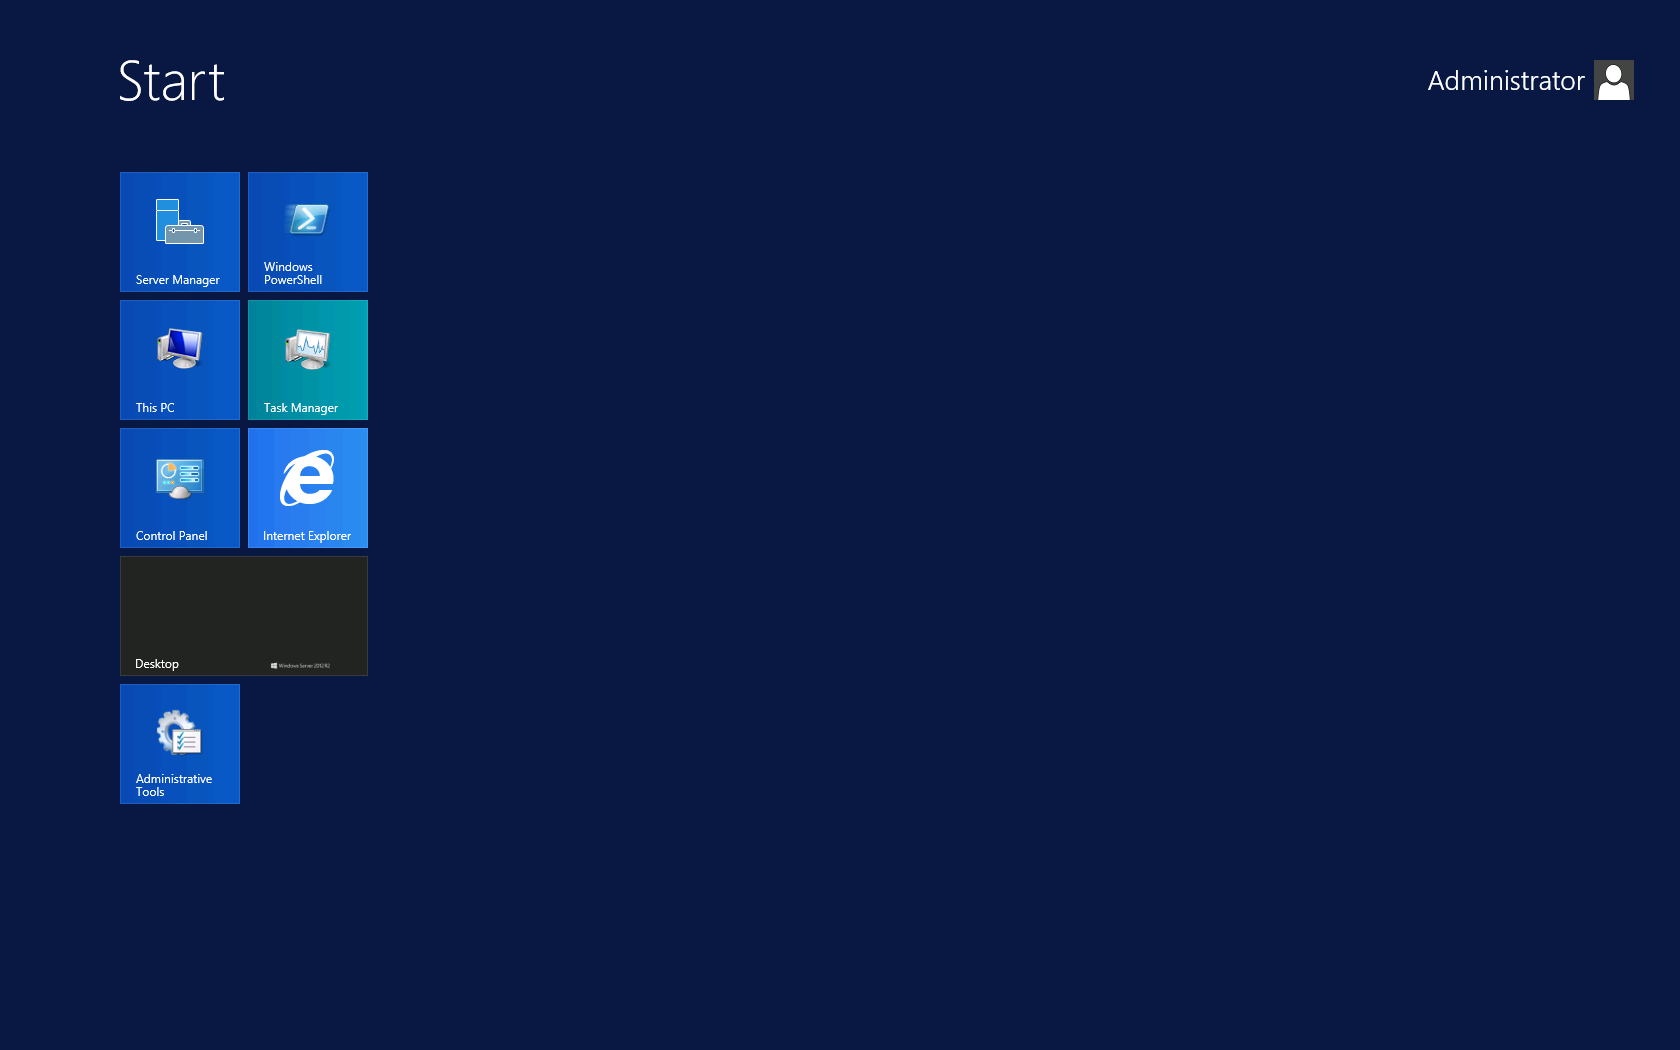
1. Click Start then select Administrative Tools.
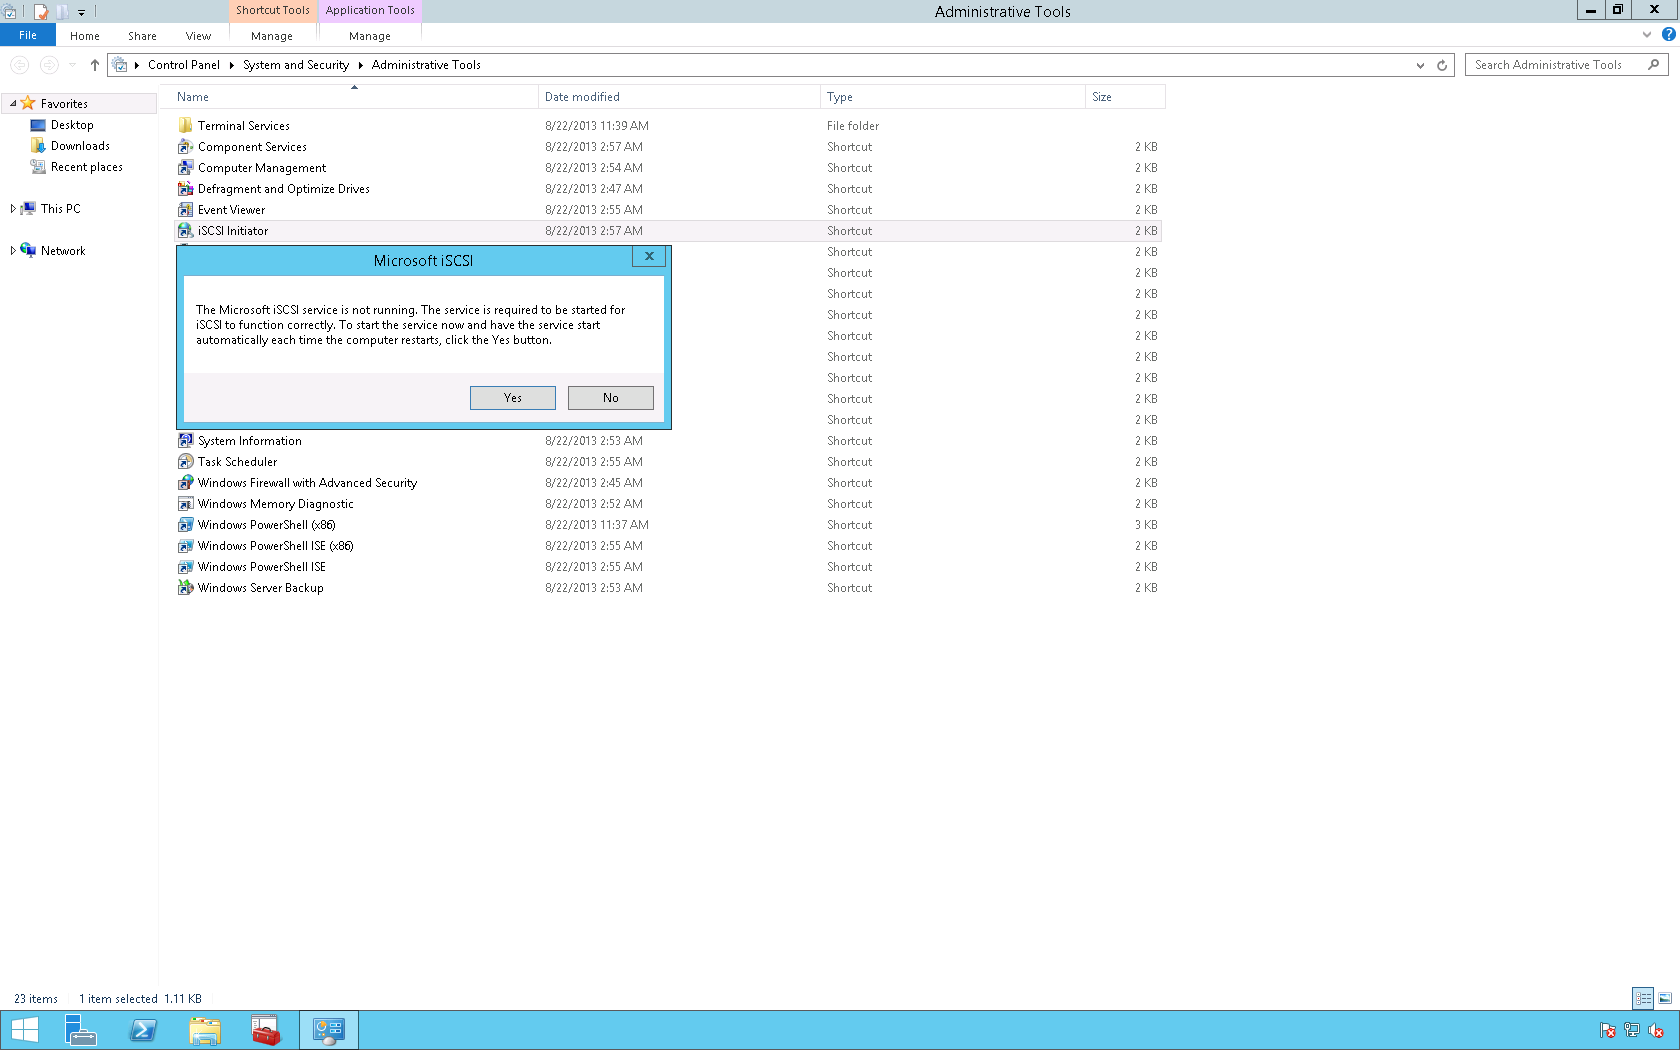
2. Double click the iSCSI Initiator icon and in the Microsoft iSCSI dialog box click Yes.
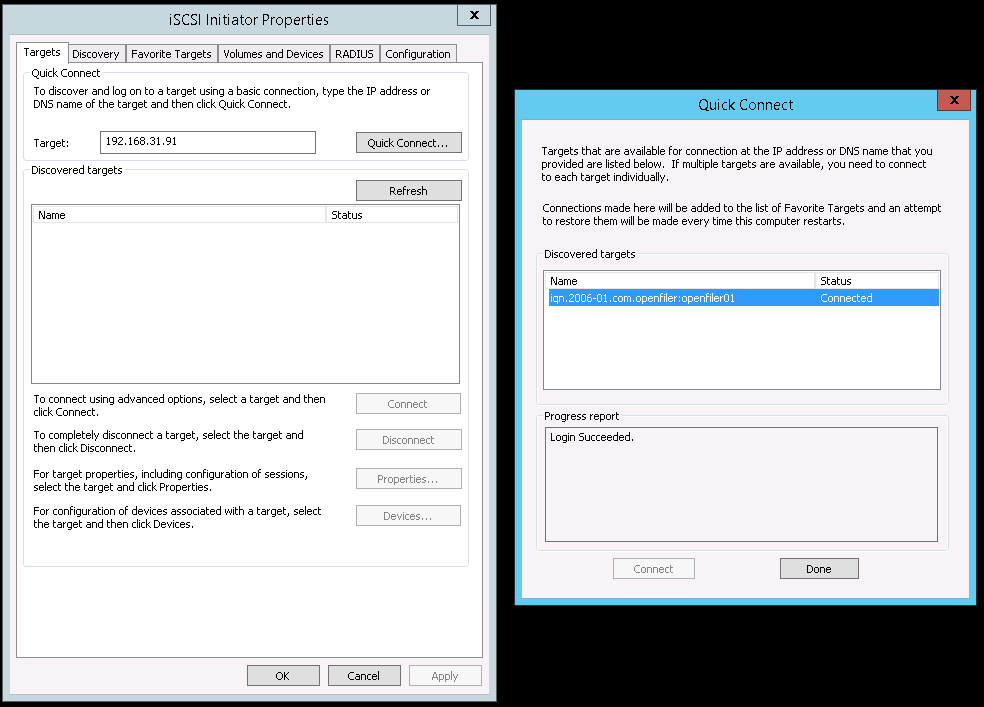
3. On the Targets tab type the Internet Protocol (IP) address of the iSCSI Target (in this example it is 192.168.31.91) in the Quick Connect box then click Quick Connect. In the Quick Connect dialog box verify that the Status says Connected and that the Progress report says Login Succeeded. Then, click Done.
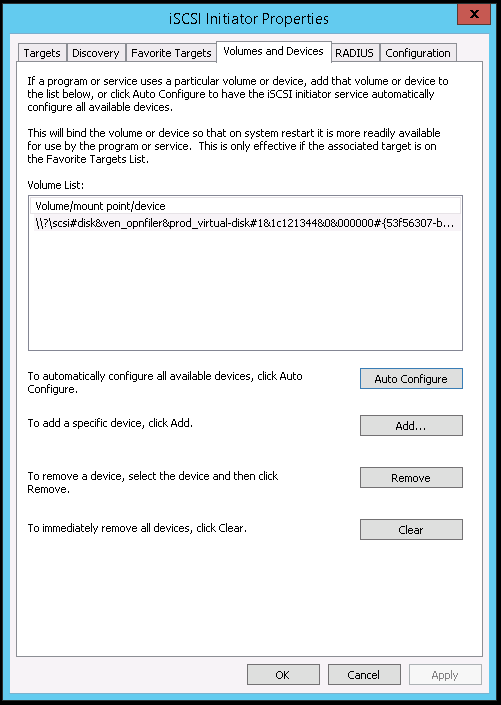
4. On the Volumes and Devices tab click Auto Configure then click OK.
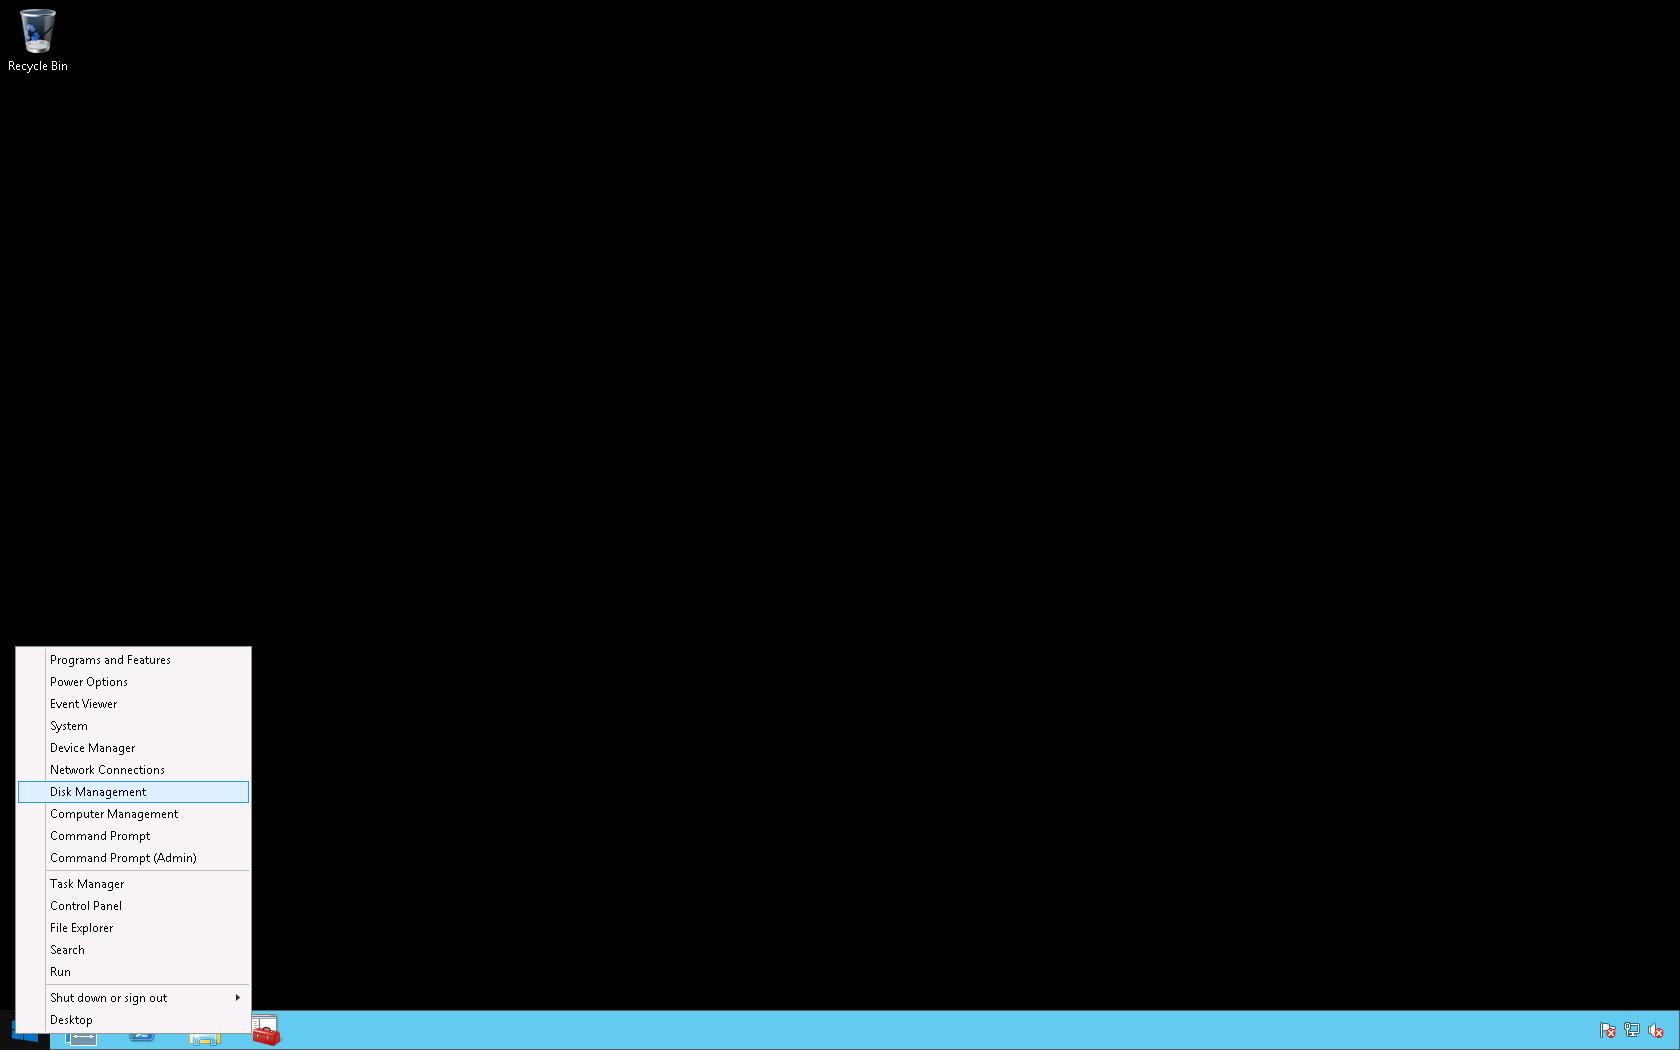
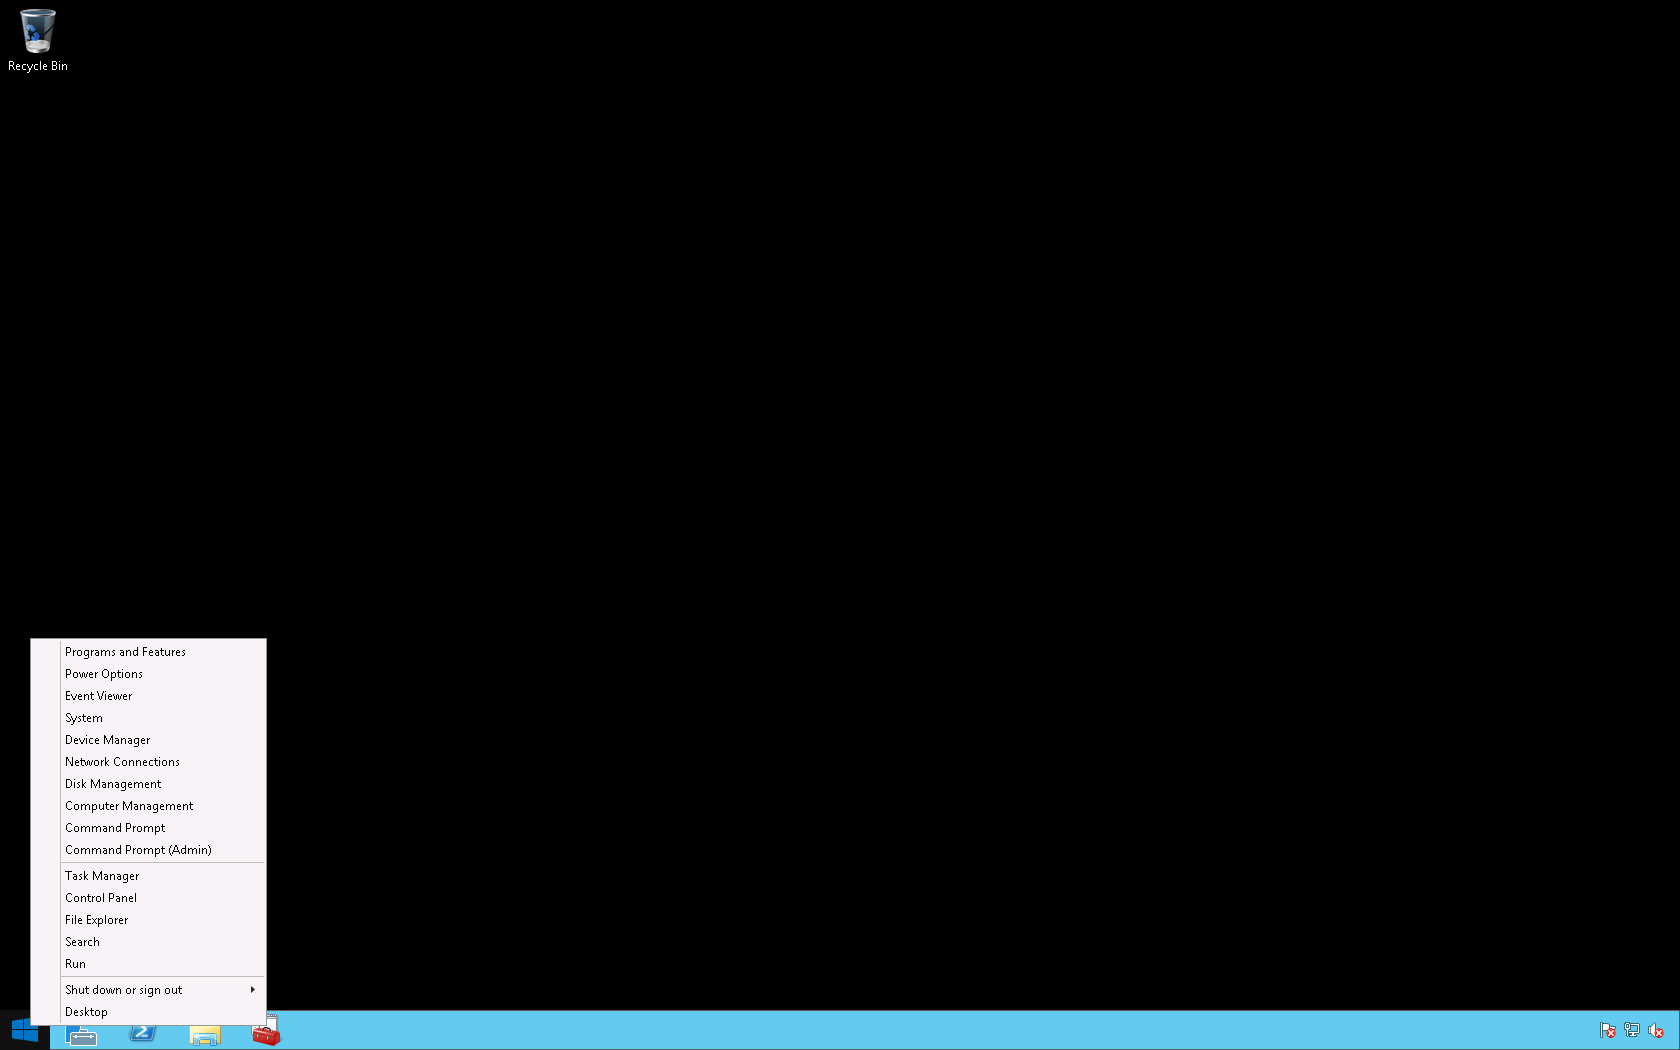
5. On the desktop right click the Windows icon and select Disk Management.
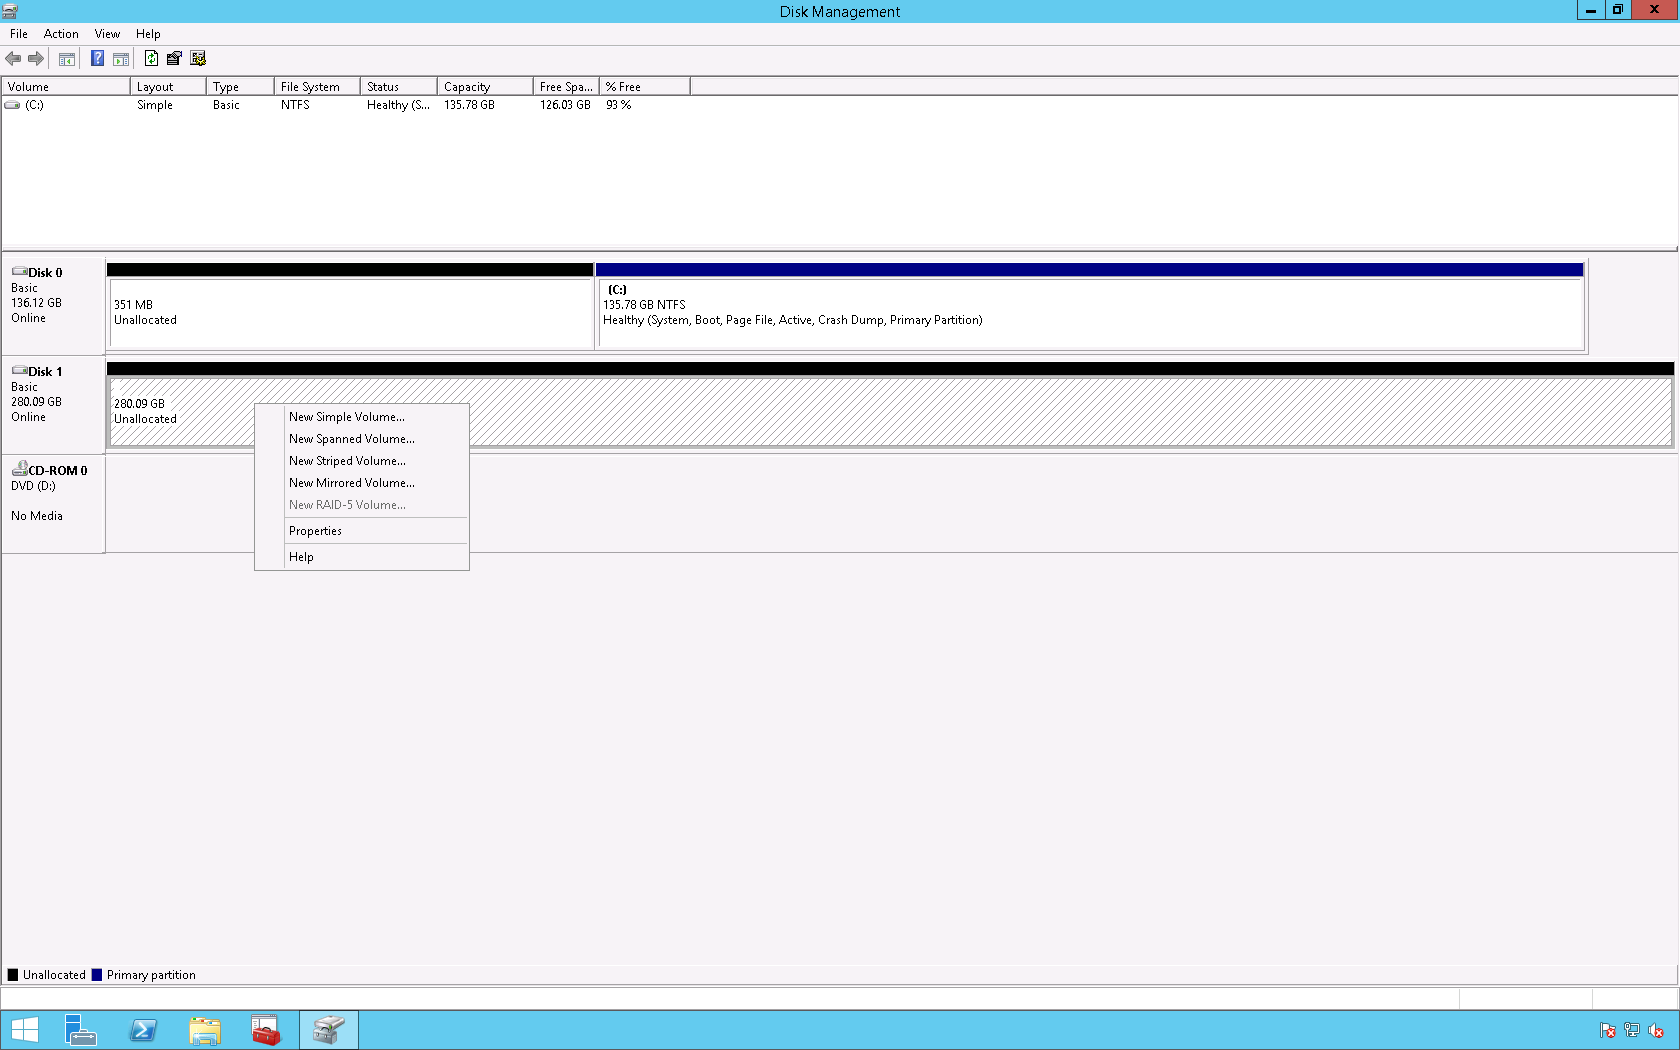
6. In the Disk Management console right click the Logical Unit Number (LUN) and click Online.

7. Right click the LUN and select New Simple Volume.
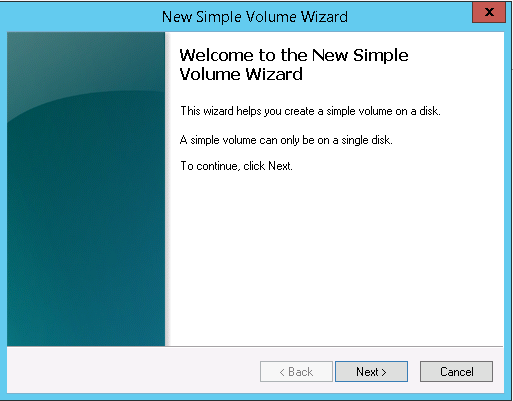
8. In the New Simple Volume Wizard click Next >.
9. On the Specify Volume Size page click Next >.

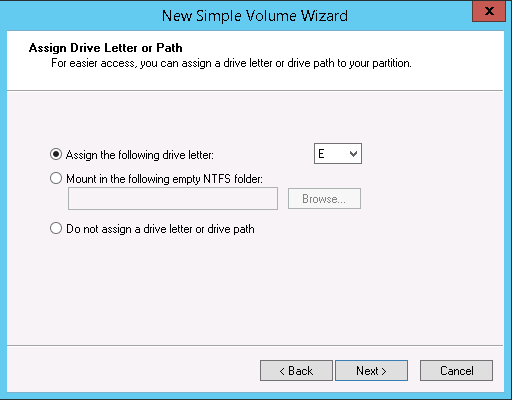
10. On the Assign Drive Letter or Path page click Next >.
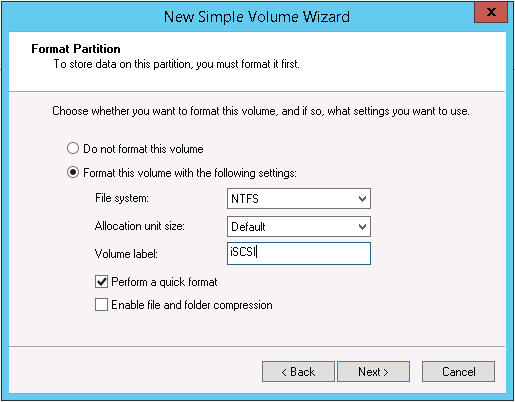
11. On the Format Partition page change the Volume label: from New Volume to iSCSI (or you may leave it default) then click Next >.
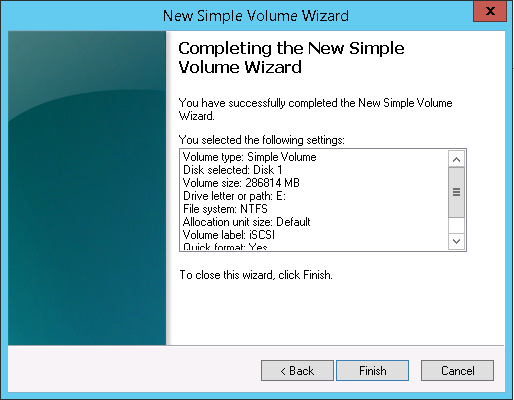
12. On the Completing the New Simple Volume Wizard page click Finish.
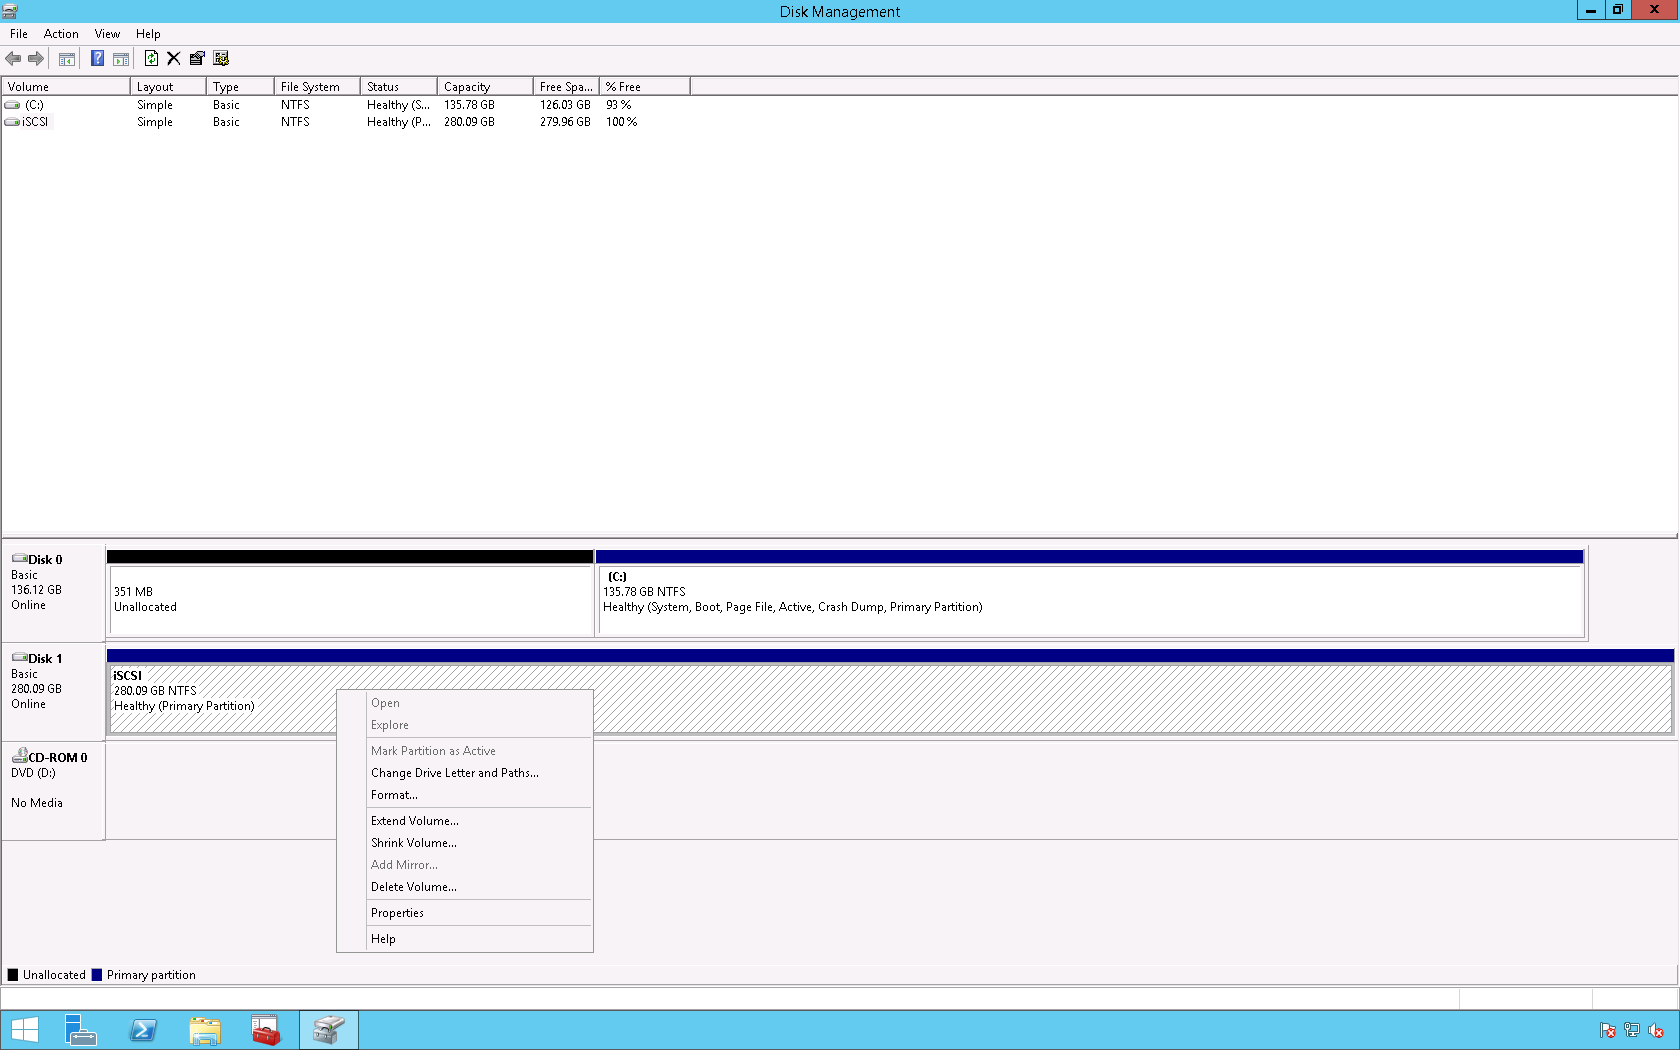
13. Right click the LUN and click Change Drive Letter and Paths….
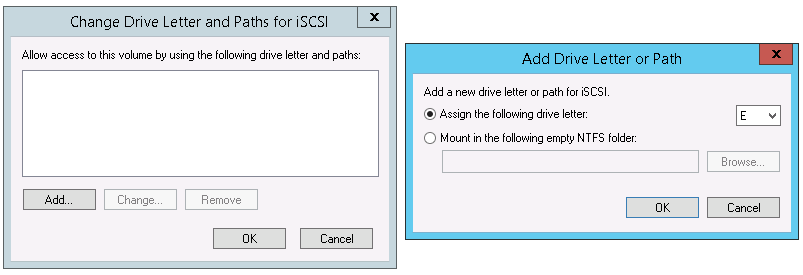
14. On the Change Drive Letter and Paths for iSCSI click Add…. On the Add Drive Letter or Path dialog box click OK.
15. On the desktop right click the Windows icon and select File Explorer.
16. The iSCSI LUN is now available for use.
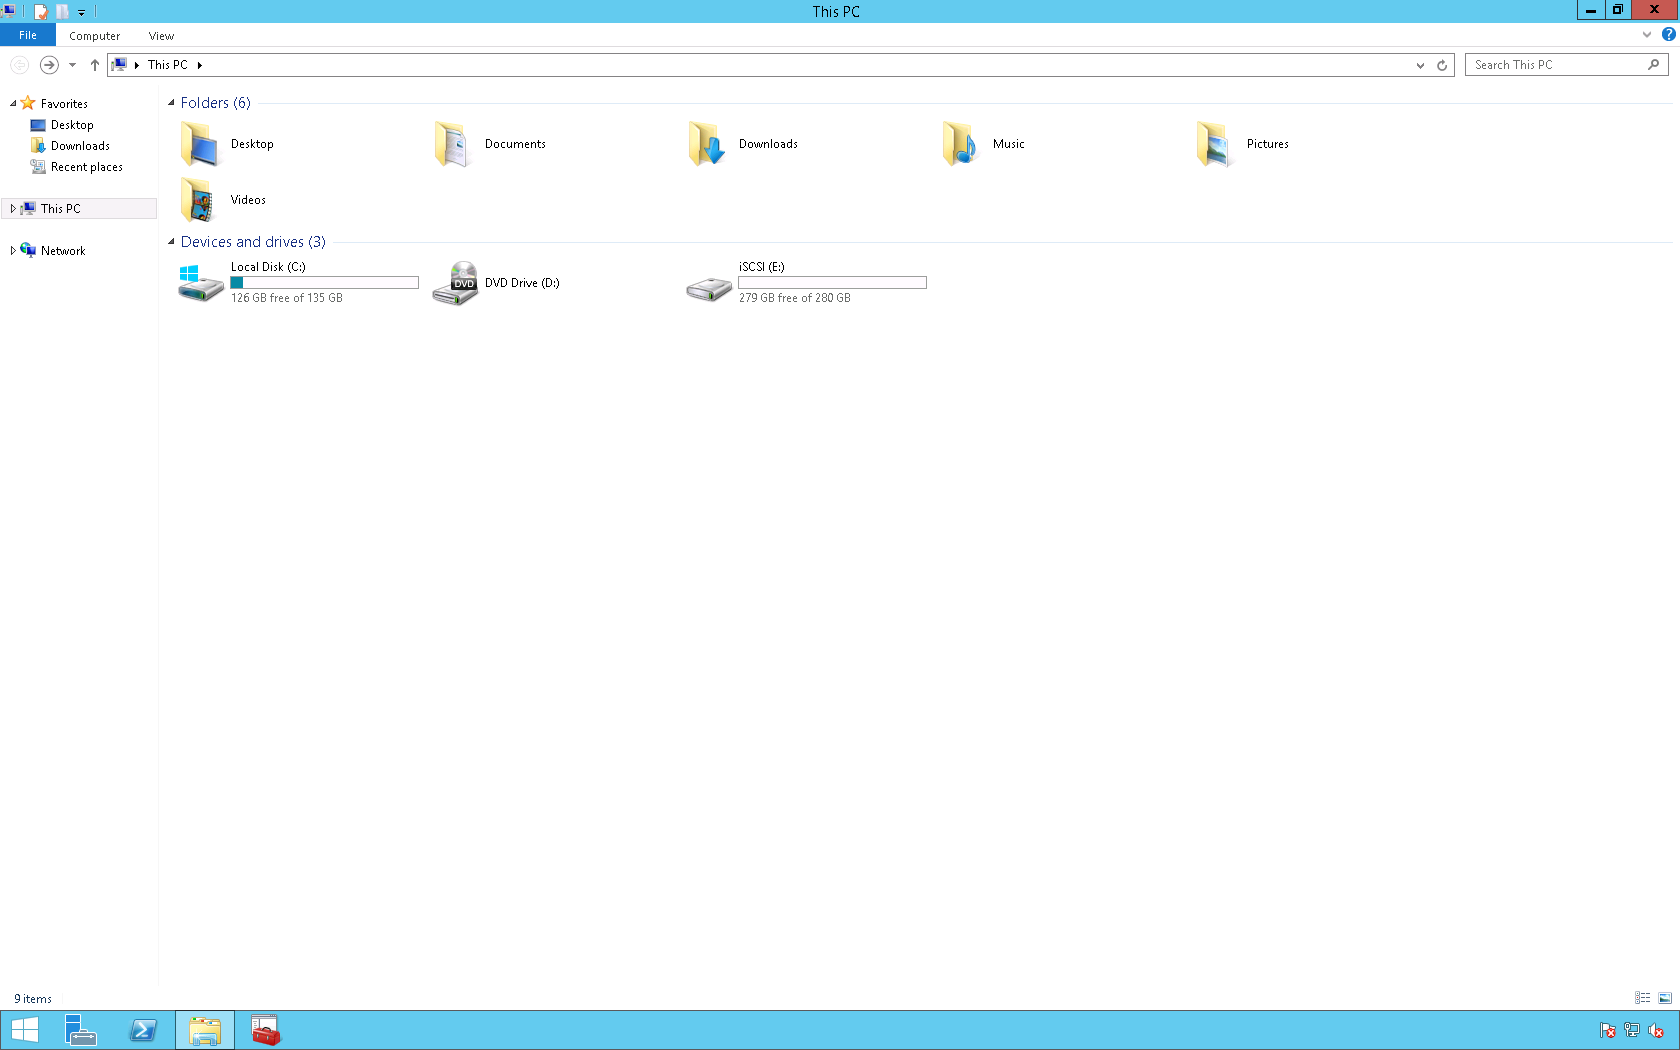
Enjoy!