You may use the following method to create and configure a share (with basic settings) in Windows Server 2012.
Begin by opening the Server Manager then navigating to File and Storage Services > Shares.
On the Shares page click TASKS > New Share….
This is a very basic configuration (designed to get you accustomed to the platform) so in the New Share Wizard on the Select Profile page choose SMB Share – Quick then click Next >.
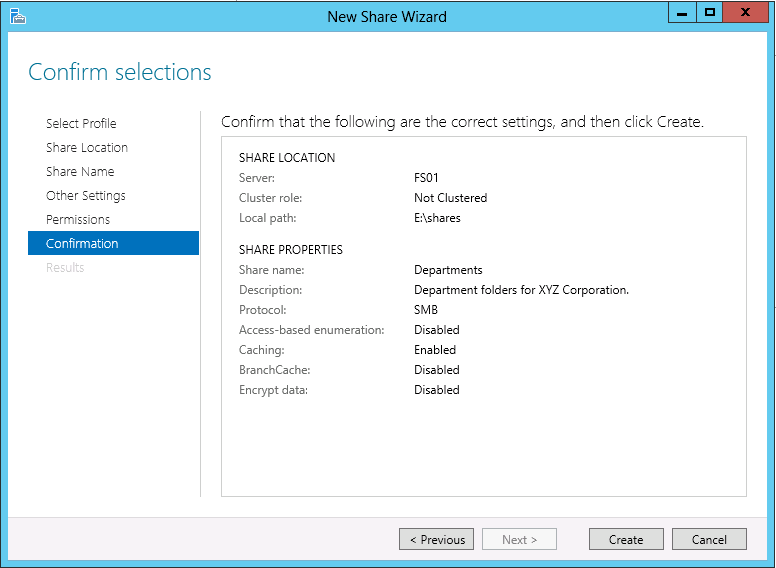
On the Share Location page choose the location of the share then click Next >. In this example, I chose a custom location of E:\shares.
On the Share Name page type the name of the share and add a description (optional) then click Next >.
On the Other Settings page leave the default setting (Allow caching of share) then click Next >.
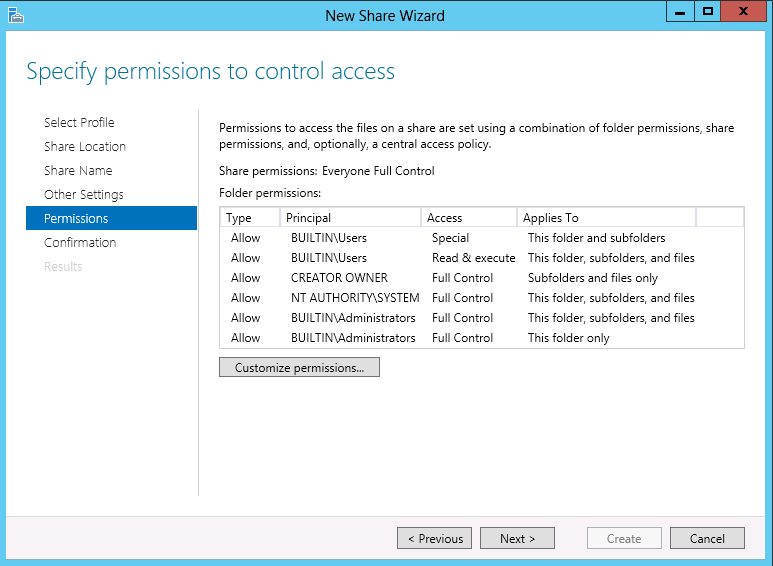
On the Permissions page you may click the Customize permissions… button the create a custom set of permissions for your share. After customizing click Next >.
On the Confirmation page verify your configuration then click Create.
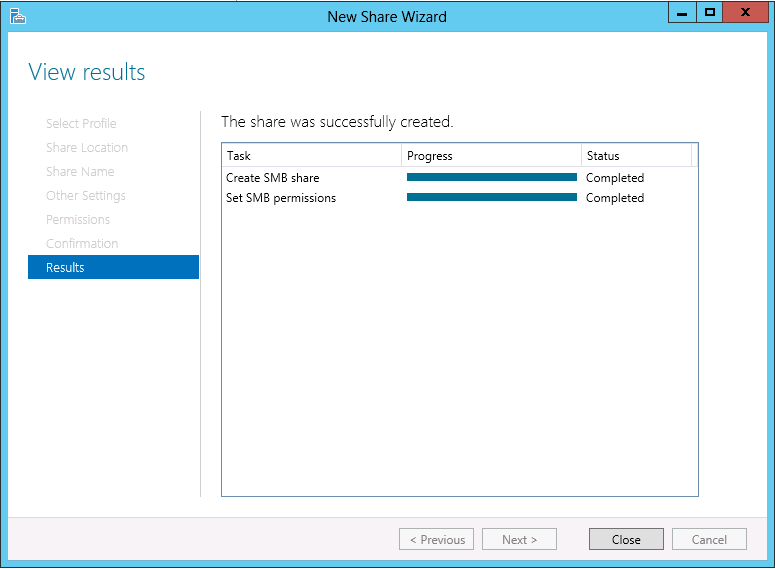
The Results page will inform you if the creation of the share was successful or unsuccessful. In this example, the creation was successful so click Close.
Enjoy!


