Distributed File System (DFS) allows you to share folders that are located on multiple servers using a consistent and logical namespace. Microsoft Windows Server 2012 allows you to add the DFS role (namespace and replication). After you add the DFS role you may use the following method to configure the namespace for your organization.
In Microsoft Windows Server 2012 select DFS Management on the start menu.
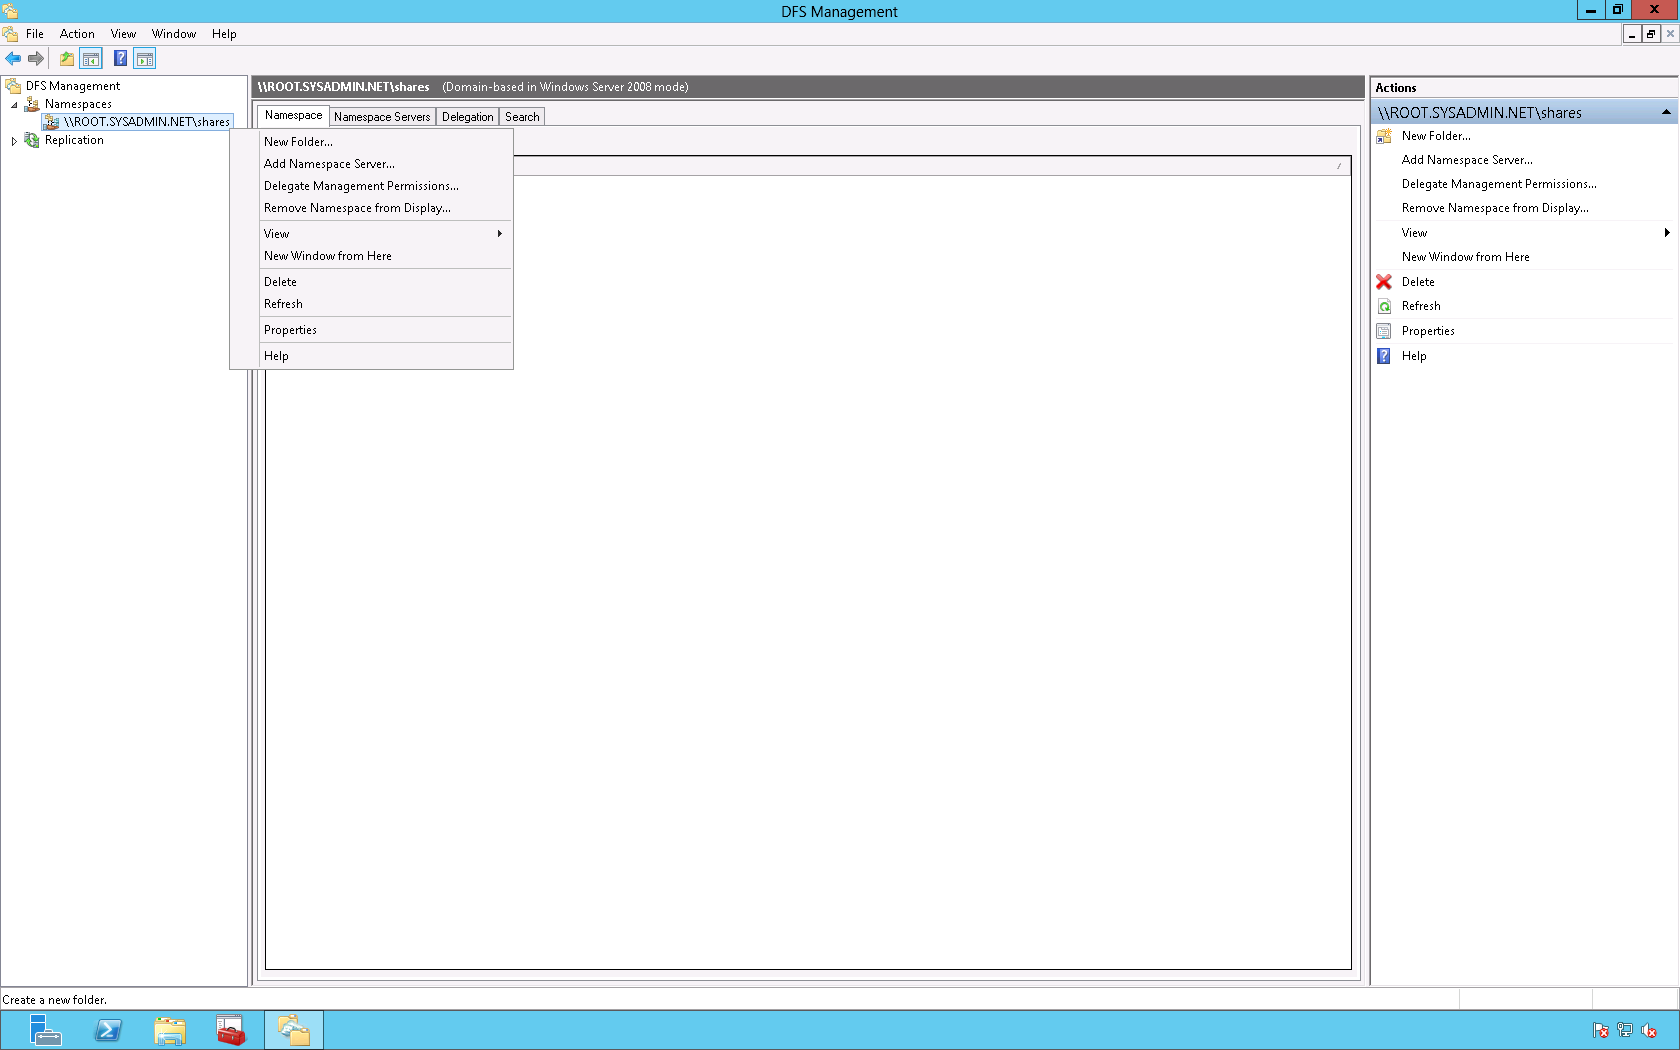
In the DFS Management console right click Namespaces and select New Namespace….
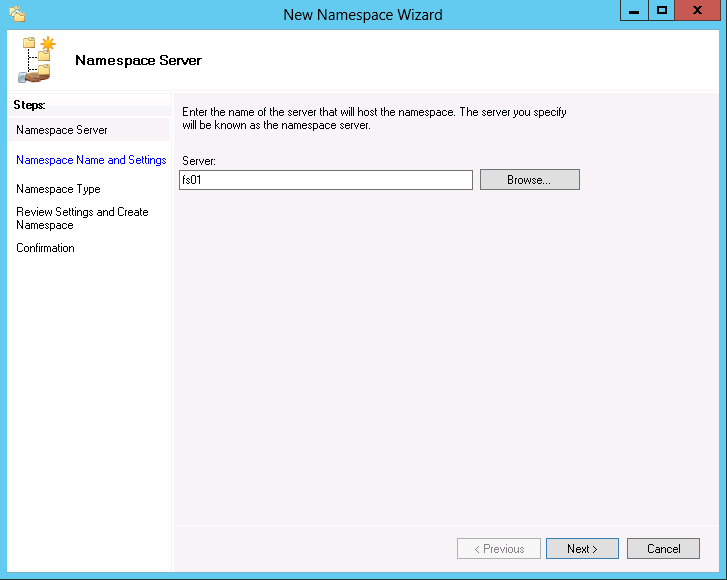
In the New Namespace Wizard dialog box, on the Namespace Server page click Browse…, then begin typing the name of the server that will host the name space, click OK. Lastly, click Next > on the New Namespace Wizard dialog box.
On the Namespace Name and Settings page enter the settings for your organization then click Next >. For this example I will type shares in order to make the namespace \\root.sysadmin.net\shares.

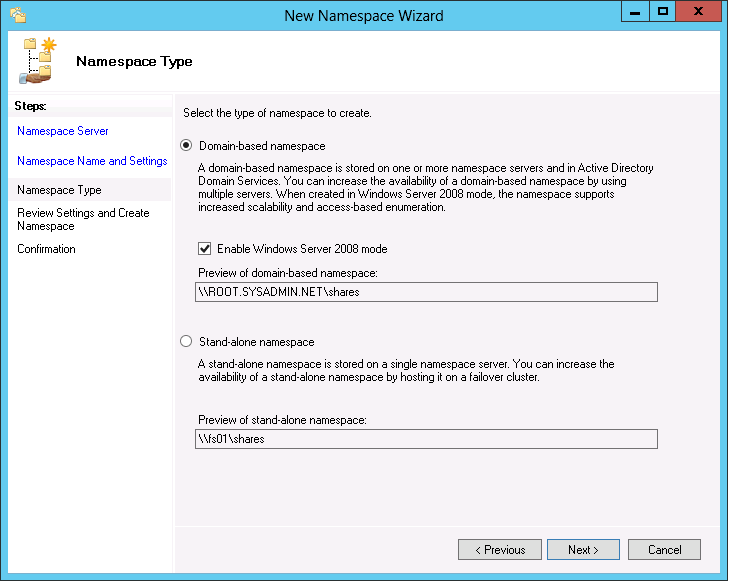
On the Namespace Type page select the appropriate setting for your environment then click Next >. In this example I will be using Domain-based namespace.
On the Review Settings and Create Namespace page review your settings then click Create, if they are correct.

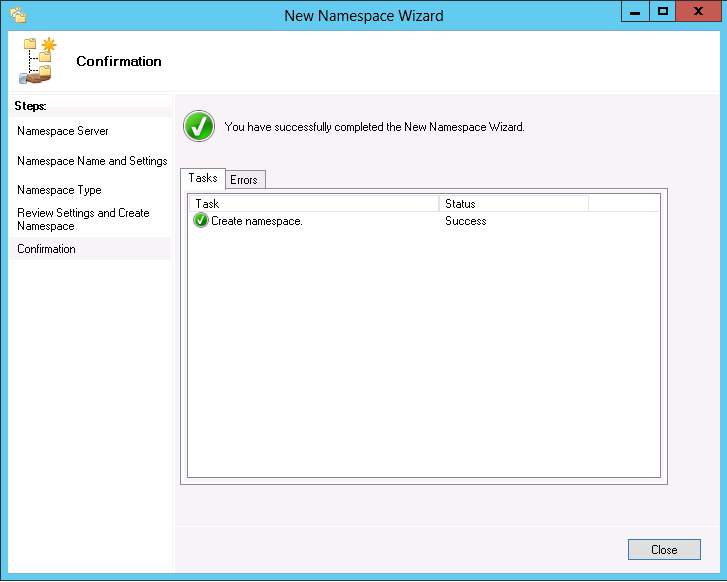
On the Confirmation page you will be informed if the namespace was added successfully. If it was successful then click Close.
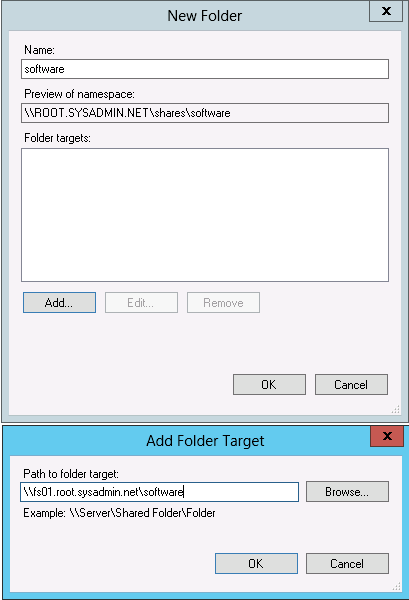
Next, right click the newly created namespace in the DFS Management console and select New Folder….

In the New Folder dialog box enter the next folder in the namespace and add it’s target by clicking Add… and adding the path in the Add Folder Target dialog box, then click OK.

Lastly, test the DFS configuration by connecting to the share using the newly created DFS namespace.
Enjoy!