VMware vCenter Server 6.0 – Adding a Host to VMware vCenter Server cluster as a Scheduled Task

The following is a step by step guide for adding a VMware ESXi 6.0 host to a VMware vCenter Server cluster as a scheduled task.

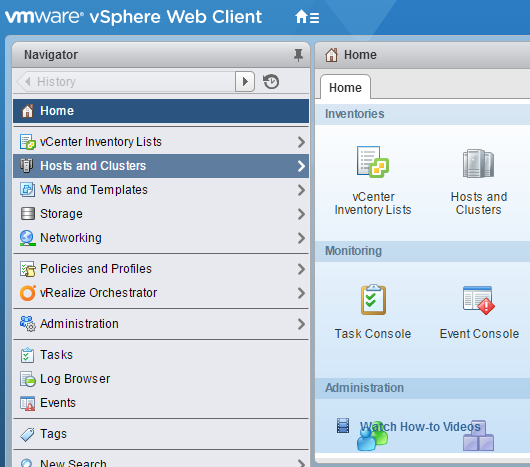
  1. On the home screen of the VMware vSphere Web Client select Host and Clusters.01
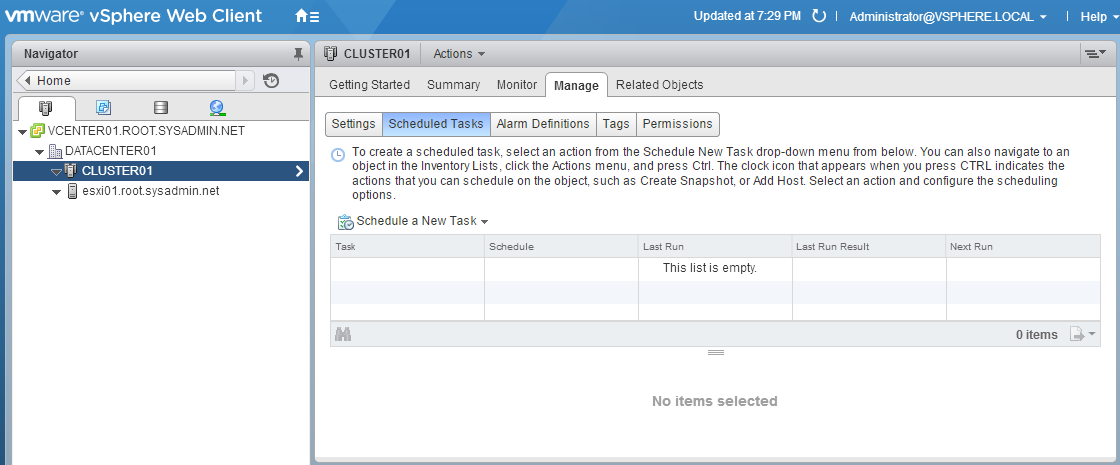
  2. Select a cluster, then navigate to the Manage tab and select Scheduled Tasks.02
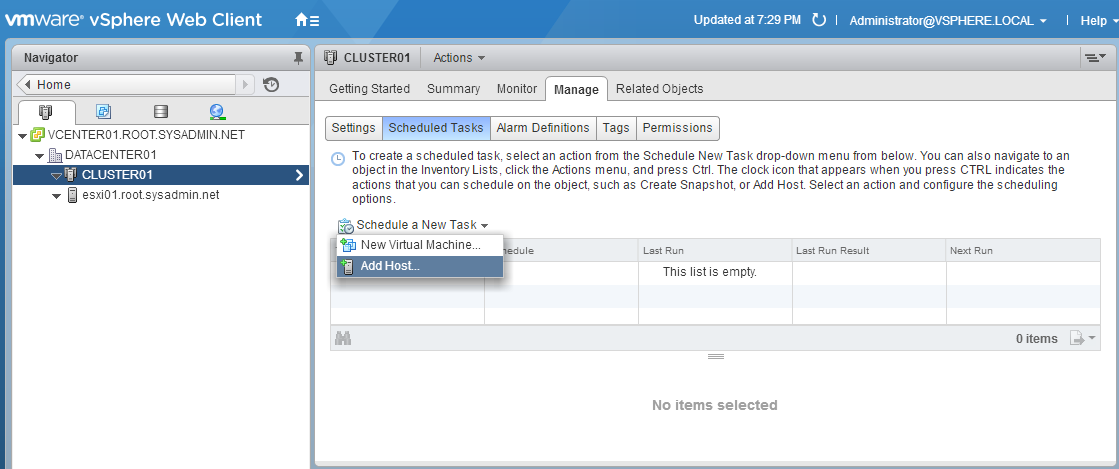
  3. Select Schedule a New Task and click Add Host….03
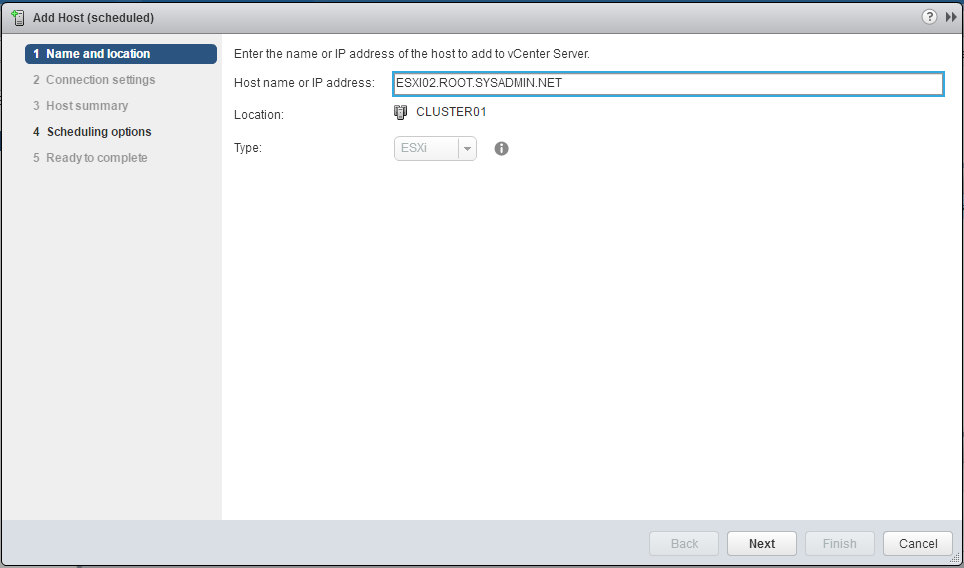
  4. On the Name and location portion of the Add Host (scheduled) dialog box enter the hostname or Internet Protocol (IP) address of the VMware ESXi 6.0 host then click Next.04
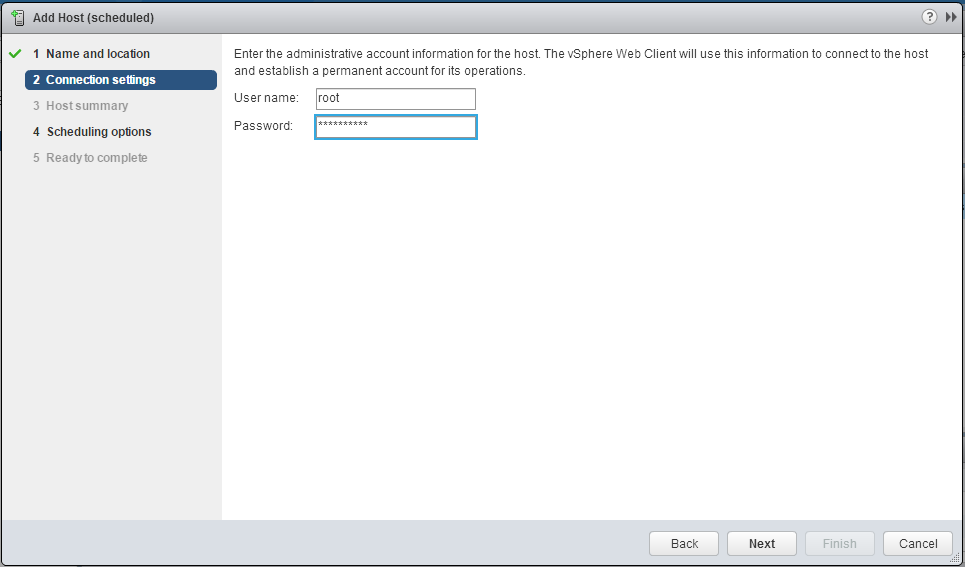
  5. On the Connection settings page enter the root authentication credentials and click Next.05
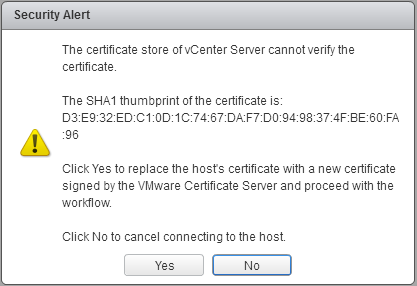
  6. On the Security Alert dialog box click Yes.06
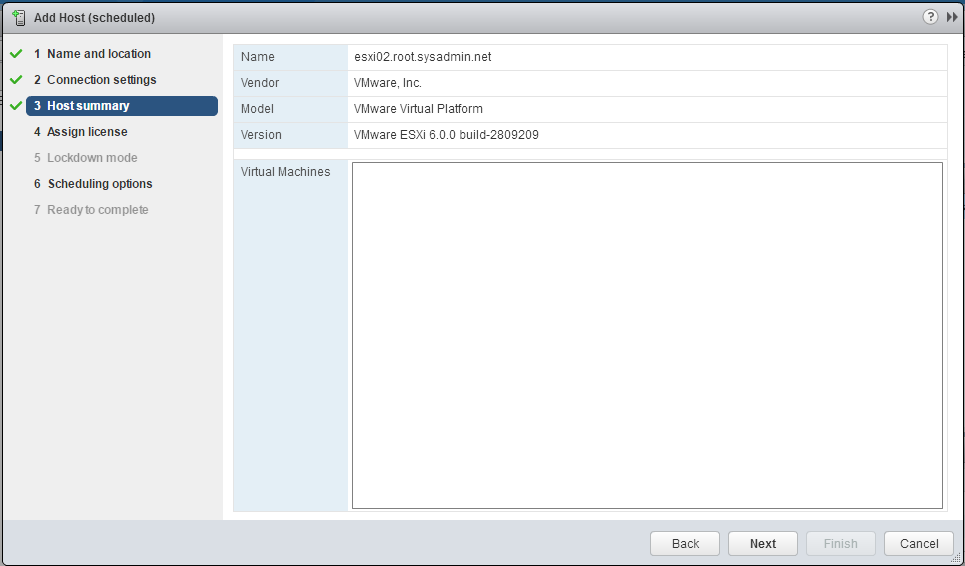
  7. On the Host summary page review the configuration of the VMware ESXi 6.0 host and click Next.07
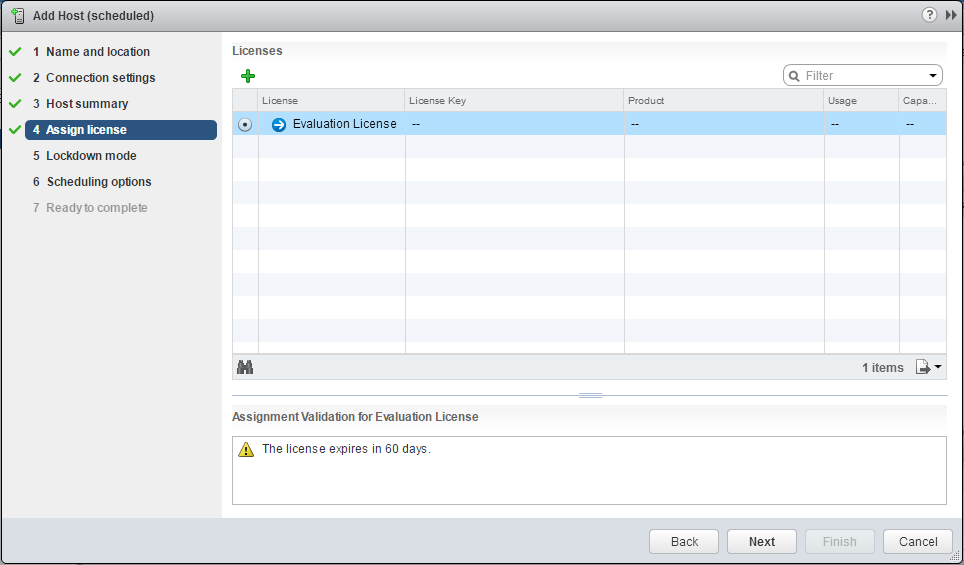
  8. On the Assign license page review the licensing information for the VMware ESXi 6.0 host and click Next.08
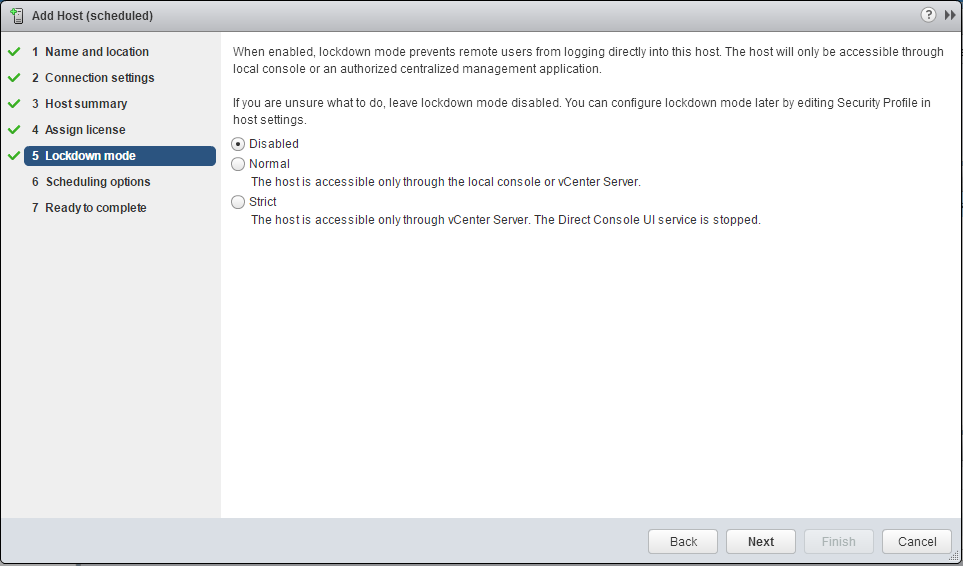
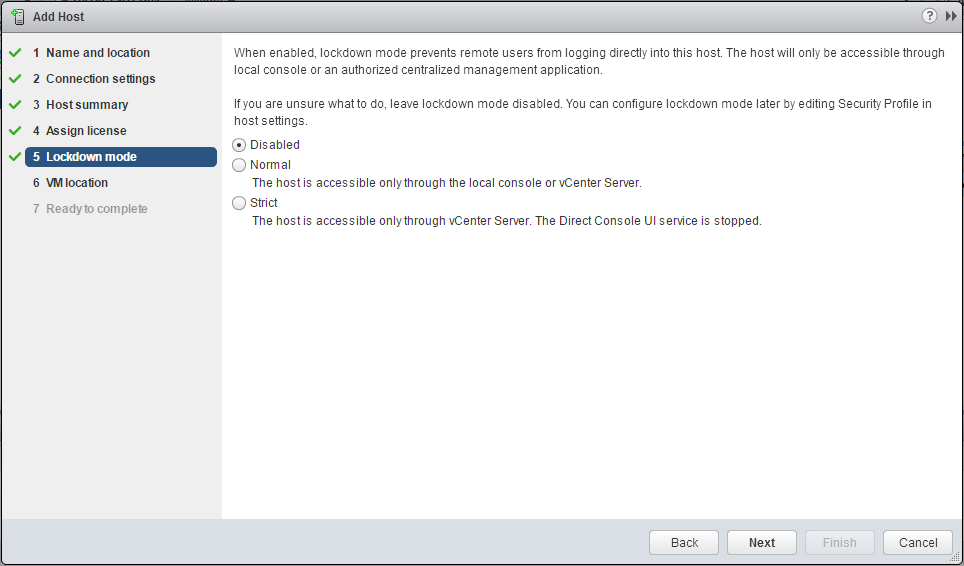
  9. On the Lockdown mode page accept the default settings and click Next.09
  10. On the Scheduling options page enter a Task name and Task description.10
  11. On the Scheduling options page click Change.
  12. On the Configure Scheduler dialog box enter a time to add the VMware ESXi 6.0 host to the cluster then click OK.12
  13. On the Scheduling options page click Next.13
  14. On the Ready to complete page click Finish.14
  15. In the Recent Tasks pane verify a the Create scheduled task task completed successfully.15

VMware vCenter Server 6.0 – Creating a Host Profile

The following is a step by step guide for a creating a VMware ESXi 6.0 host profile.

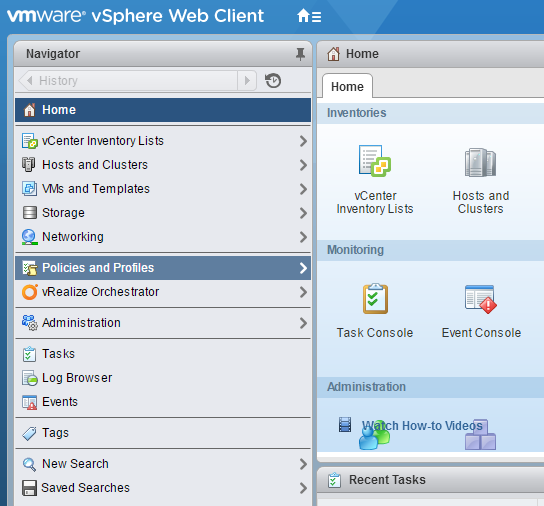
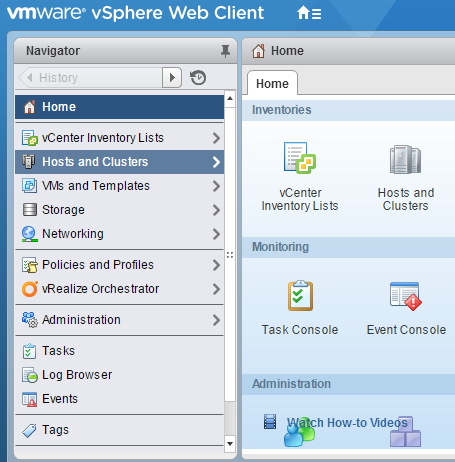
  1. On the home screen of the VMware vSphere Web Client select Policies and Profiles.01
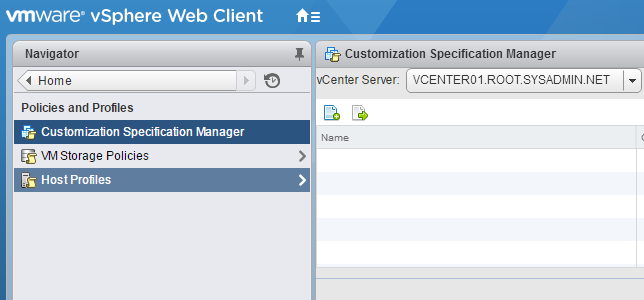
  2. On the Policies and Profiles interface select Host Profiles.02
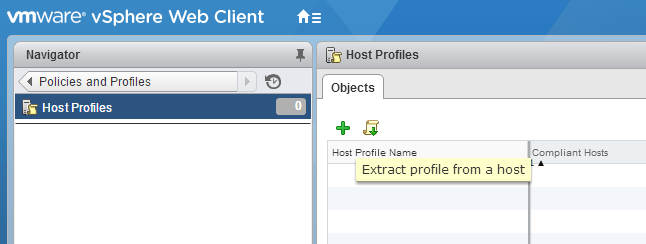
  3. On the Host Profiles interface click the green plus sign to Extract profile from a host.03
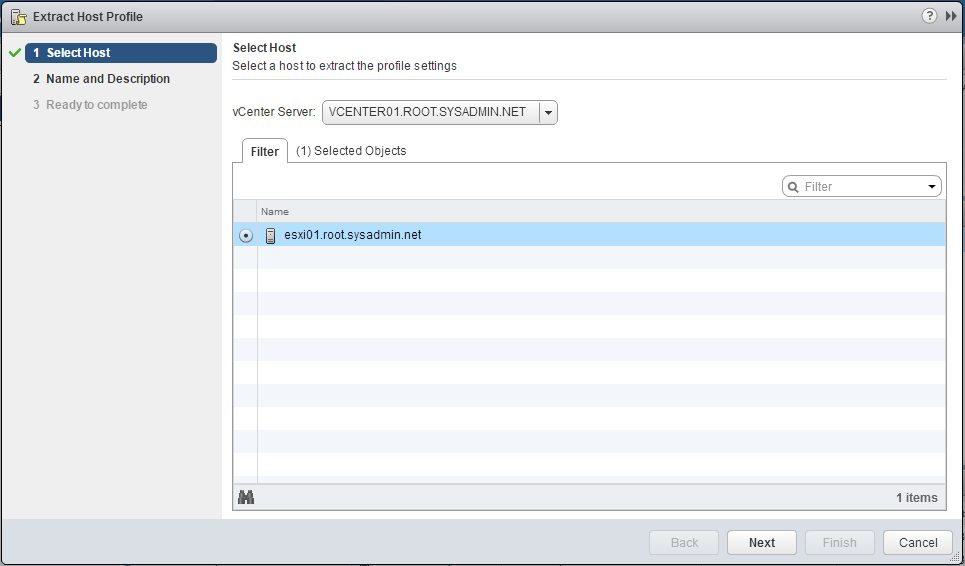
  4. On the Extract Host Profile dialog box select a vCenter Server and VMware ESXi host then click Next.04
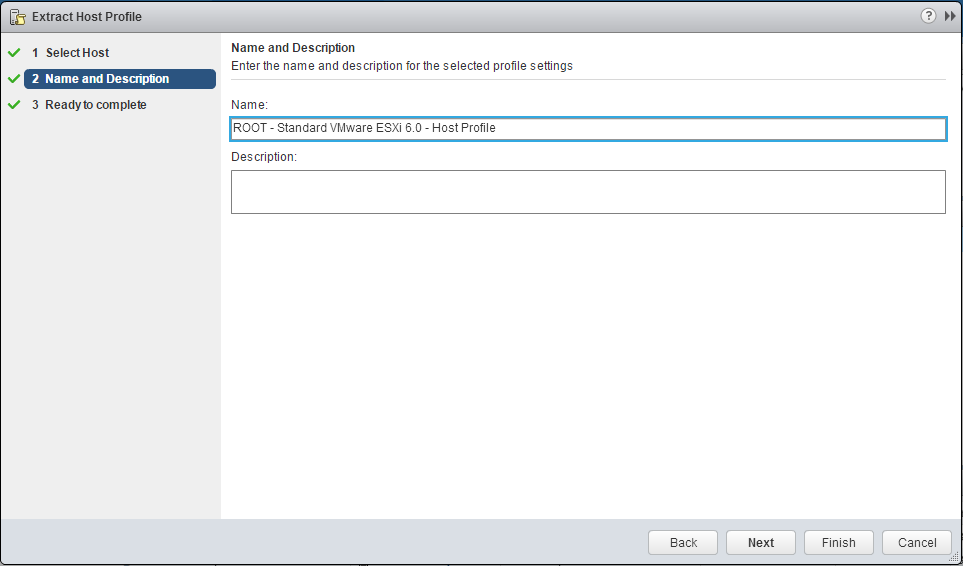
  5. On the Extract Host Profile dialog box enter a Name for the host profile then click Next.05
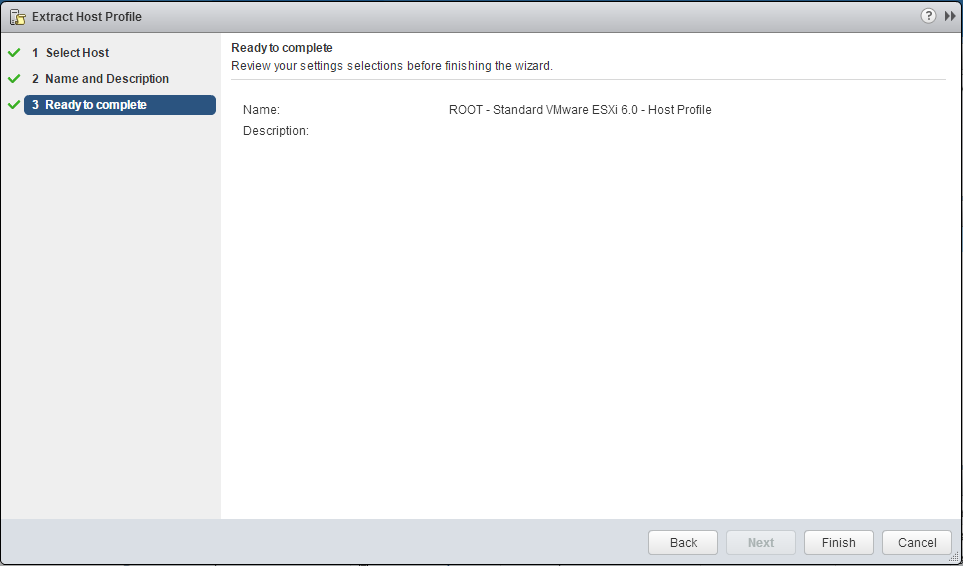
  6. On the Extract Host Profile dialog box click Finish.06
  7. In the Recent Tasks pane verify a Create a host profile task completed completed successfully.07
  8. On the Host Profiles interface verify the host profile has been created.08

VMware vCenter Server 6.0 – Creating a Cluster

The following is a step by step guide for creating a VMware vCenter Server 6.0 cluster.

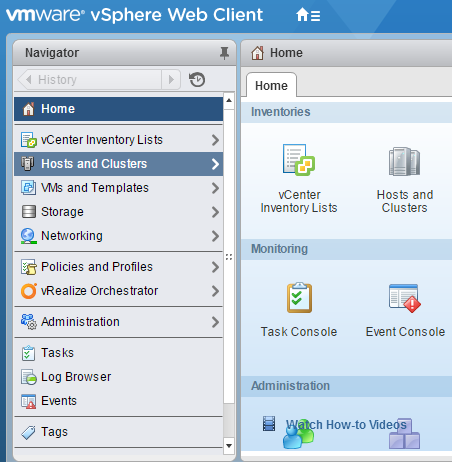
  1. On the home screen of the VMware vSphere Web Client select Hosts and Clusters.01
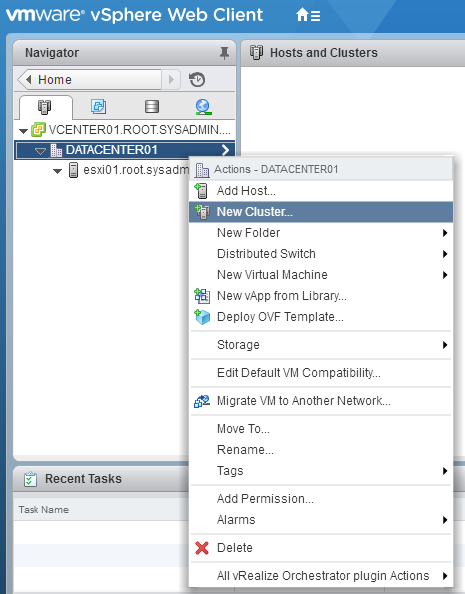
  2. Right click a datacenter object and select New Cluster….02
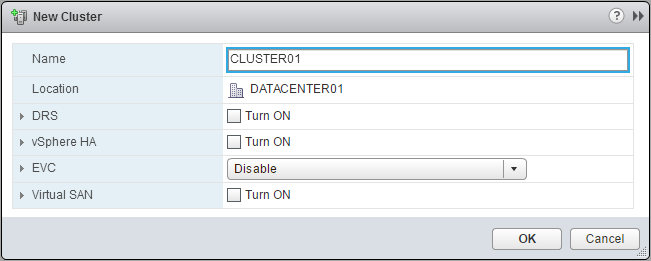
  3. In the New Cluster dialog box enter a Name for the cluster and click OK.03
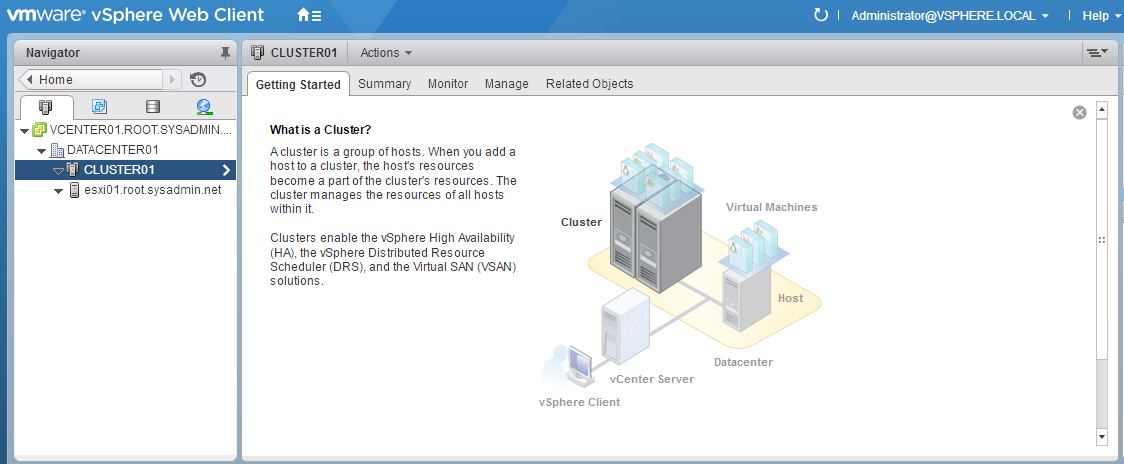
  4. On the VMware vSphere Web Client verify that a recent task completed for the creation of the cluster.04
  5. On the VMware vSphere Web Client verify that the cluster object has been created.05

VMware vCenter Server 6.0 – Adding a VMware ESXi 6.0 Host to a Datacenter

The following is a step by step guide for adding a VMware ESXi 6.0 host to a VMware vCenter Server 6.0 datacenter.

  1. On the home screen of the VMware vSphere Web Client select Hosts and Clusters.01
  2. Select the datacenter object, right click it then select Add Host….02
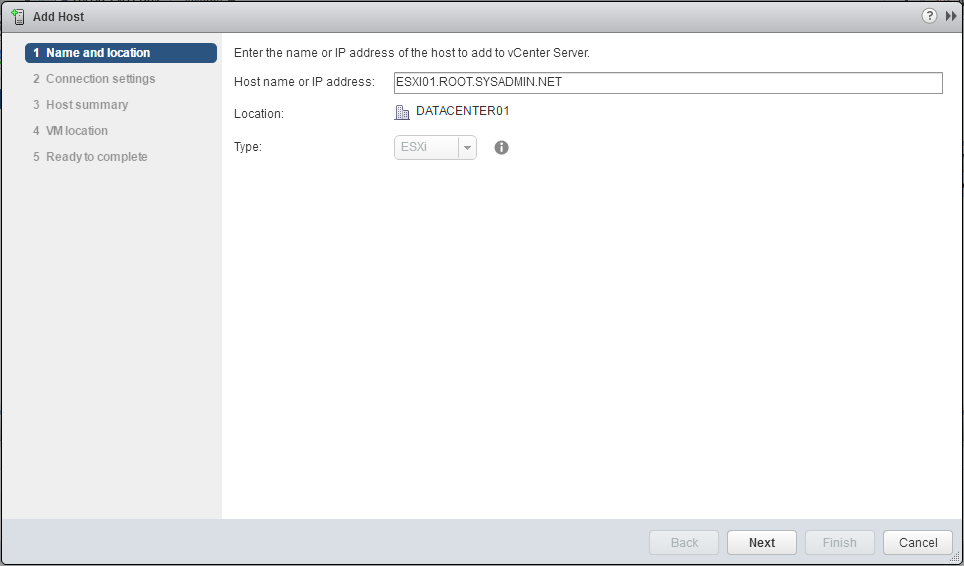
  3. On the Name and location section enter the hostname or Internet Protocol (IP) address of the VMware ESXi 6.0 host then click Next.03
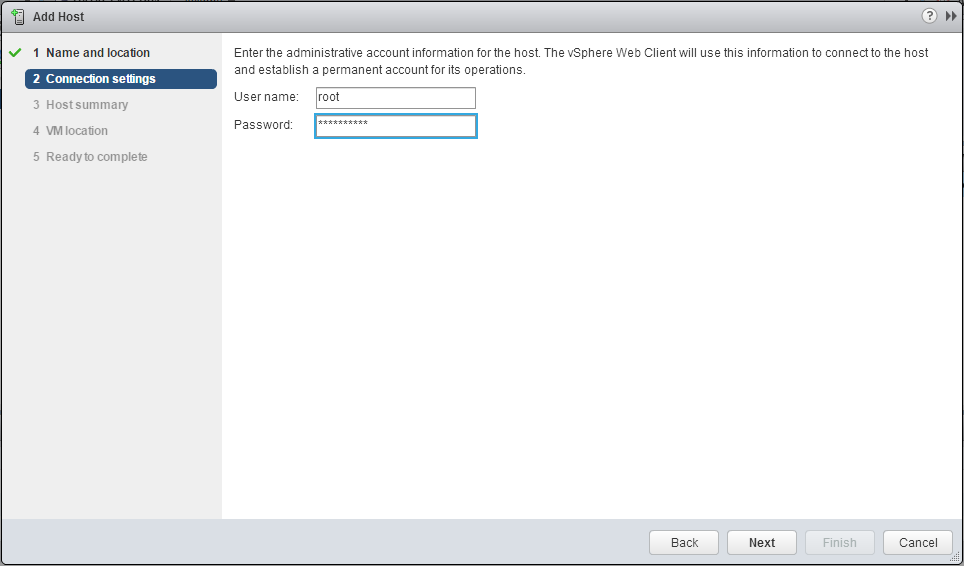
  4. On the Connection Settings section enter the authentication credentials for the root user account then click Next.04
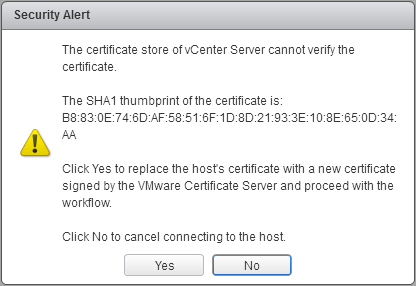
  5. On the Security Alert dialog box click Yes.05
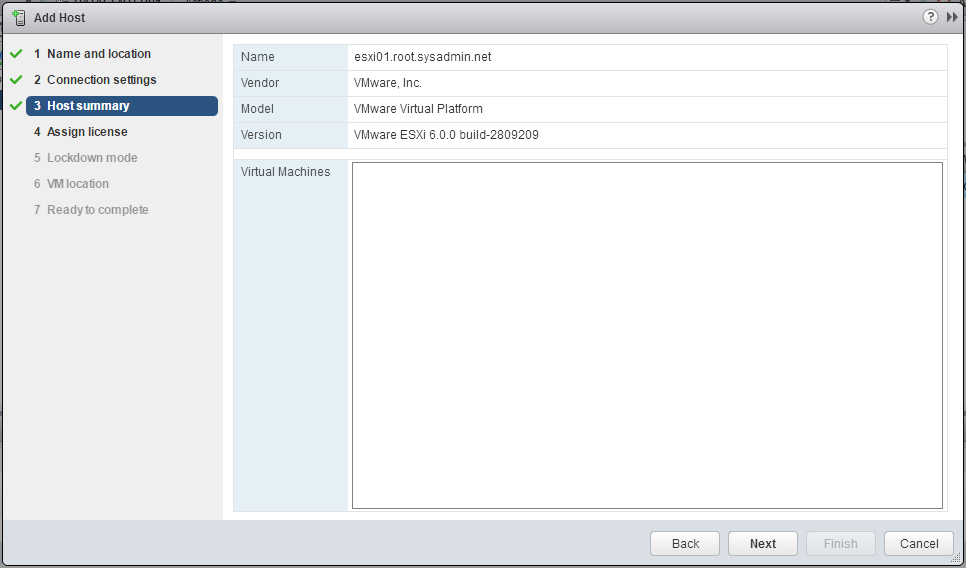
  6. On the Host Summary section review the information for the VMware ESXi 6.0 host and click Next.06
  7. On the Assign license section enter license information or select the Evaluation License and click Next.07
  8. On the Lockdown mode section accept the default setting of Disabled and click Next.08
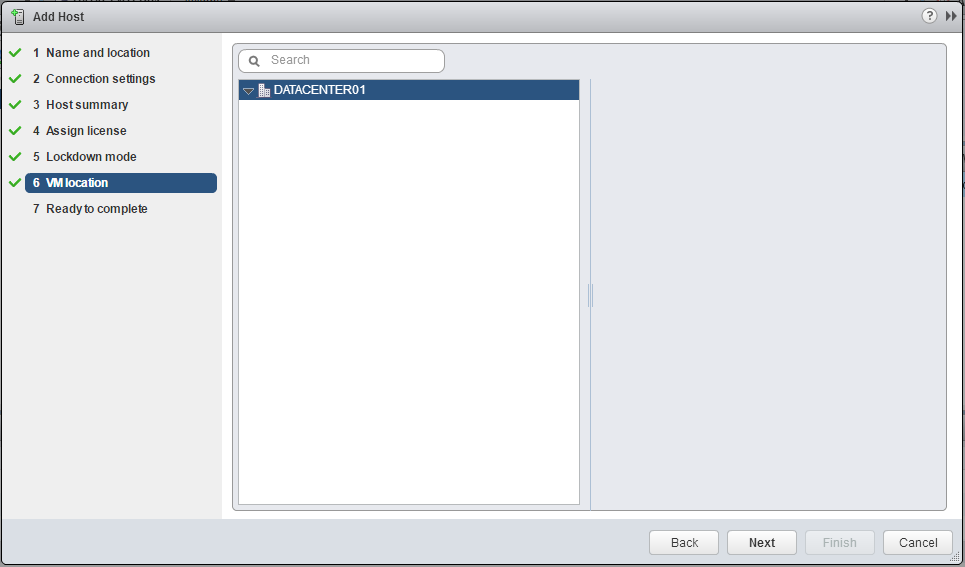
  9. On the VM location section accept the default setting of the datacenter object and click Next.09
  10. On the Ready to complete section review the configuration settings and click Finish.10
  11. In the VMware vSphere Web Client verify that a recent task completed adding the VMware ESXi 6.0 host to the datacenter.11
  12. In the VMware vSphere Web Client verify that the VMware ESXi 6.0 host is located under the datacenter object.12

VMware vCenter Server 6.0 – Creating a Datacenter

The following is a step by step guide for creating a datacenter in VMware vCenter Server 6.0.

  1. On the home screen of the VMware vSphere Web Client select Hosts and Clusters.01
  2. Right click the vCenter Server object and select New Datacenter….02
  3. In the New Datacenter dialog box type a name for the datacenter object and click OK.03
  4. On the VMware vSphere Web Client interface verify the datacenter object is under the vCenter Server object.04

VMware vCenter Server 6.0 – Web Client Configuration

The VMware vSphere 6.0 Web Client layout may be adjusted to your personal preference but should you ever want to reset the layout to it’s default configuration follow these steps:

Username > Layout Settings… > Reset to default layout


Microsoft Active Directory – Export Group Membership

You may use the following Microsoft Windows PowerShell script to export the users in a Microsoft Active Directory group to a notepad (.txt) file. Additionally, please edit the out-file -filepath portion of this script to a network location of your choice.

<#
.SYNOPSIS
This script will provide the members of a Microsoft Active Directory group and export them to a notepad (.txt) file.
.DESCRIPTION
This script automates the process of exporting the users in a Microsoft Active Directory group.
.EXAMPLE
N/A.
.AUTHOR
Written by Noel Enrique Alvarez on Thursday, March 17, 2016.
#>

#Import the Microsoft Active Directory module
Import-Module ActiveDirectory

#Request the name of the Microsoft Active Directory group
$GROUP = Read-Host “What is the name of the Microsoft Active Directory group?”

#Export the members of the Microsoft Active Directory group and export them.
Get-ADGroupMember -identity $GROUP | Select Name, SamAccountName | out-file -filepath “C:\Users\User01\Desktop\$GROUP.txt”


Distributed File System – Namespace Server Removal

The following is a step by step guide to removing a Distributed File System (DFS) namespace server for a Microsoft Active Directory (AD) integrated DFS namespace.

  1. Export the DFS namespace configuration with the following command:
    1. dfsutil /root:\\domain.com\namespace /export:namespace.txt /verbose
  2. In the DFS Management console right click and delete HOSTNAME under the Namespace Servers tab for the Microsoft Active Directory intergrated DFS namespace.
    1. \\domain.com\namespace
  3. Remove the file shares on HOSTNAME.
    1. \\hostname\namespace
  4. Verify the folder for the file share in step (3) is empty, then delete it.
    1. C:\DFSRoot\namespace
  5. This completes the process.

Hardware – Hard Disk Drive Wipe

You may use Darik’s Boot And Nuke (DBAN) to delete the data from a physical hard drive using the method below.

1. Press the ENTER key to start DBAN in interactive mode.
2. Entropy: Linux Kernel (urandom)
3. PRNG: Mersenne Twister (mt19937ar-cok)
4. Method: DoD 5220.22-M
5. Verify: Last Pass
6. Rounds: 3