Microsoft Exchange Server 2016 may be installed using the graphical user interface (GUI) or Windows PowerShell. Below you will find a step-by-step tutorial outlining the GUI installation of Microsoft Exchange Server 2016.
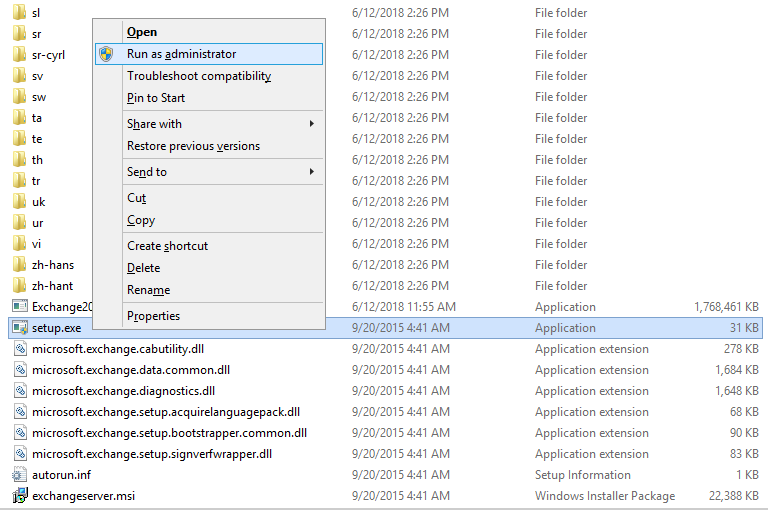
- Right click the setup.exe file and select Run as administrator.
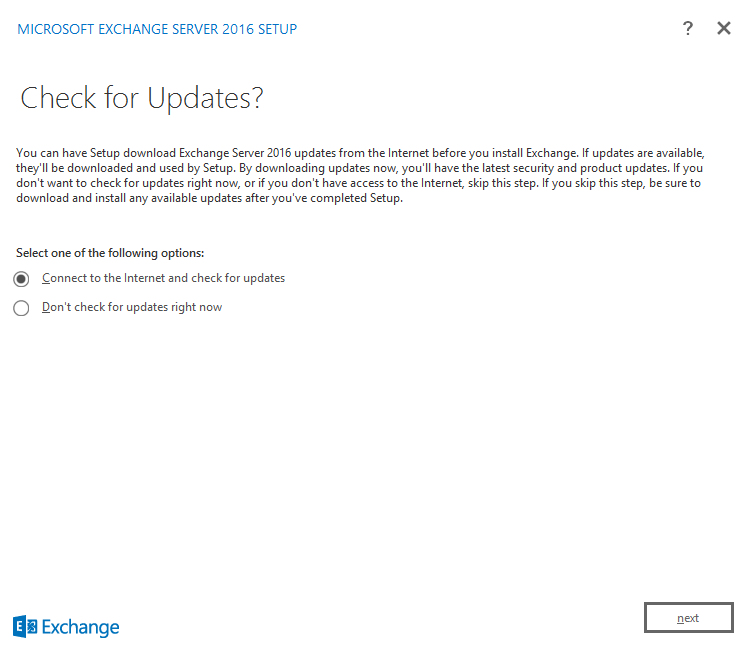
- On the Check for Updates? dialog box select Connect to the Internet and check for updates then click next.
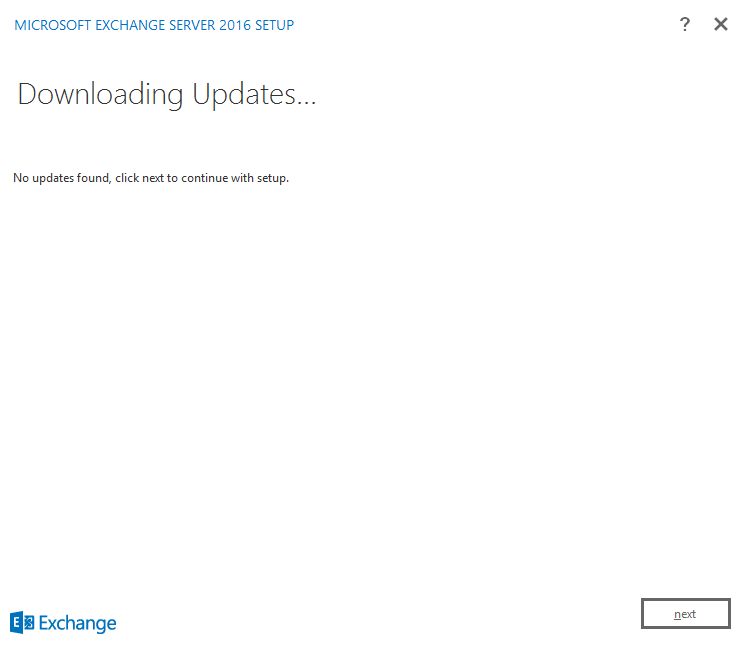
- On the Downloading Updates… dialog box click next.
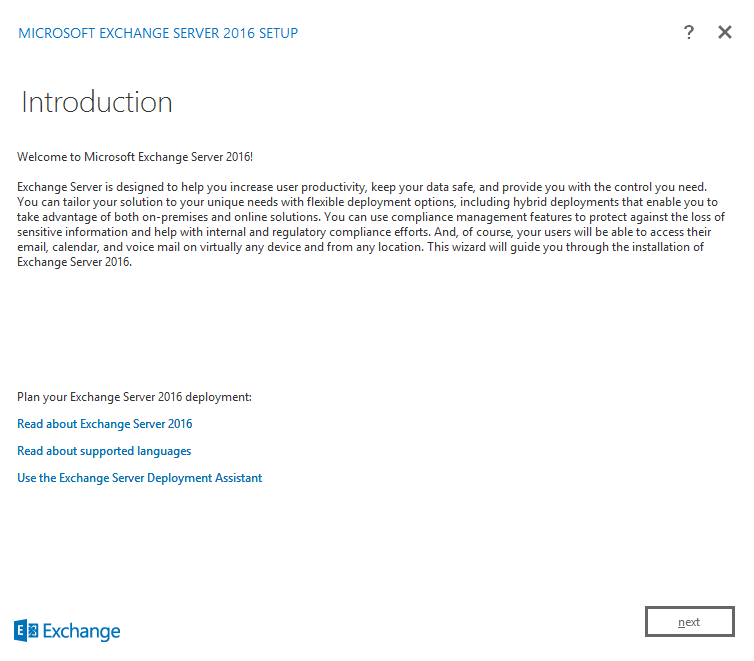
- On the Introduction dialog box click next.
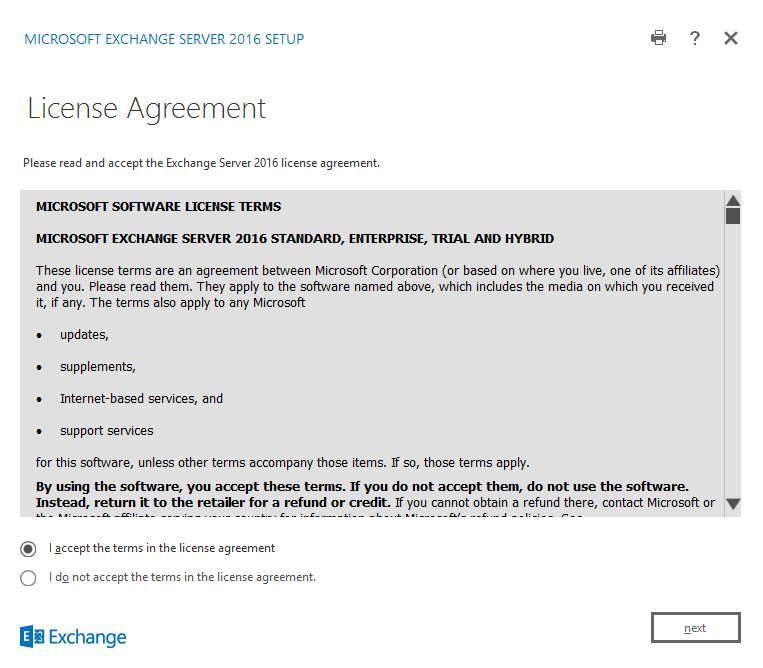
- On the License Agreement dialog box select I accept the terms in the license agreement then click next.
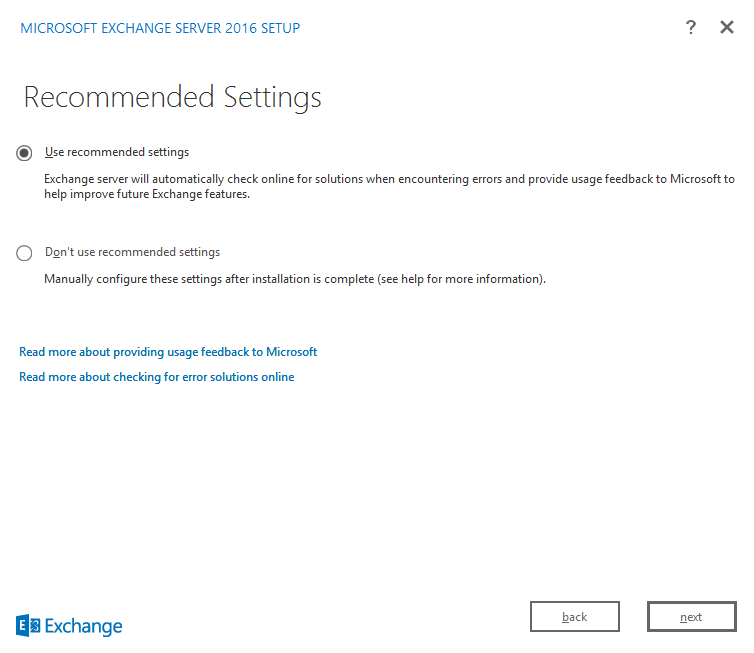
- On the Recommended Settings dialog box select Use recommended settings then click next.
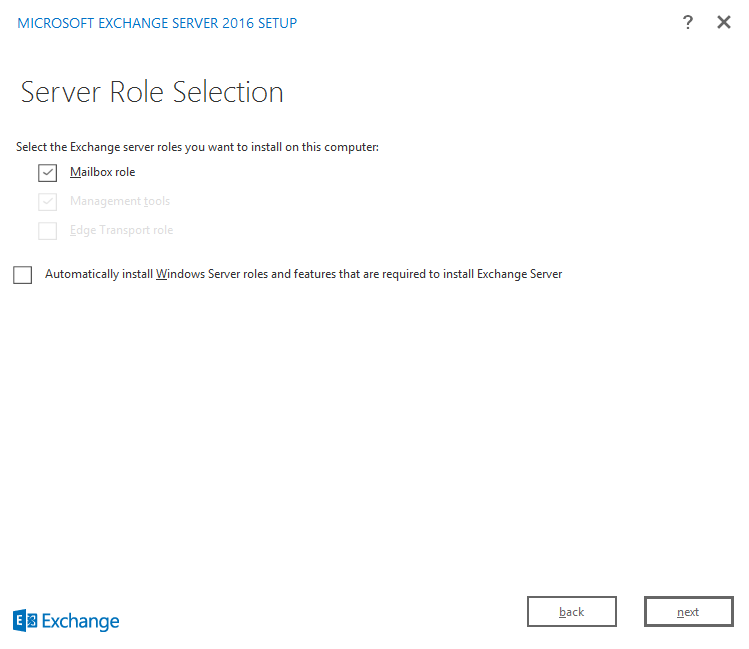
- On the Sever Role Selection dialog box select Mailbox role then click next.
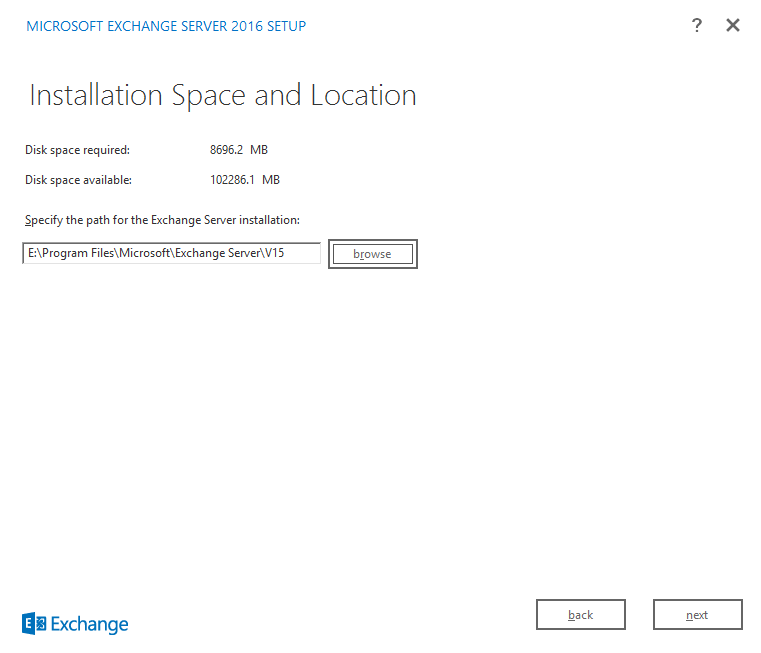
- On the Installation Space and Location dialog box specify the installation path of your choice.
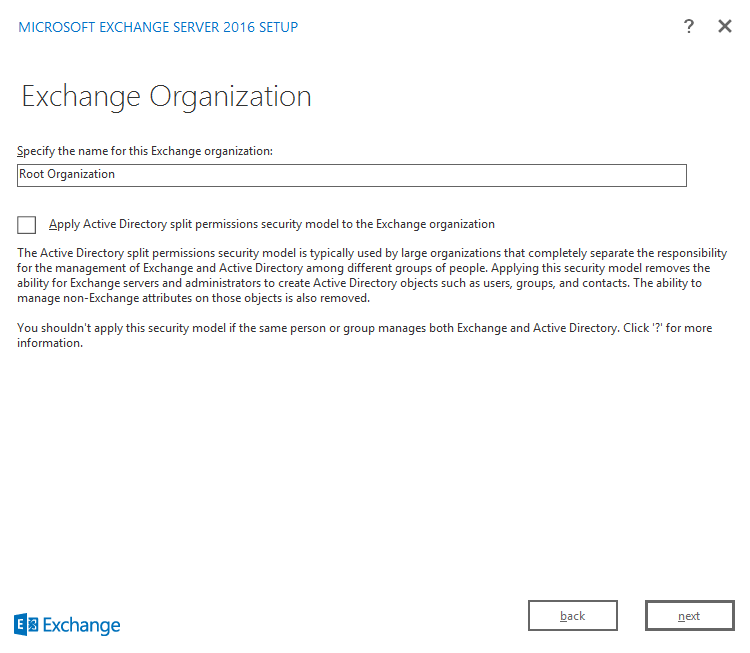
- On the Exchange Organization dialog box specify the name of the Exchange Organization then click next.
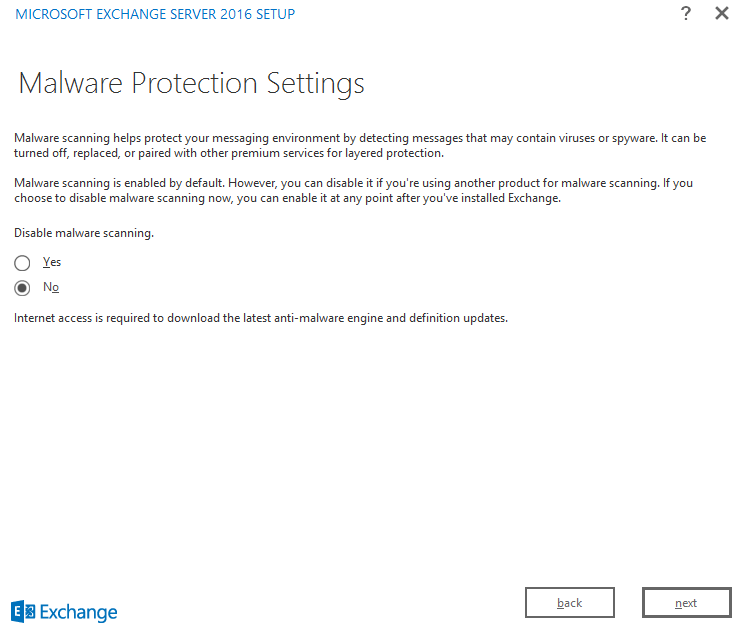
- On the Malware Protection Settings dialog box, under the Disable malware scanning. option select No then click next.
- On the Readiness Checks dialog box click install.

- On the Setup Completed dialog box click finish.
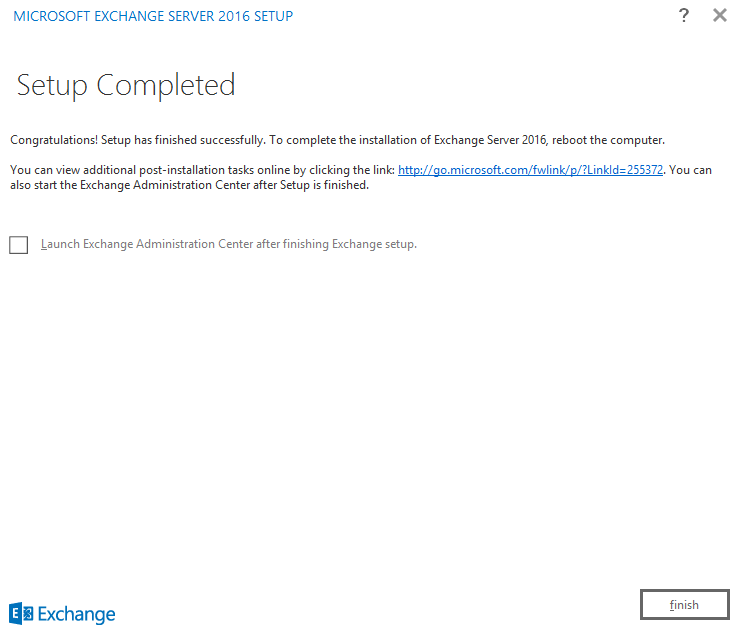
- Reboot the server.