You may use the following steps to install Microsoft Exchange Serer 2010 (Hub Transport, Client Access and Mailbox roles). The preinstallation tasks were completed in the previous (2) posts.
1. Run the SETUP.EXE file on the Microsoft Exchange Server 2010 media.

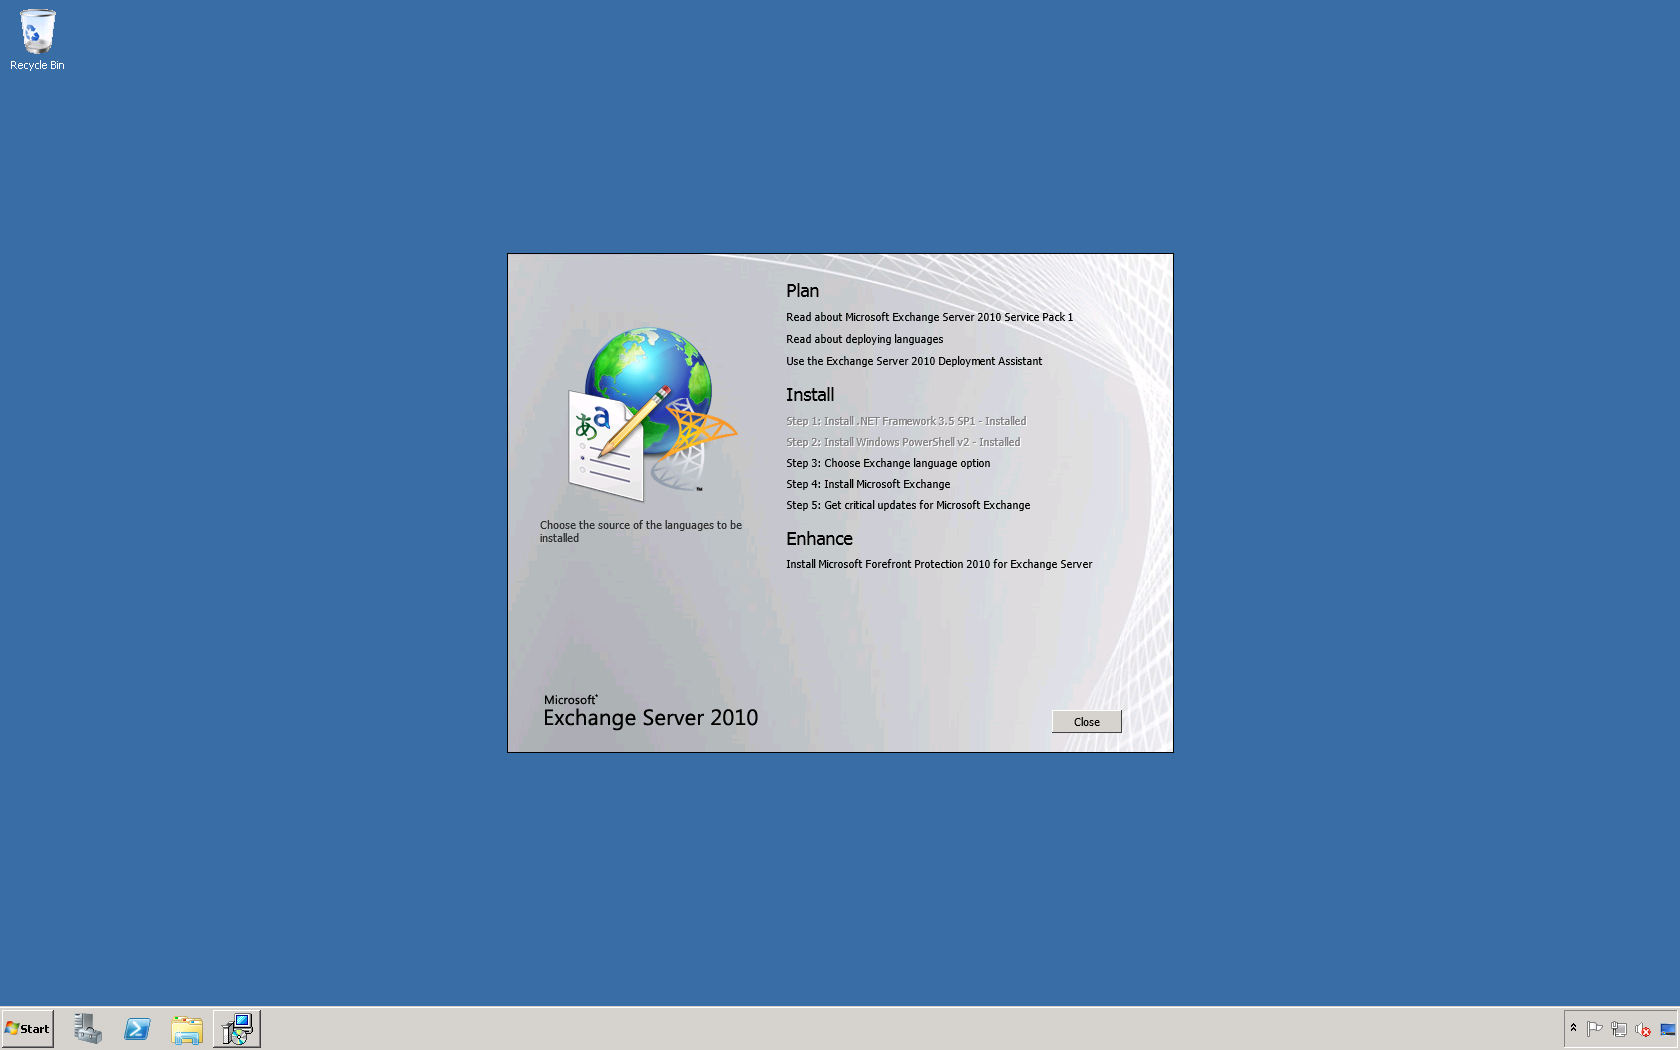
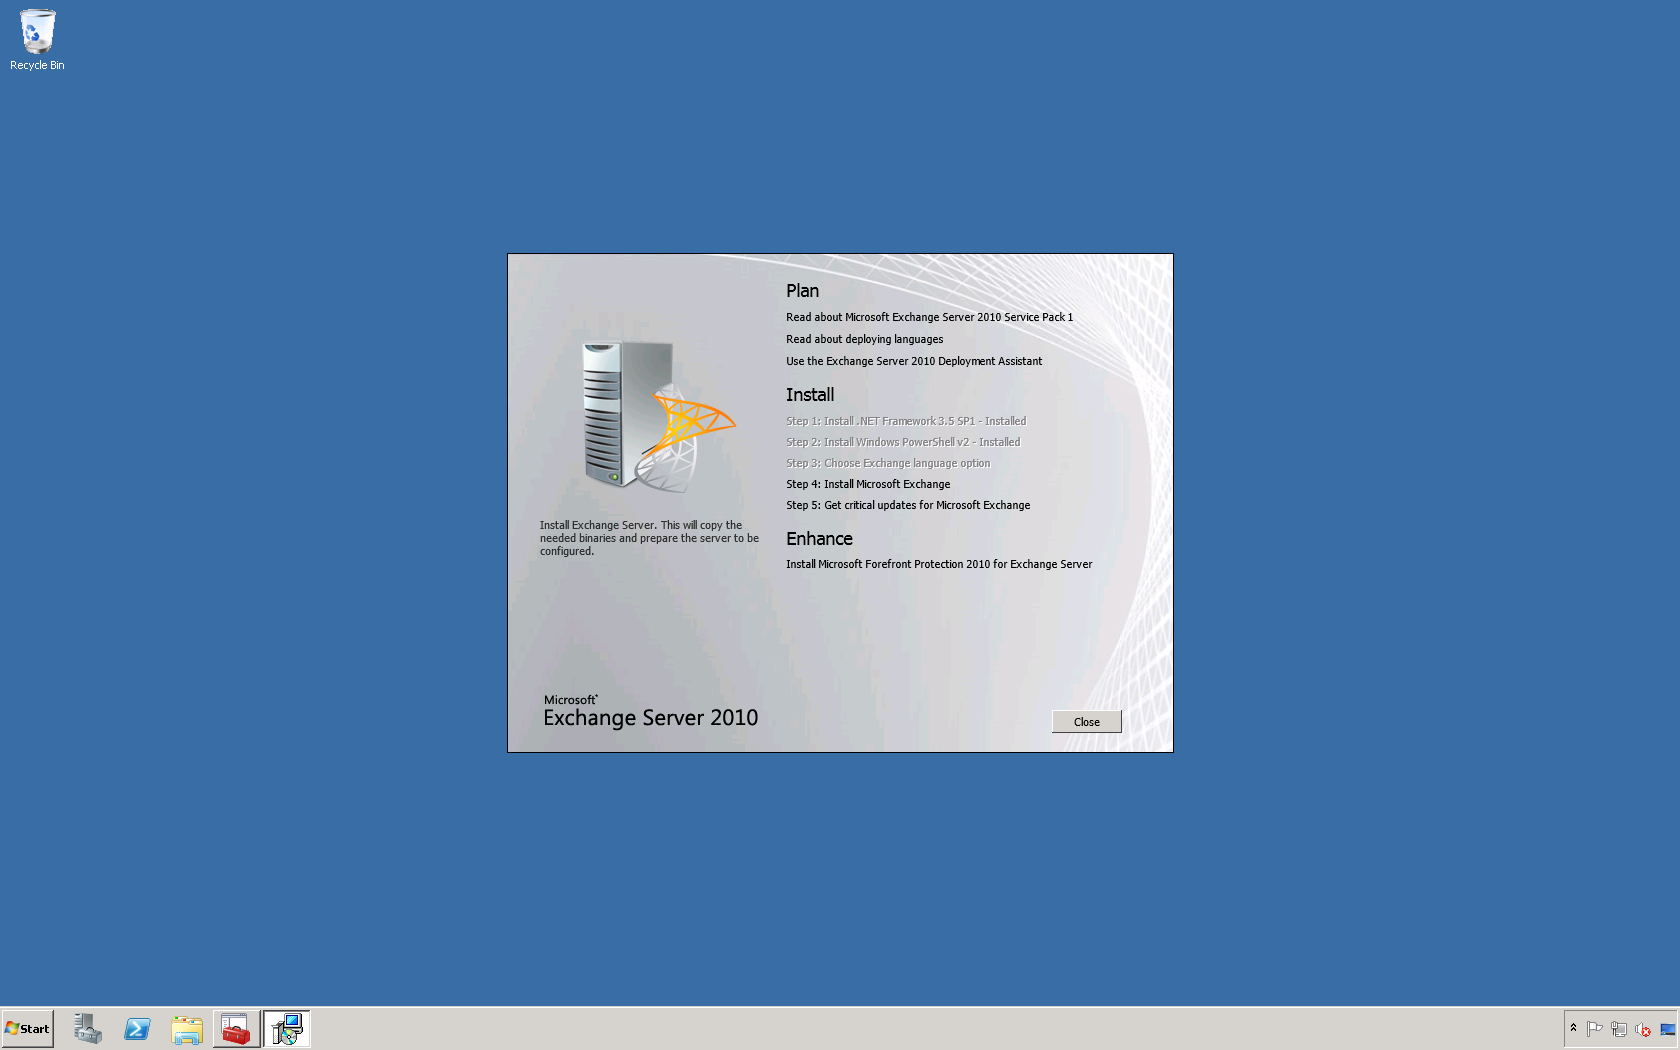
2. On the screen below click Step 3: Choose Exchange language option then select Install only languages from the DVD.
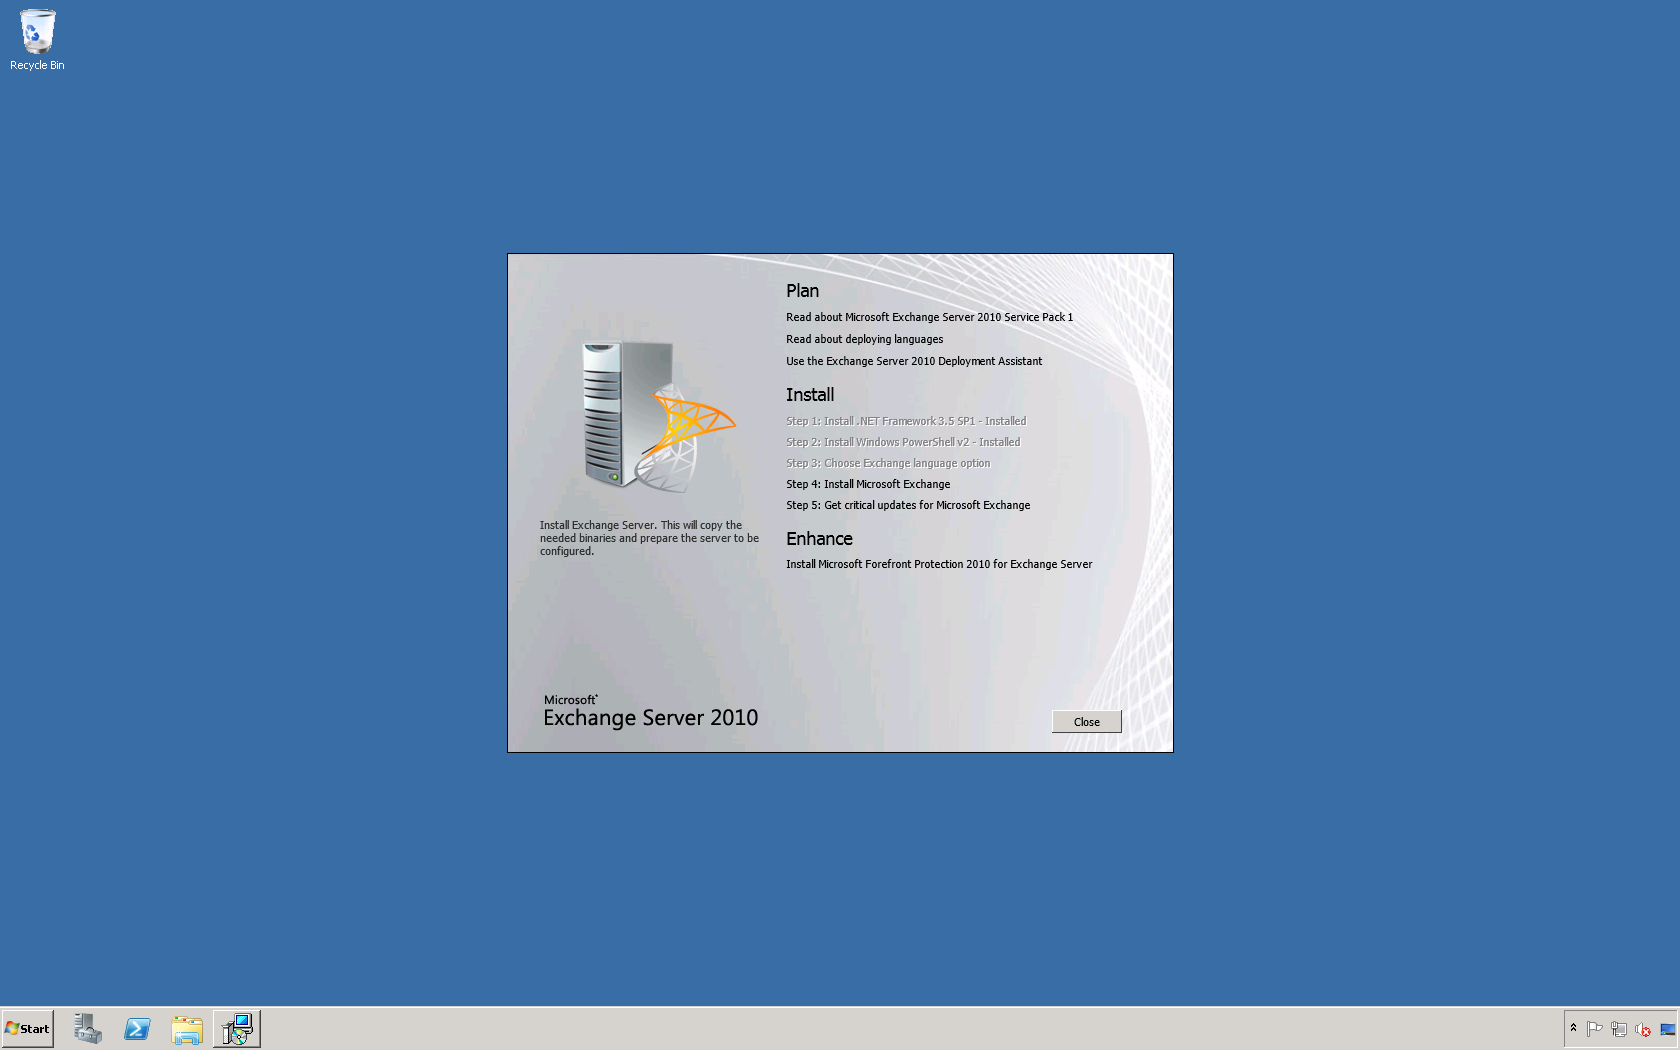
3. Click Step 4: Install Microsoft Exchange.
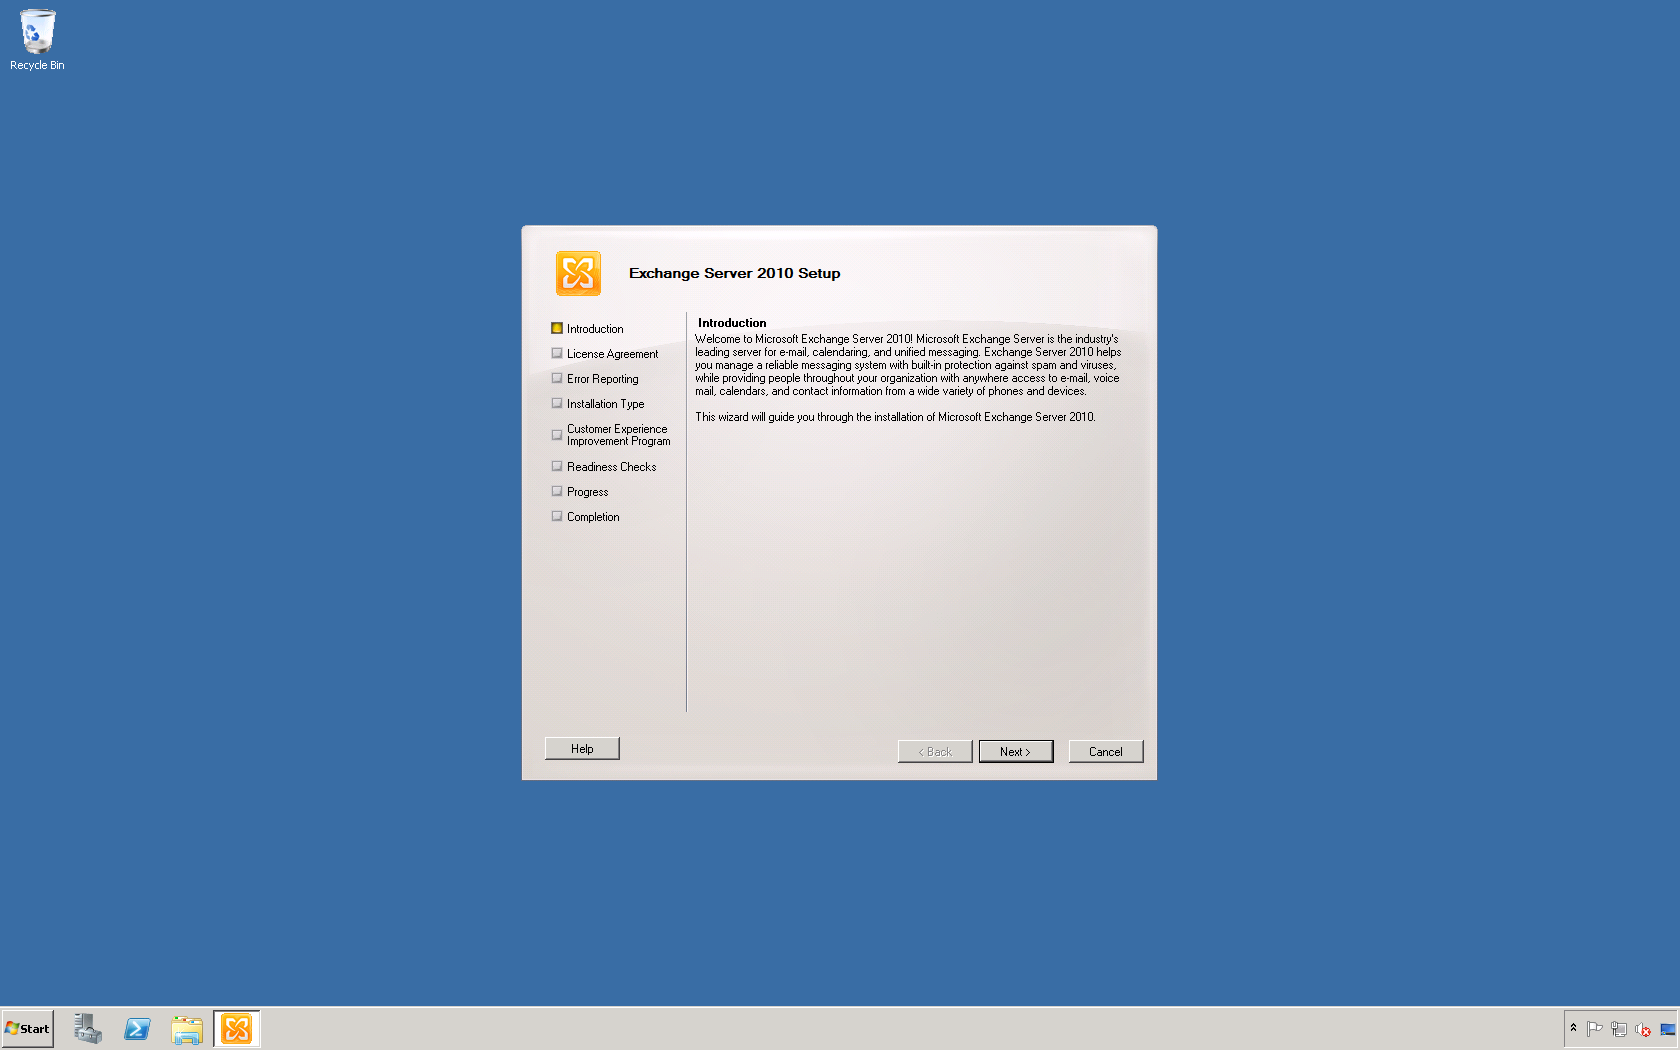
4. On the Introduction screen click Next >.
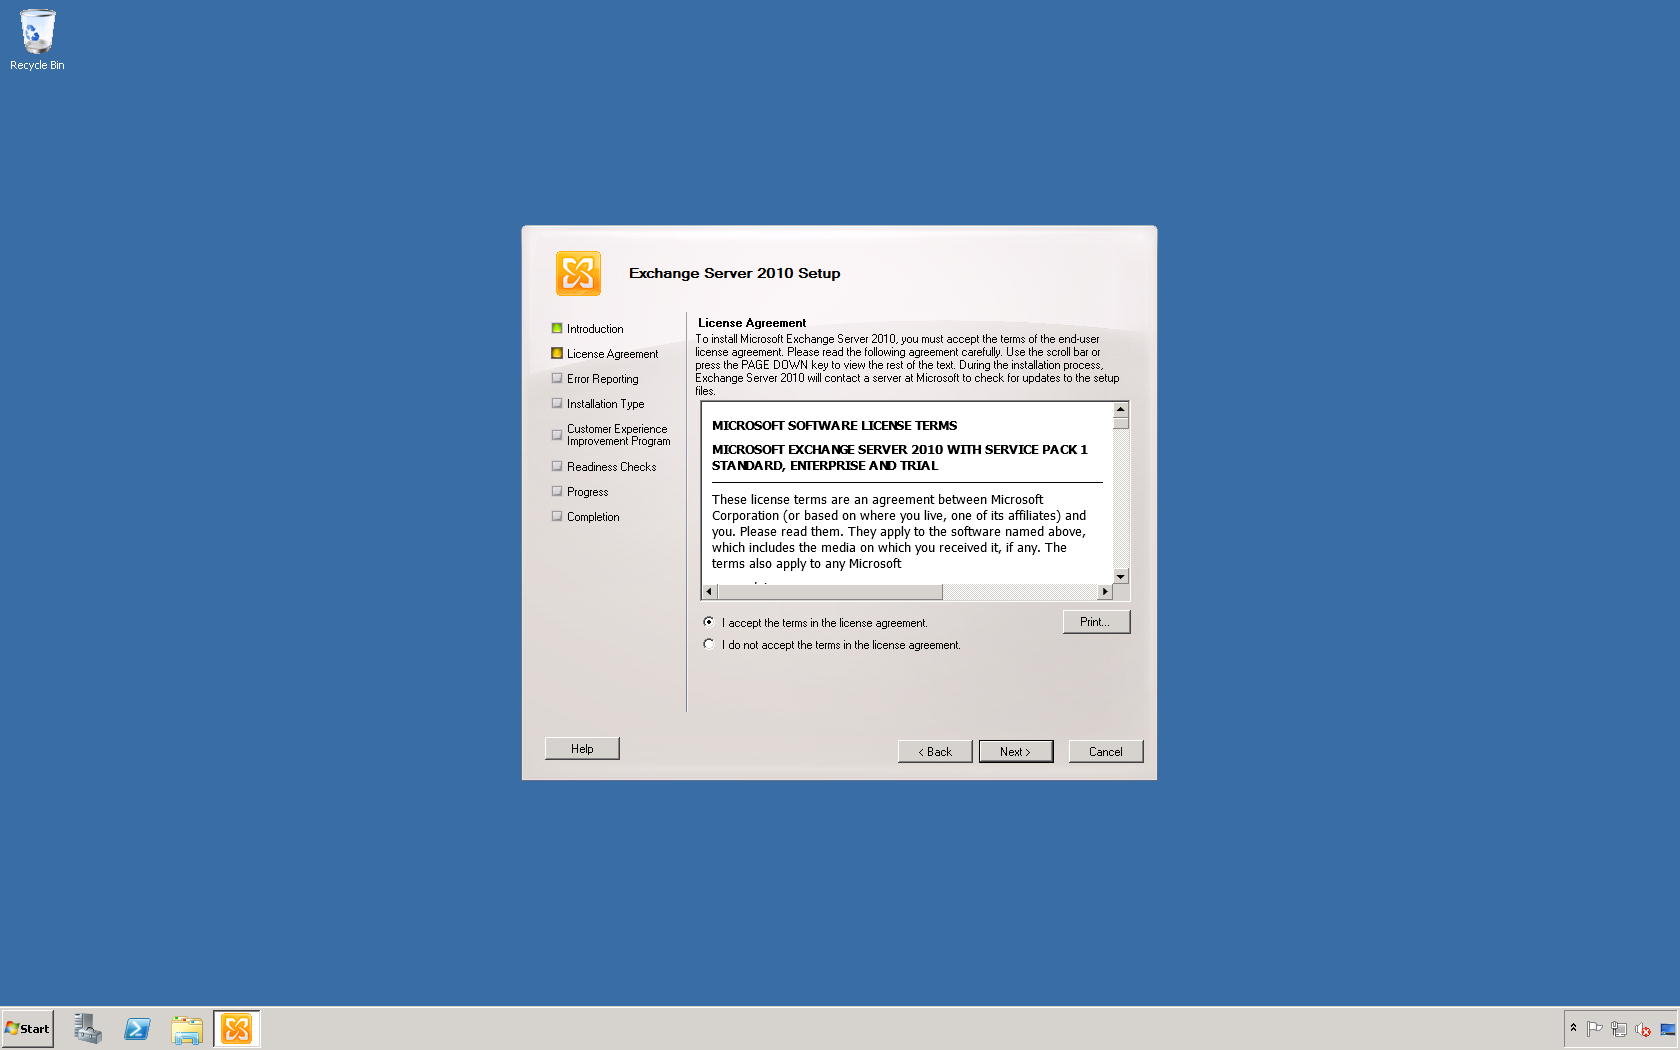
5. On the License Agreement screen select the option that says I accept the terms in the license agreement and click Next >.
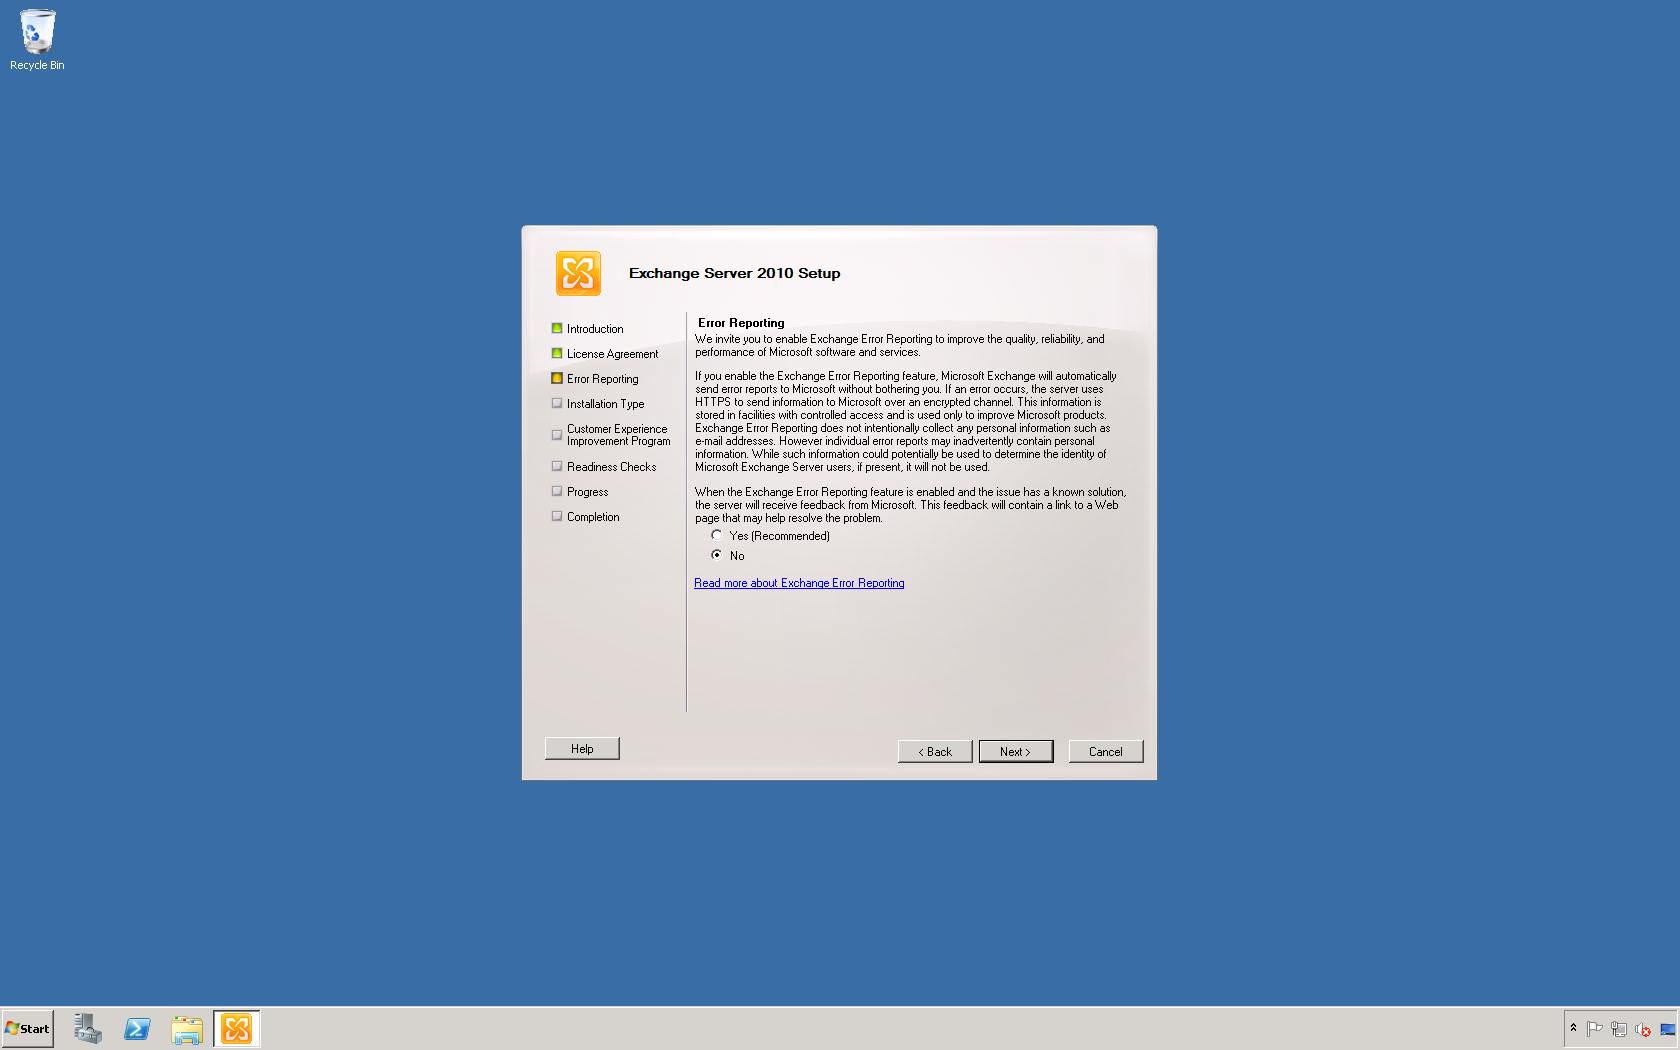
6. On the Error Reporting screen select No and click Next >.
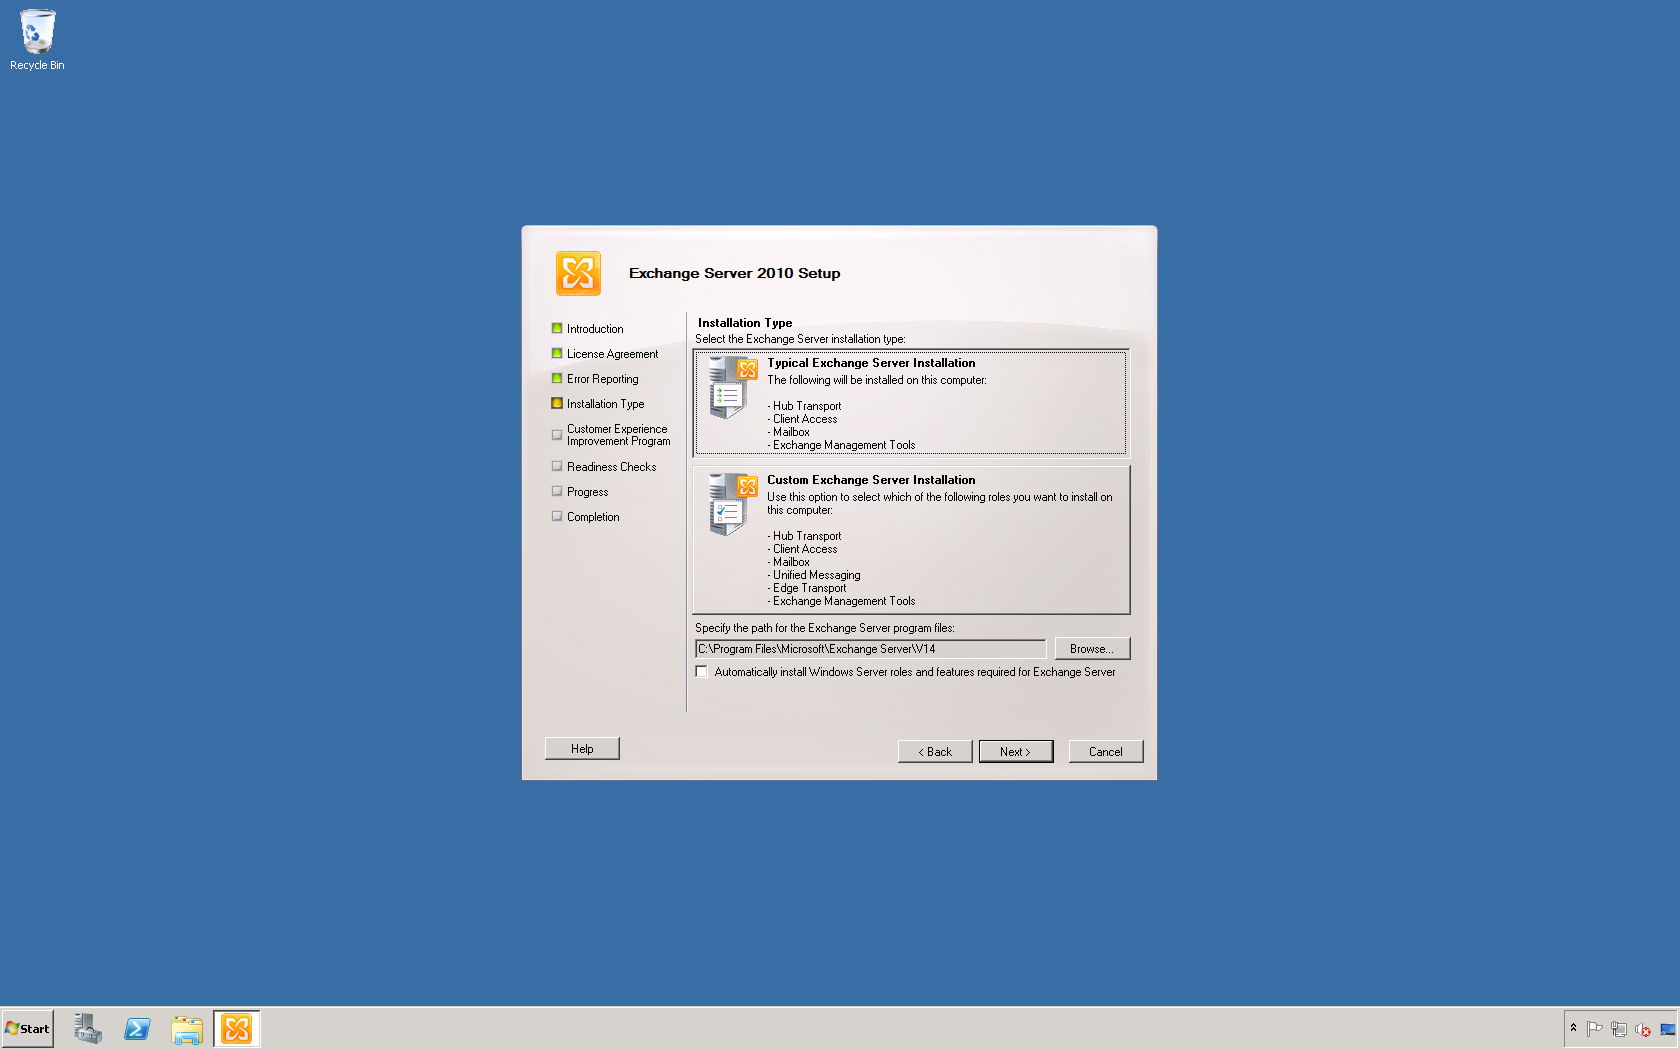
7. On the Installation Type screen select the Typical Exchange Server Installation option and click Next >.
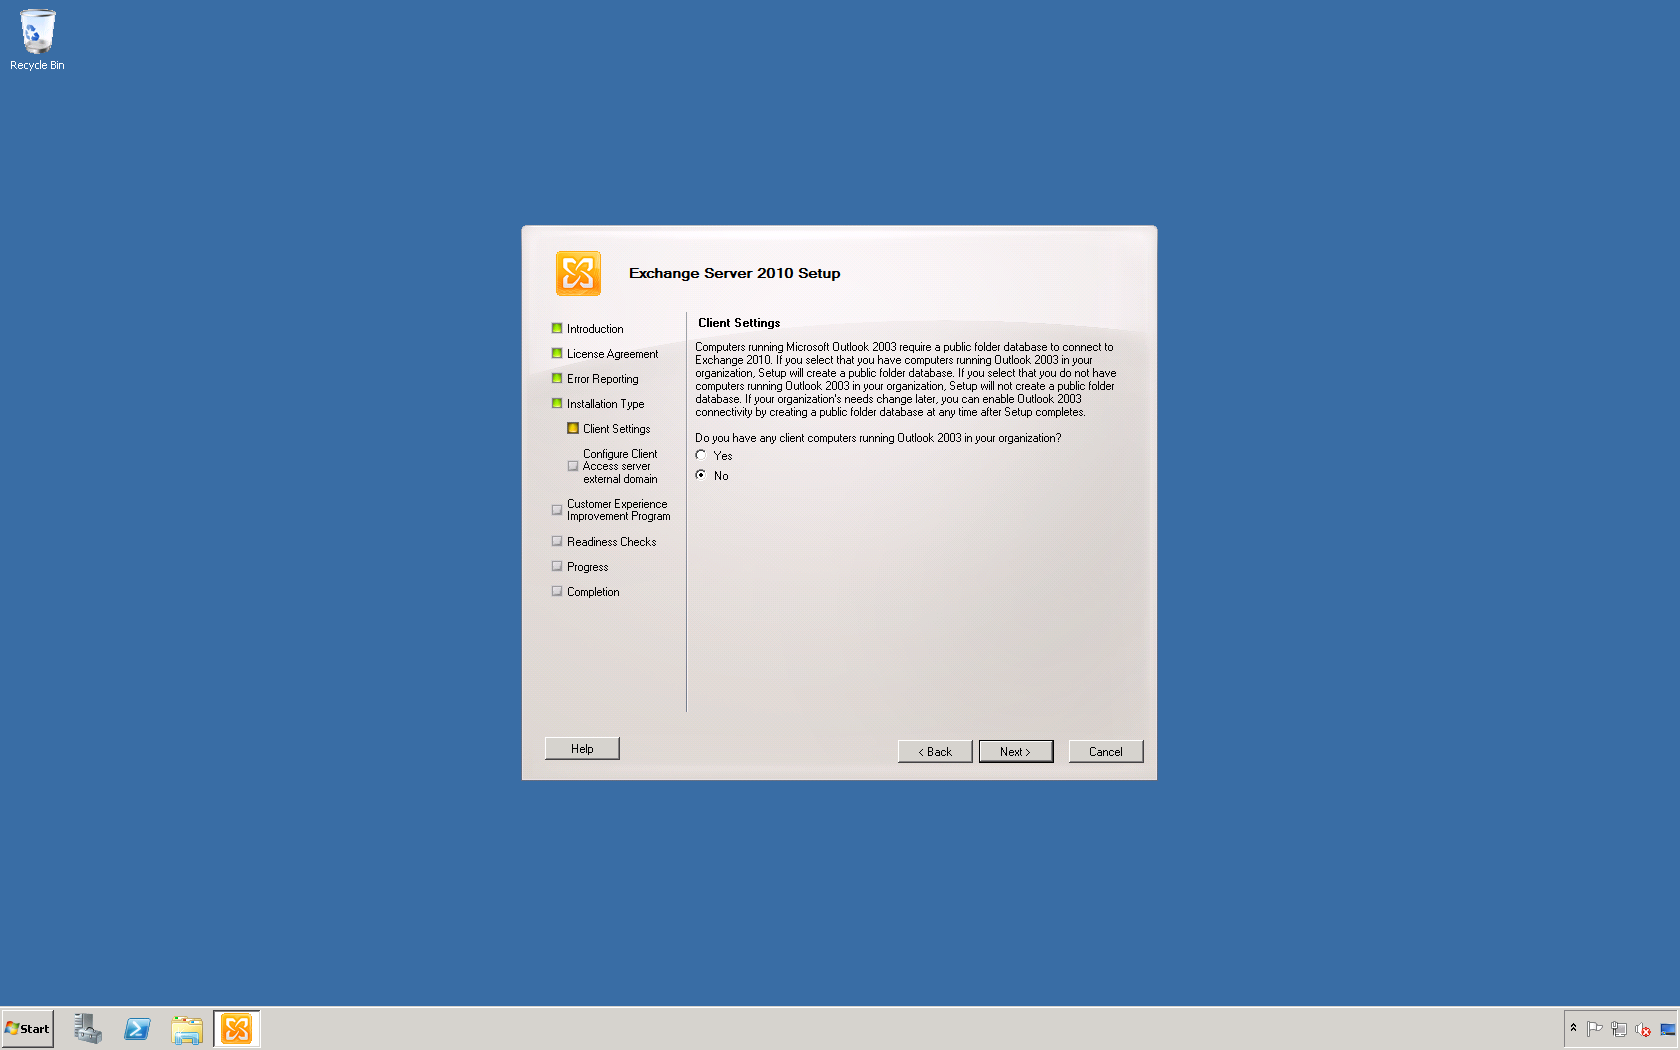
8. On the Client Settings screen select No and click Next >.
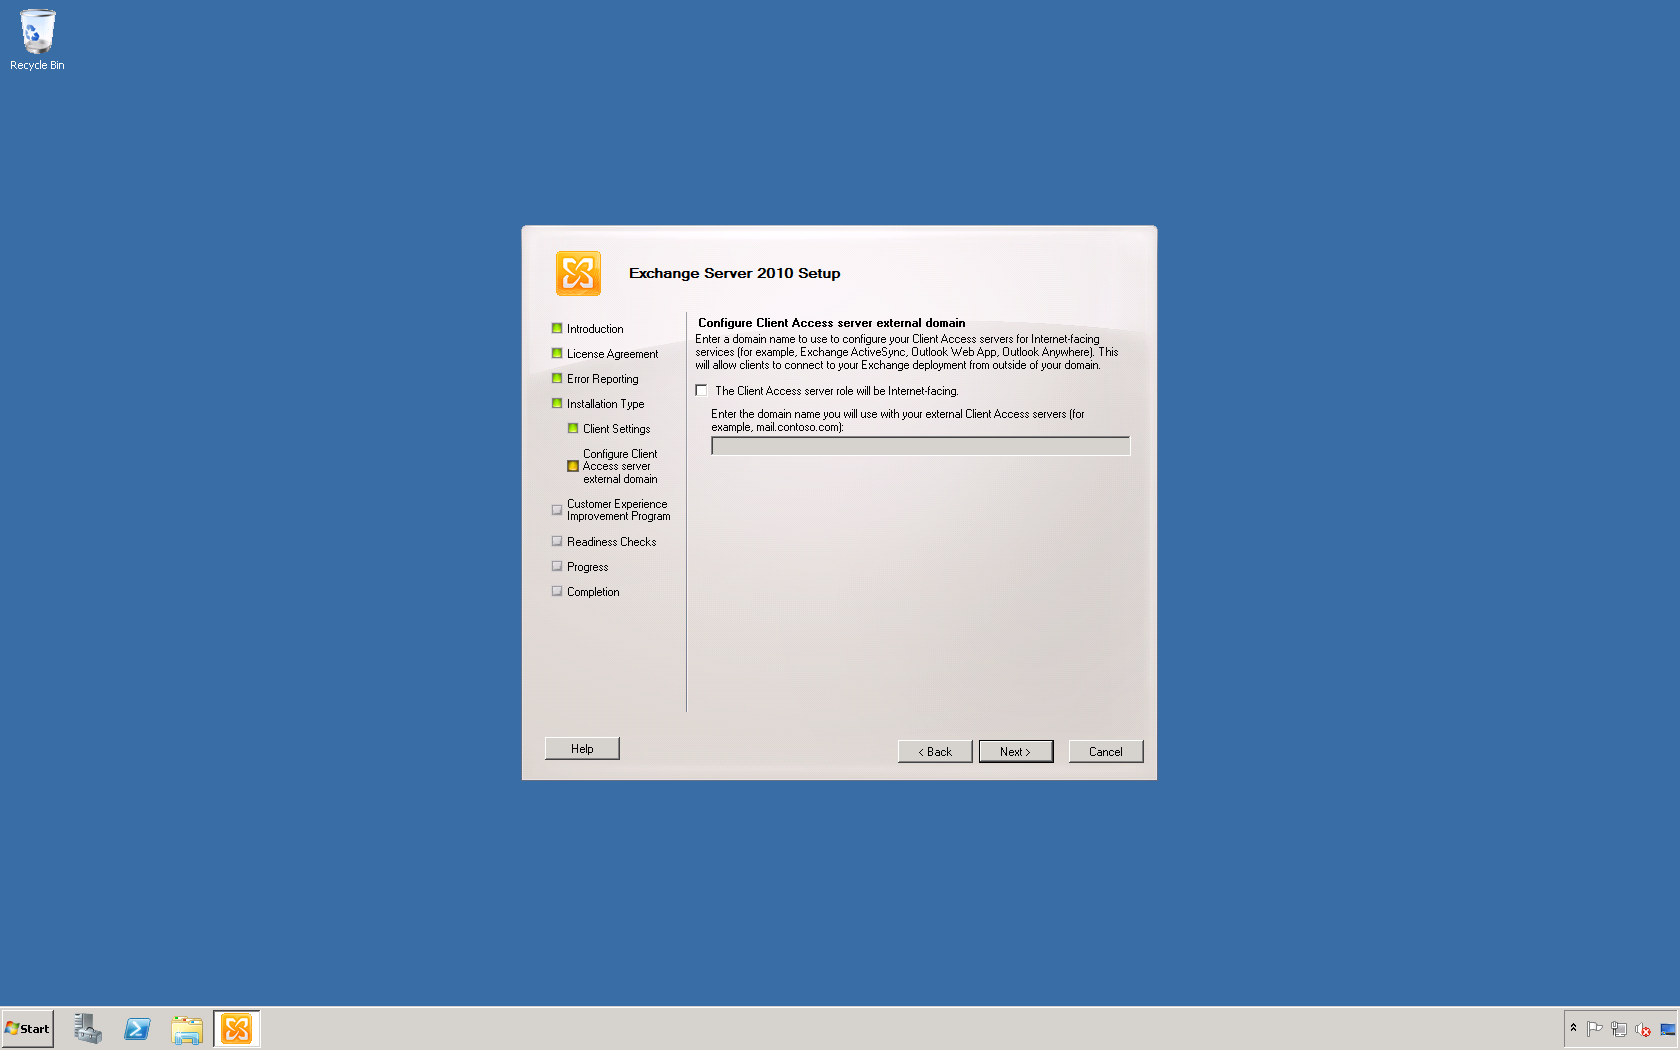
9. On the Configure Client Access server external domain screen do not select the option that says The Client Access server role will be internet-facing and click Next >.
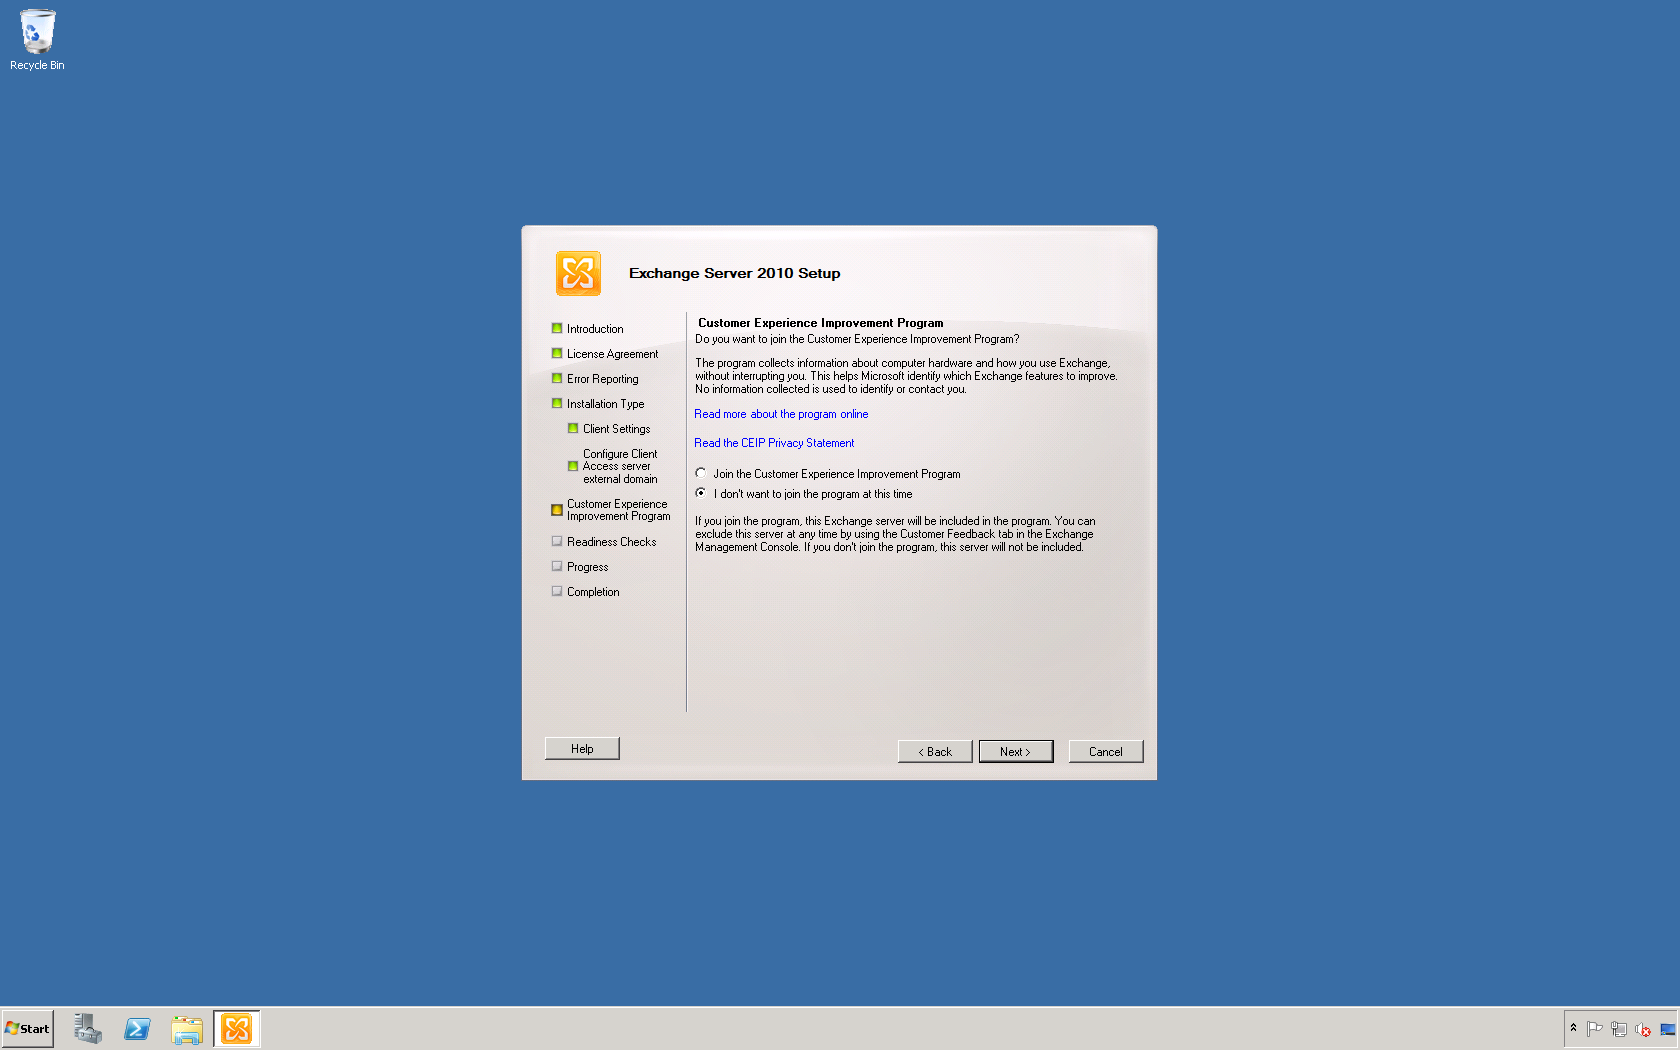
10. On the Customer Experience Improvement Program screen select I don’t want to join the program at this time and click Next >.
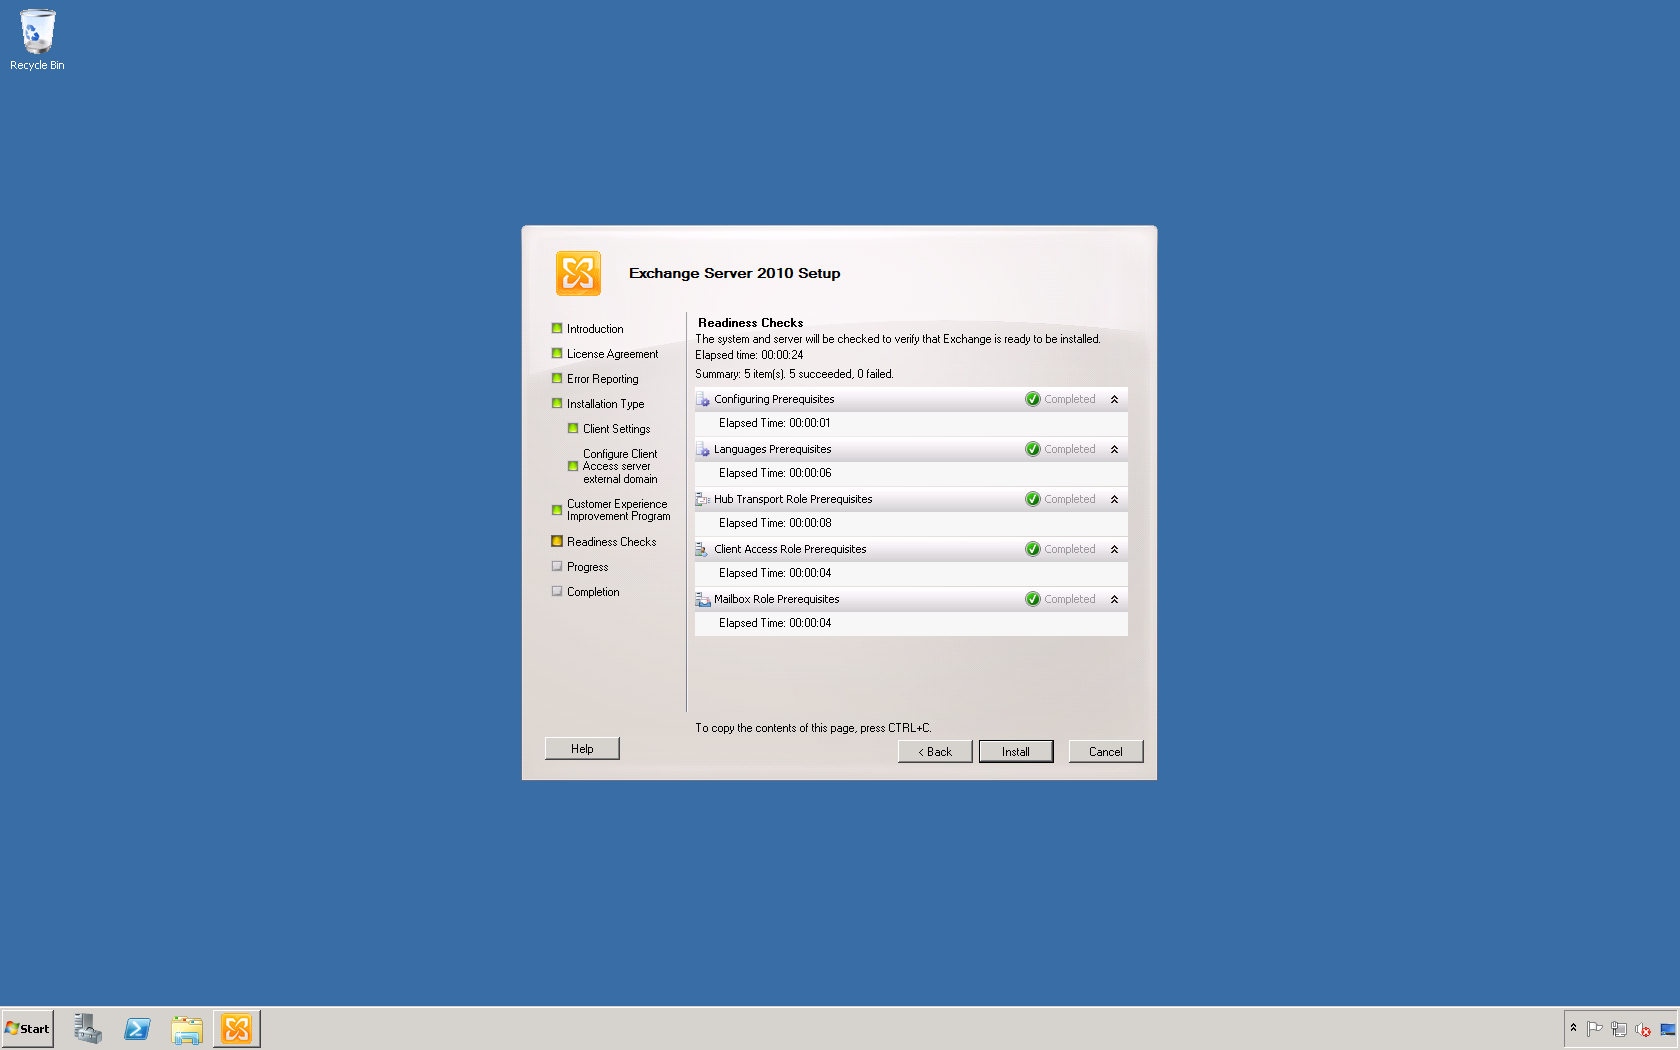
11. After the Readiness Checks screen completes successfully click Install.
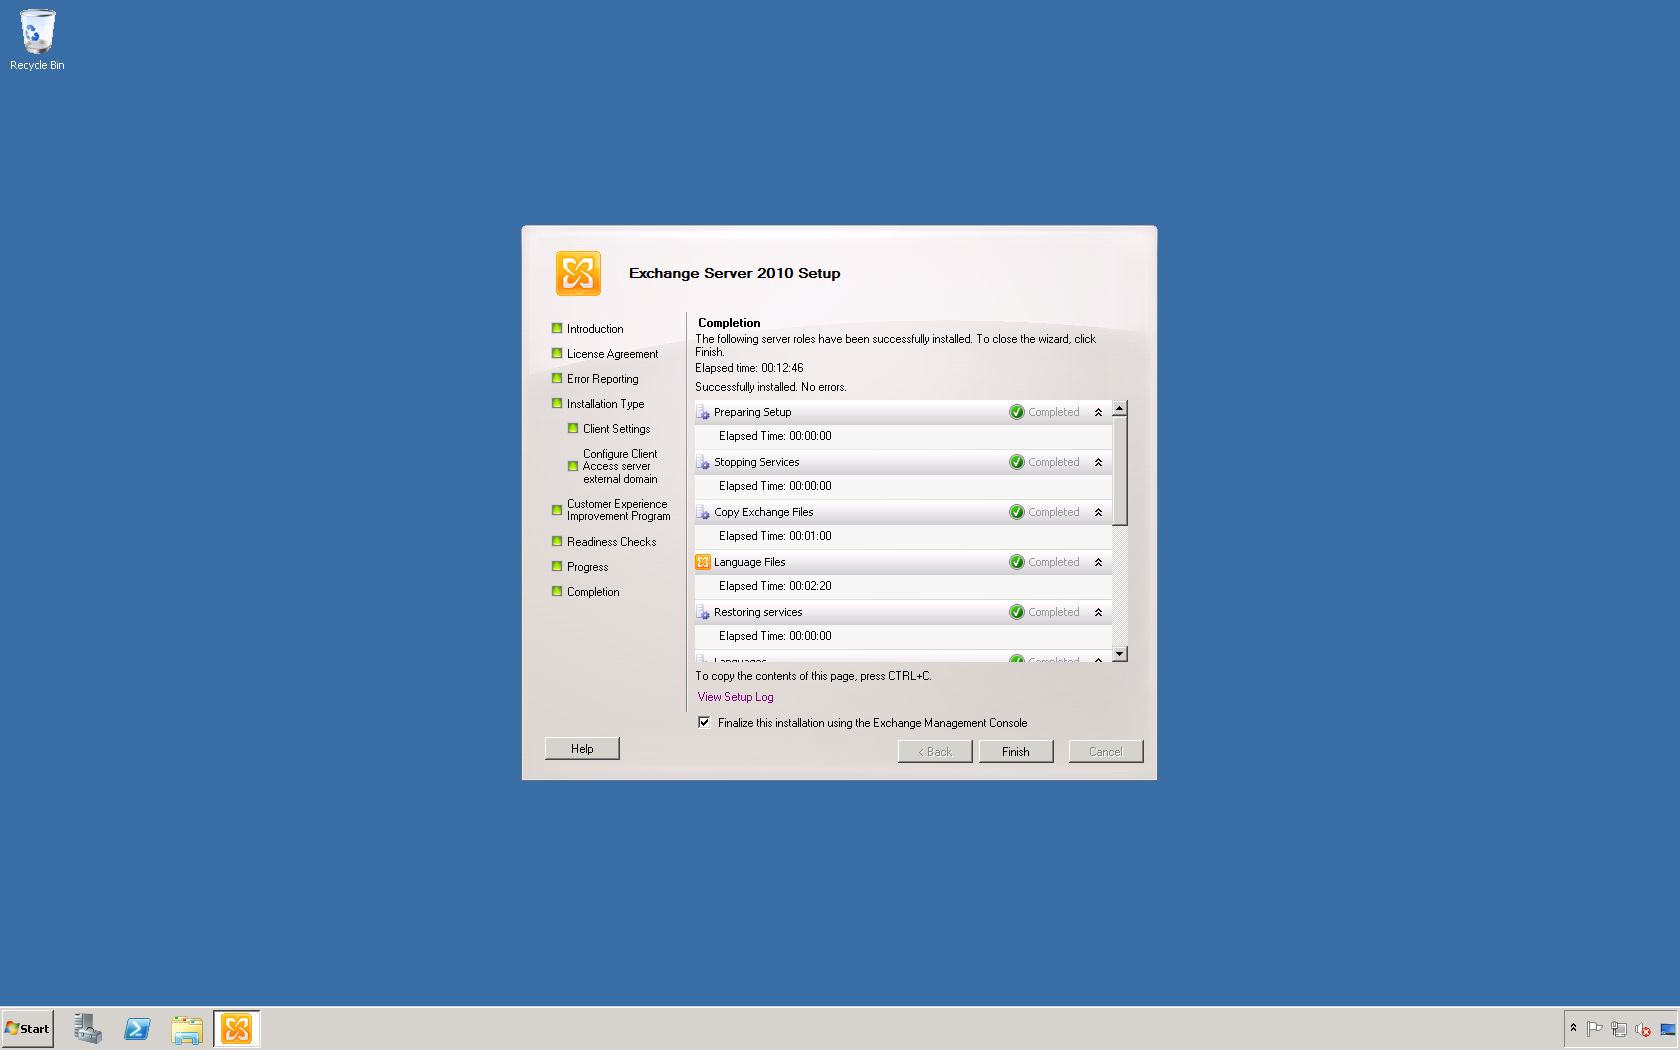
12. On the Completion page verify that Exchange Server 2010 installed successfully (Successfully installed. No errors.). Then click View Setup Log to view the log then click Finish.
13. On the Microsoft Exchange Server 2010 splash screen click Close.
14. Additionally, close the Exchange Management Console.

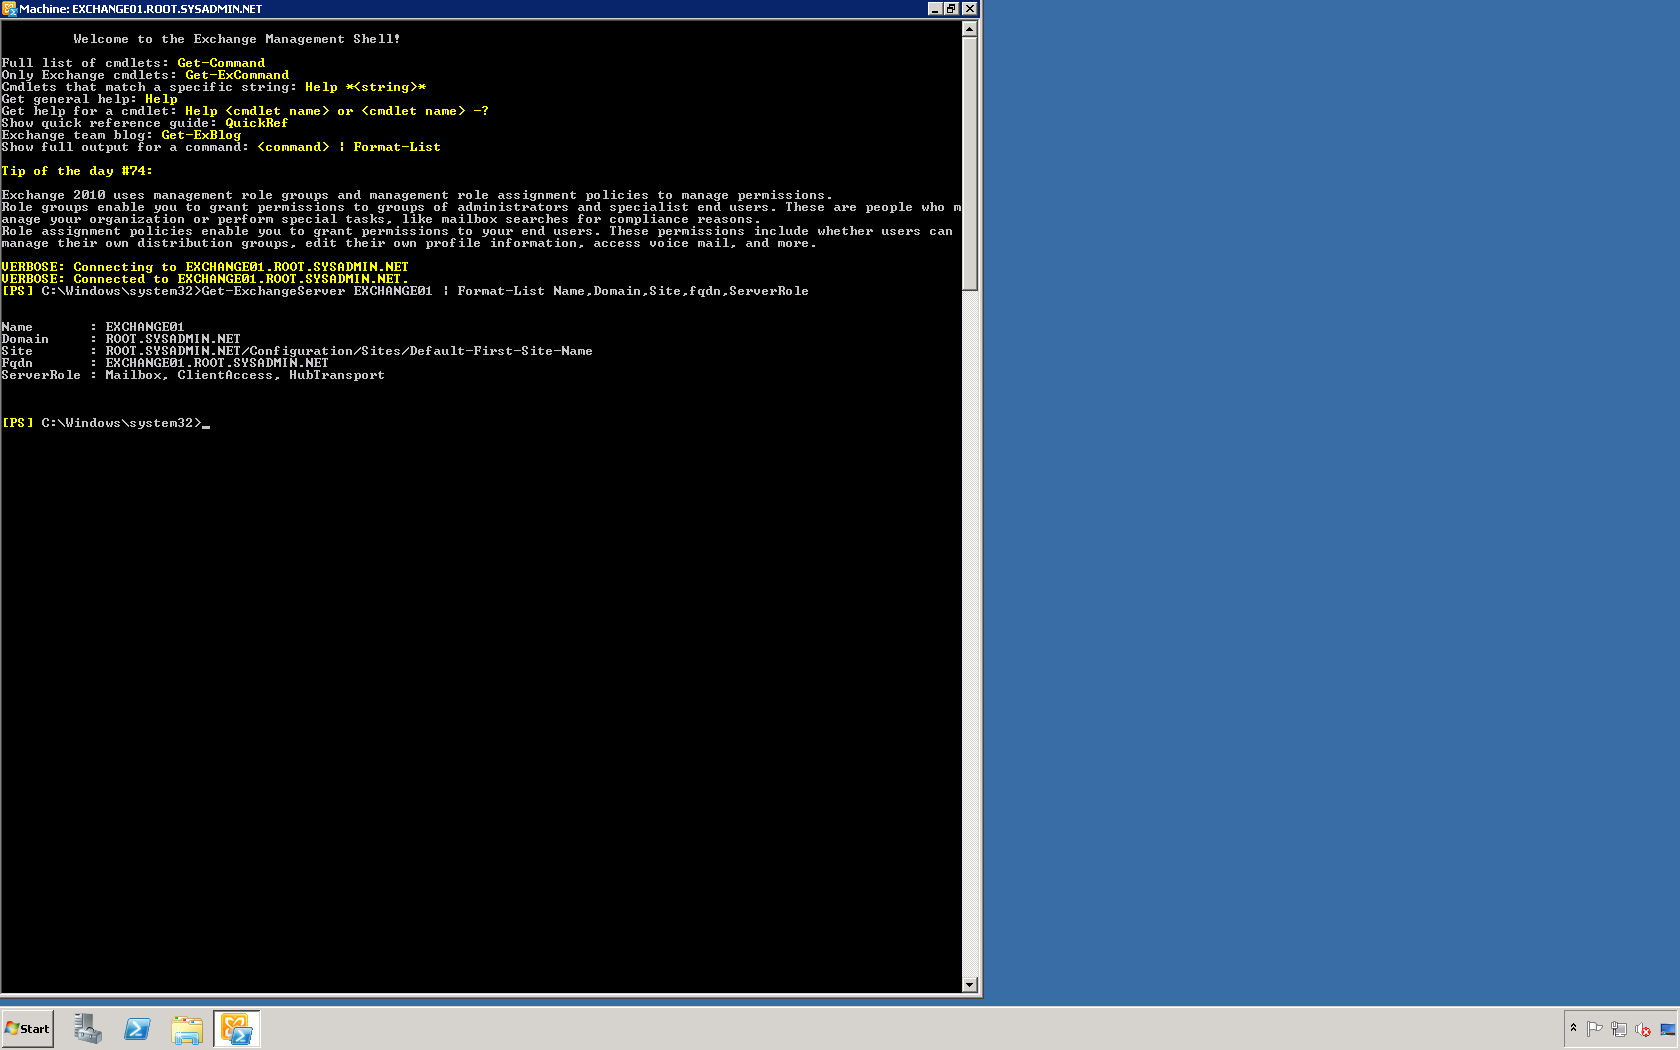
15. Open the Exchange Management Shell and enter the following command Get-ExchangeServer EXCHANGE01 | Format-List Name,Domain,Site,fqdn,ServerRole. In this example the hostname is EXCHANGE01 so you may need to substitute that value with the hostname that you have chosen. Additionally, verify that the output is similar to what you see below.
16. Lastly, restart the server.
This completes in the installation of Microsoft Exchange Server 2010.