Category: VMware vCenter Server 6.0

VMware vCenter Server 6.0 – Verify the Status of Critical Services

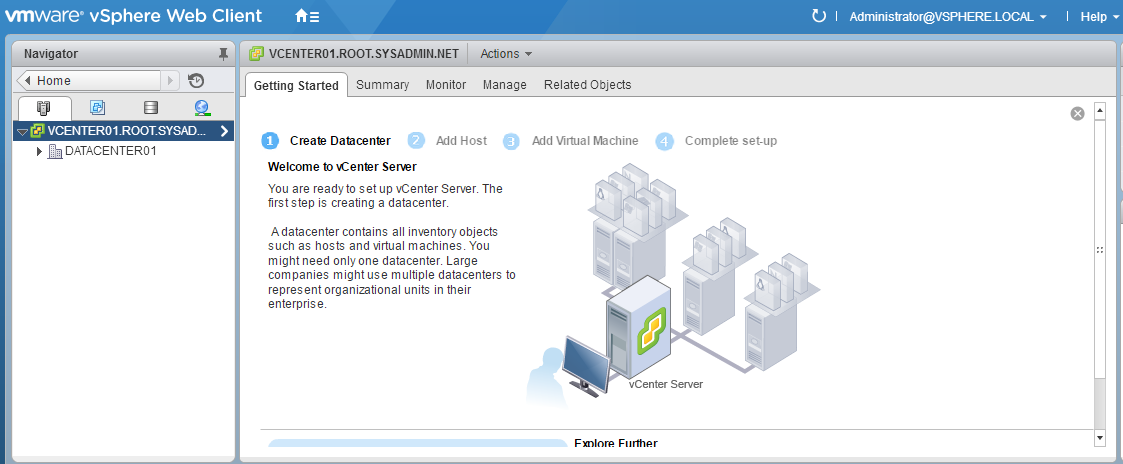
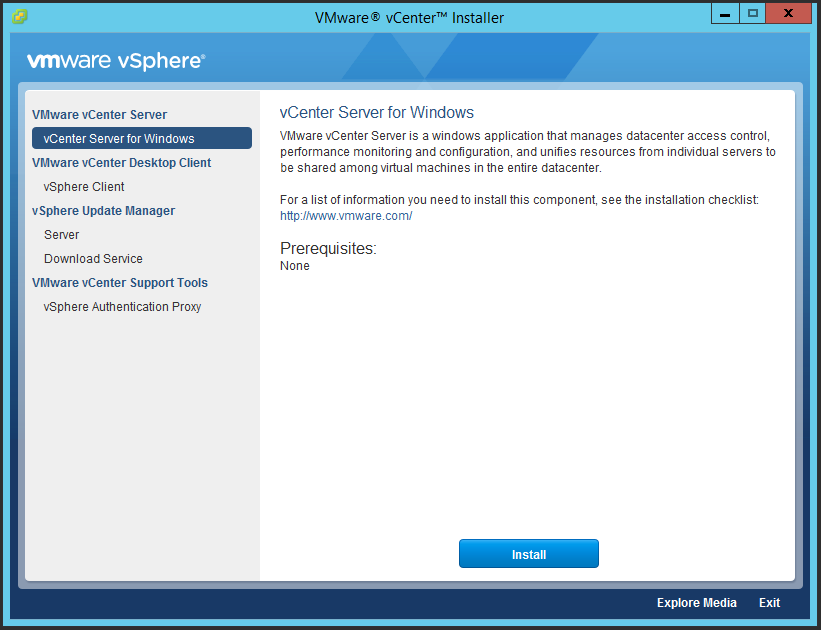
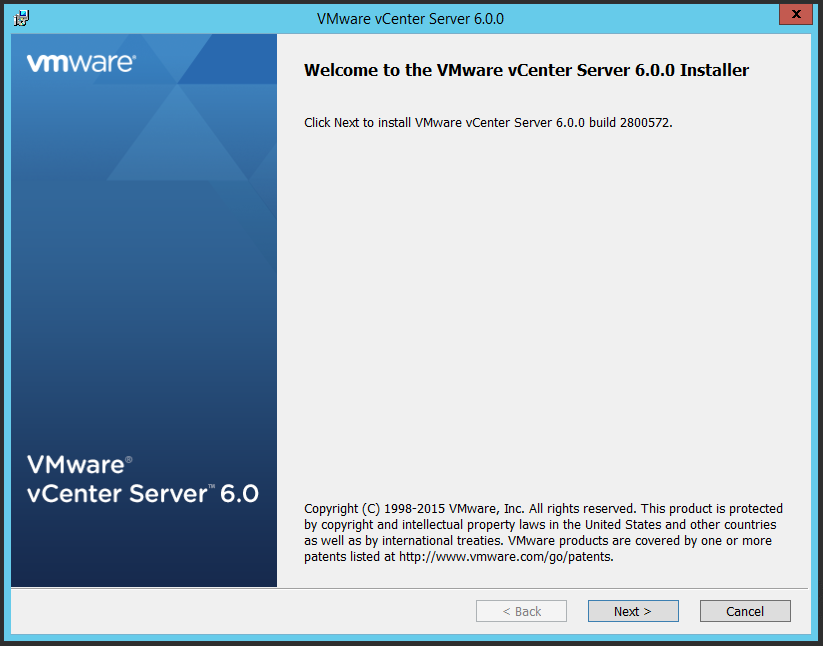
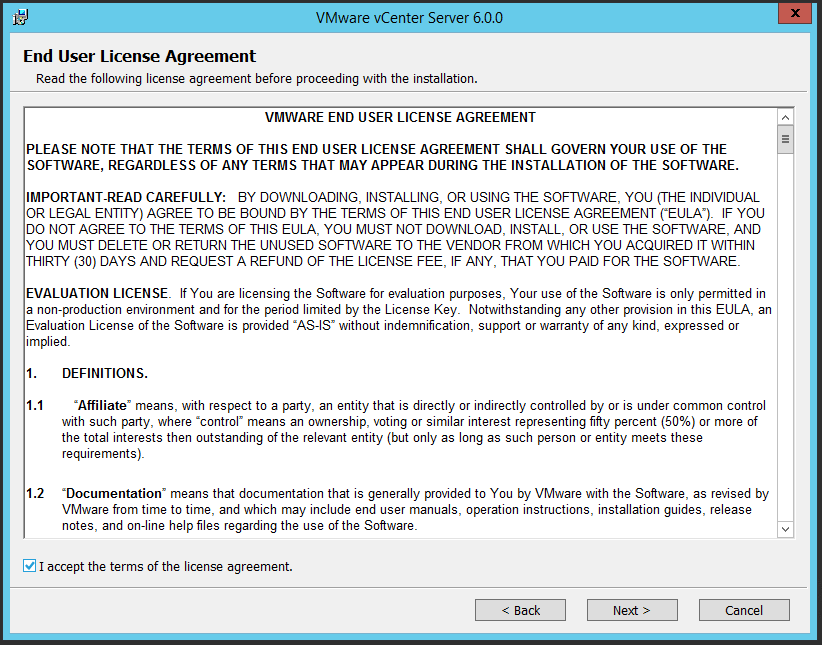
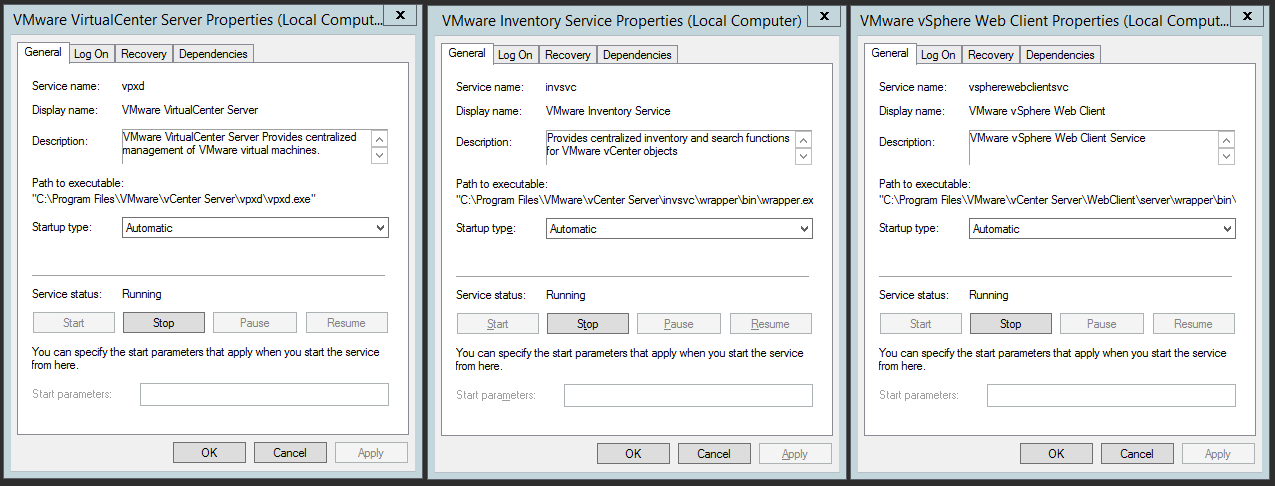
The script below will query the status of the VMware VirtualCenter Server (vpxd), VMware Inventory Service (invsvc) and VMware vSphere Web Client (vspherewebclientsvc) services on the specified server hosting an instance of VMware vCenter Server 6.0.

<#
.SYNOPSIS
This script will provide the status of the VMware VirtualCenter Server (vpxd), VMware Inventory Service (invsvc) and VMware vSphere Web Client (vspherewebclientsvc) services on VCENTER01.ROOT.SYSADMIN.NET.
.DESCRIPTION
This script will automate the process of providing the status of the VMware VirtualCenter Server (vpxd), VMware Inventory Service (invsvc) and VMware vSphere Web Client (vspherewebclientsvc) services on VCENTER01.ROOT.SYSADMIN.NET.
.EXAMPLE
N/A.
.AUTHOR
Written by Noel Enrique Alvarez on Friday, March 25, 2016.
#>

#Query the status of the VMware VirtualCenter Server (vpxd), VMware Inventory Service (invsvc) and VMware vSphere Web Client (vspherewebclientsvc) services on VCENTER01.ROOT.SYSADMIN.NET
Get-Service -ComputerName VCENTER01 | Where-Object {$_.name -eq “vpxd”}
Get-Service -ComputerName VCENTER01 | Where-Object {$_.name -eq “invsvc”}
Get-Service -ComputerName VCENTER01 | Where-Object {$_.name -eq “vspherewebclientsvc”}


VMware vCenter Server 6.0 – Adding a Host to VMware vCenter Server cluster as a Scheduled Task

The following is a step by step guide for adding a VMware ESXi 6.0 host to a VMware vCenter Server cluster as a scheduled task.

  1. On the home screen of the VMware vSphere Web Client select Host and Clusters.01
  2. Select a cluster, then navigate to the Manage tab and select Scheduled Tasks.02
  3. Select Schedule a New Task and click Add Host….03
  4. On the Name and location portion of the Add Host (scheduled) dialog box enter the hostname or Internet Protocol (IP) address of the VMware ESXi 6.0 host then click Next.04
  5. On the Connection settings page enter the root authentication credentials and click Next.05
  6. On the Security Alert dialog box click Yes.06
  7. On the Host summary page review the configuration of the VMware ESXi 6.0 host and click Next.07
  8. On the Assign license page review the licensing information for the VMware ESXi 6.0 host and click Next.08
  9. On the Lockdown mode page accept the default settings and click Next.09
  10. On the Scheduling options page enter a Task name and Task description.10
  11. On the Scheduling options page click Change.
  12. On the Configure Scheduler dialog box enter a time to add the VMware ESXi 6.0 host to the cluster then click OK.12
  13. On the Scheduling options page click Next.13
  14. On the Ready to complete page click Finish.14
  15. In the Recent Tasks pane verify a the Create scheduled task task completed successfully.15

VMware vCenter Server 6.0 – Creating a Host Profile

The following is a step by step guide for a creating a VMware ESXi 6.0 host profile.

  1. On the home screen of the VMware vSphere Web Client select Policies and Profiles.01
  2. On the Policies and Profiles interface select Host Profiles.02
  3. On the Host Profiles interface click the green plus sign to Extract profile from a host.03
  4. On the Extract Host Profile dialog box select a vCenter Server and VMware ESXi host then click Next.04
  5. On the Extract Host Profile dialog box enter a Name for the host profile then click Next.05
  6. On the Extract Host Profile dialog box click Finish.06
  7. In the Recent Tasks pane verify a Create a host profile task completed completed successfully.07
  8. On the Host Profiles interface verify the host profile has been created.08

VMware vCenter Server 6.0 – Creating a Cluster

The following is a step by step guide for creating a VMware vCenter Server 6.0 cluster.

  1. On the home screen of the VMware vSphere Web Client select Hosts and Clusters.01
  2. Right click a datacenter object and select New Cluster….02
  3. In the New Cluster dialog box enter a Name for the cluster and click OK.03
  4. On the VMware vSphere Web Client verify that a recent task completed for the creation of the cluster.04
  5. On the VMware vSphere Web Client verify that the cluster object has been created.05

VMware vCenter Server 6.0 – Adding a VMware ESXi 6.0 Host to a Datacenter

The following is a step by step guide for adding a VMware ESXi 6.0 host to a VMware vCenter Server 6.0 datacenter.

  1. On the home screen of the VMware vSphere Web Client select Hosts and Clusters.01
  2. Select the datacenter object, right click it then select Add Host….02
  3. On the Name and location section enter the hostname or Internet Protocol (IP) address of the VMware ESXi 6.0 host then click Next.03
  4. On the Connection Settings section enter the authentication credentials for the root user account then click Next.04
  5. On the Security Alert dialog box click Yes.05
  6. On the Host Summary section review the information for the VMware ESXi 6.0 host and click Next.06
  7. On the Assign license section enter license information or select the Evaluation License and click Next.07
  8. On the Lockdown mode section accept the default setting of Disabled and click Next.08
  9. On the VM location section accept the default setting of the datacenter object and click Next.09
  10. On the Ready to complete section review the configuration settings and click Finish.10
  11. In the VMware vSphere Web Client verify that a recent task completed adding the VMware ESXi 6.0 host to the datacenter.11
  12. In the VMware vSphere Web Client verify that the VMware ESXi 6.0 host is located under the datacenter object.12

VMware vCenter Server 6.0 – Creating a Datacenter

The following is a step by step guide for creating a datacenter in VMware vCenter Server 6.0.

  1. On the home screen of the VMware vSphere Web Client select Hosts and Clusters.01
  2. Right click the vCenter Server object and select New Datacenter….02
  3. In the New Datacenter dialog box type a name for the datacenter object and click OK.03
  4. On the VMware vSphere Web Client interface verify the datacenter object is under the vCenter Server object.04

VMware vCenter Server 6.0 – Web Client Configuration

The VMware vSphere 6.0 Web Client layout may be adjusted to your personal preference but should you ever want to reset the layout to it’s default configuration follow these steps:

Username > Layout Settings… > Reset to default layout


VMware vCenter Server 6.0 – Critical Services

You may consider monitoring the following services if you utilize VMware vCenter Server 6.0 in your virtualized infrastructure.

1. VMware VirtualCenter Server (vpxd)
2. VMware Inventory Service (invsvc)
3. VMware vSphere Web Client (vspherewebclientsvc)

Enjoy!


VMware vCenter Server 6.0 – Installation and Configuration

The following is a step by step guide for installation VMware vCenter Server 6.0. This application is used for centralized management of your VMware vSphere infrastructure.

Additionally, this is a lab environment. Therefore, the Platform Services Controller (PSC) will be installed on the same host as VMware vCenter Server and the installation will utilize an embedded vPostgres database.

  1. On the VMware vCenter Installer dialog box select vCenter Server for Windows and click Install.01
  2. On the Welcome to the VMware vCenter Server 6.0.0 Installer dialog box click Next >02
  3. On the End User License Agreement dialog box click the check box to select I accept the terms of the license agreement and click Next >.03
  4. On the Select deployment type dialog box click the check box to select vCenter Server and Embedded Platform Services Controller and click Next >.04
  5. On the Select Network Name dialog box verify the hostname of the VMware vCenter Server is in the System Name: field and click Next >.05
  6. On the VMware vCenter Server dialog box select OK if you do not intend to use IPv6.06
  7. On the vCenter Single Sign-On Configuration dialog box click to check box to select Create a new vCenter Single Sign-On domain and enter the password in the vCenter Single Sign-On password: and Confirm password: fields then click Next >.07
  8. On the vCenter Server Service Account select the check box to Use Windows Local System Account or Specify a user service account and enter an account username and password then click Next >. In this example a Microsoft Active Directory service account is being used. If a service account is being used it will need to be provided the Log on as a service privilege.08
  9. On the Database Settings dialog box click to check box to Use an embedded database (vPostgres) then click Next >.09
  10. On the Configure Ports dialog box accept the default settings and click Next >.10
  11. On the Destination Directory dialog box accept the defaults and click Next >.11
  12. On the Ready to install dialog box review the installation settings and click Install.12
  13. On the Setup Completed dialog box click Finish.13
  14. Verify the vpxd, invsvc and vspherewebclientsvc services are configured with a Startup type: of Automatic and the Service status: is Running.14
  15. Using a web browser, in this example Google Chrome, navigate to the vSphere Web Client (https://HOSTNAME/vsphere-client). On the web interface select Advanced.15
  16. Under Your connection is not private select Proceed to vcenter01.root.sysadmin.net (unsafe).16
  17. On the vSphere Web Client enter the authentication credentials for [email protected] and click Login.17
  18. Upon successfully logging in you will be directed the home page of the VMware vSphere Web Client.18