You may use the following method to install and configure the Windows Server 2012 Multipath I/O role that may be used for a Windows Server 2012 Failover Cluster. The steps below assume that an iSCSI target has already been properly configured. Additionally, below you will find the Internet Protocol (IP) information that will be used in this configuration.
iSCSI Targets: 172.16.25.1/24 & 172.16.50.1/24
iSCSI Initators: 172.16.25.102/24 & 172.16.50.102/24
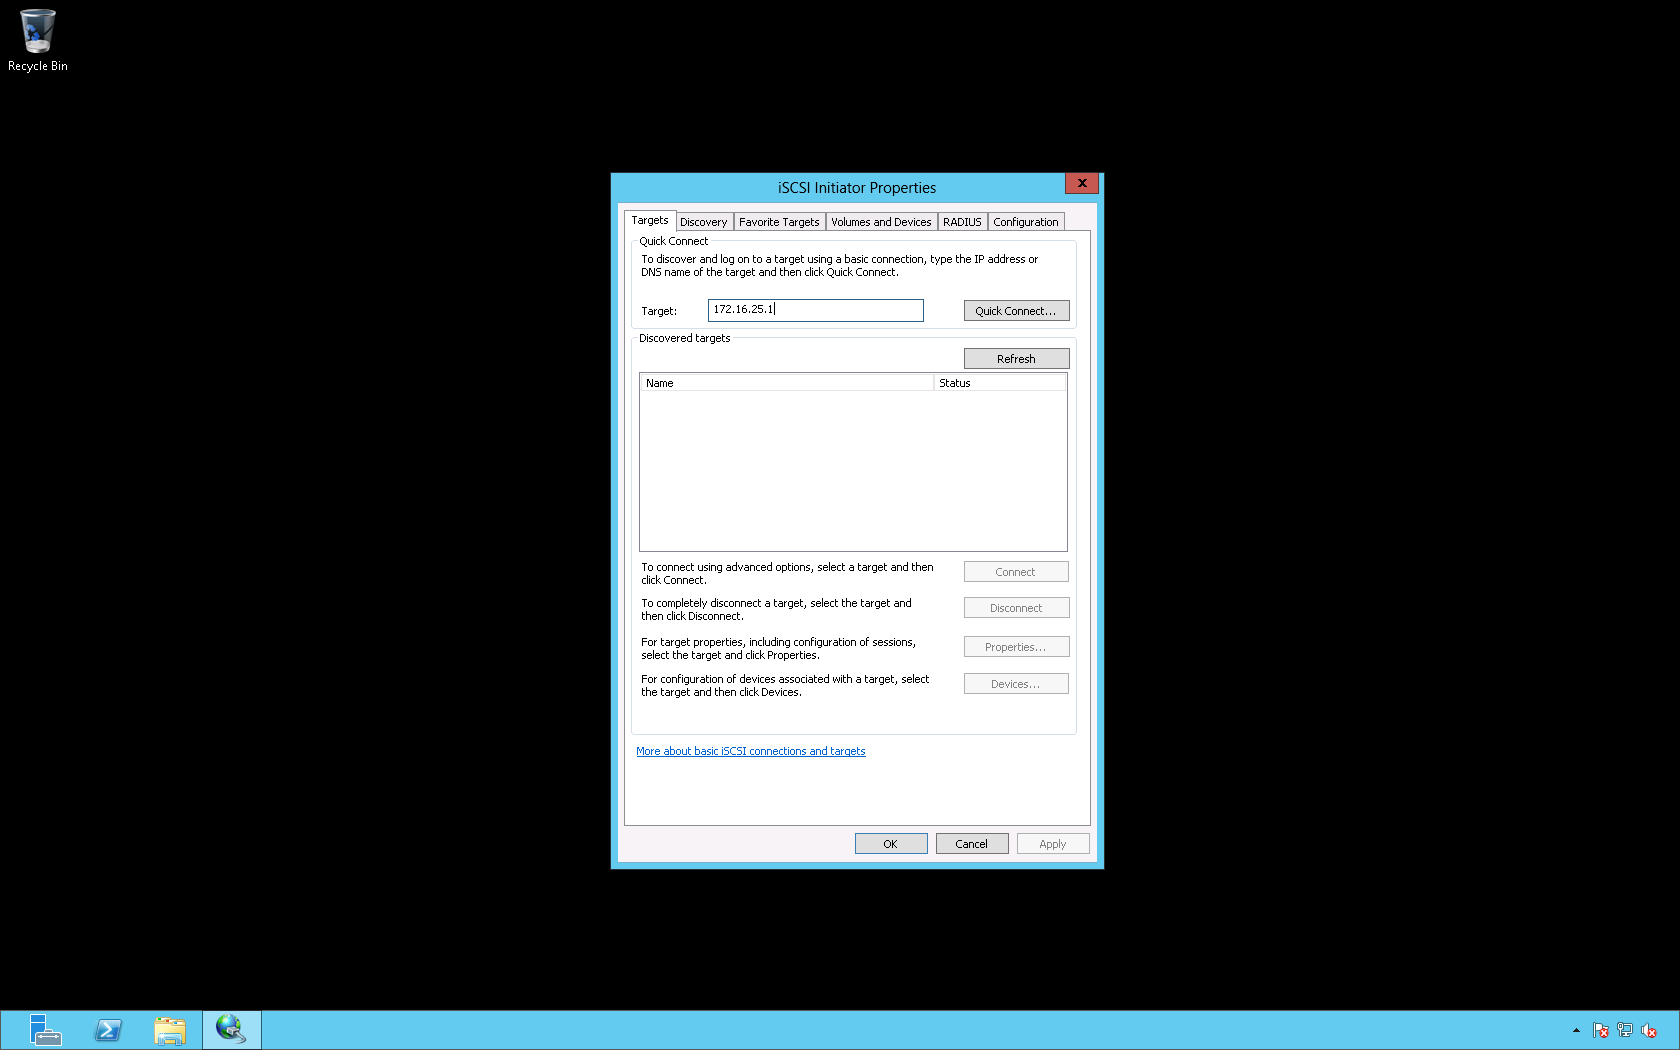
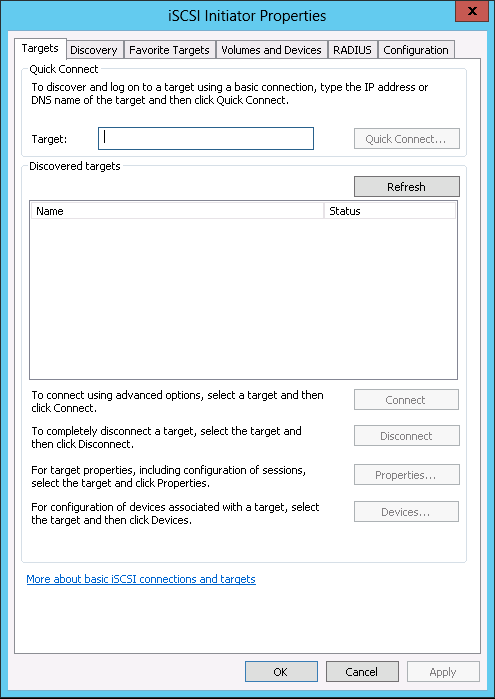
We begin by configuring the iSCSI Initiator on the server that will be utilizing the iSCSI SAN. On the Targets tab in the Target: field enter the Internet Protocol (IP) address of the iSCSI target and click Quick Connect….
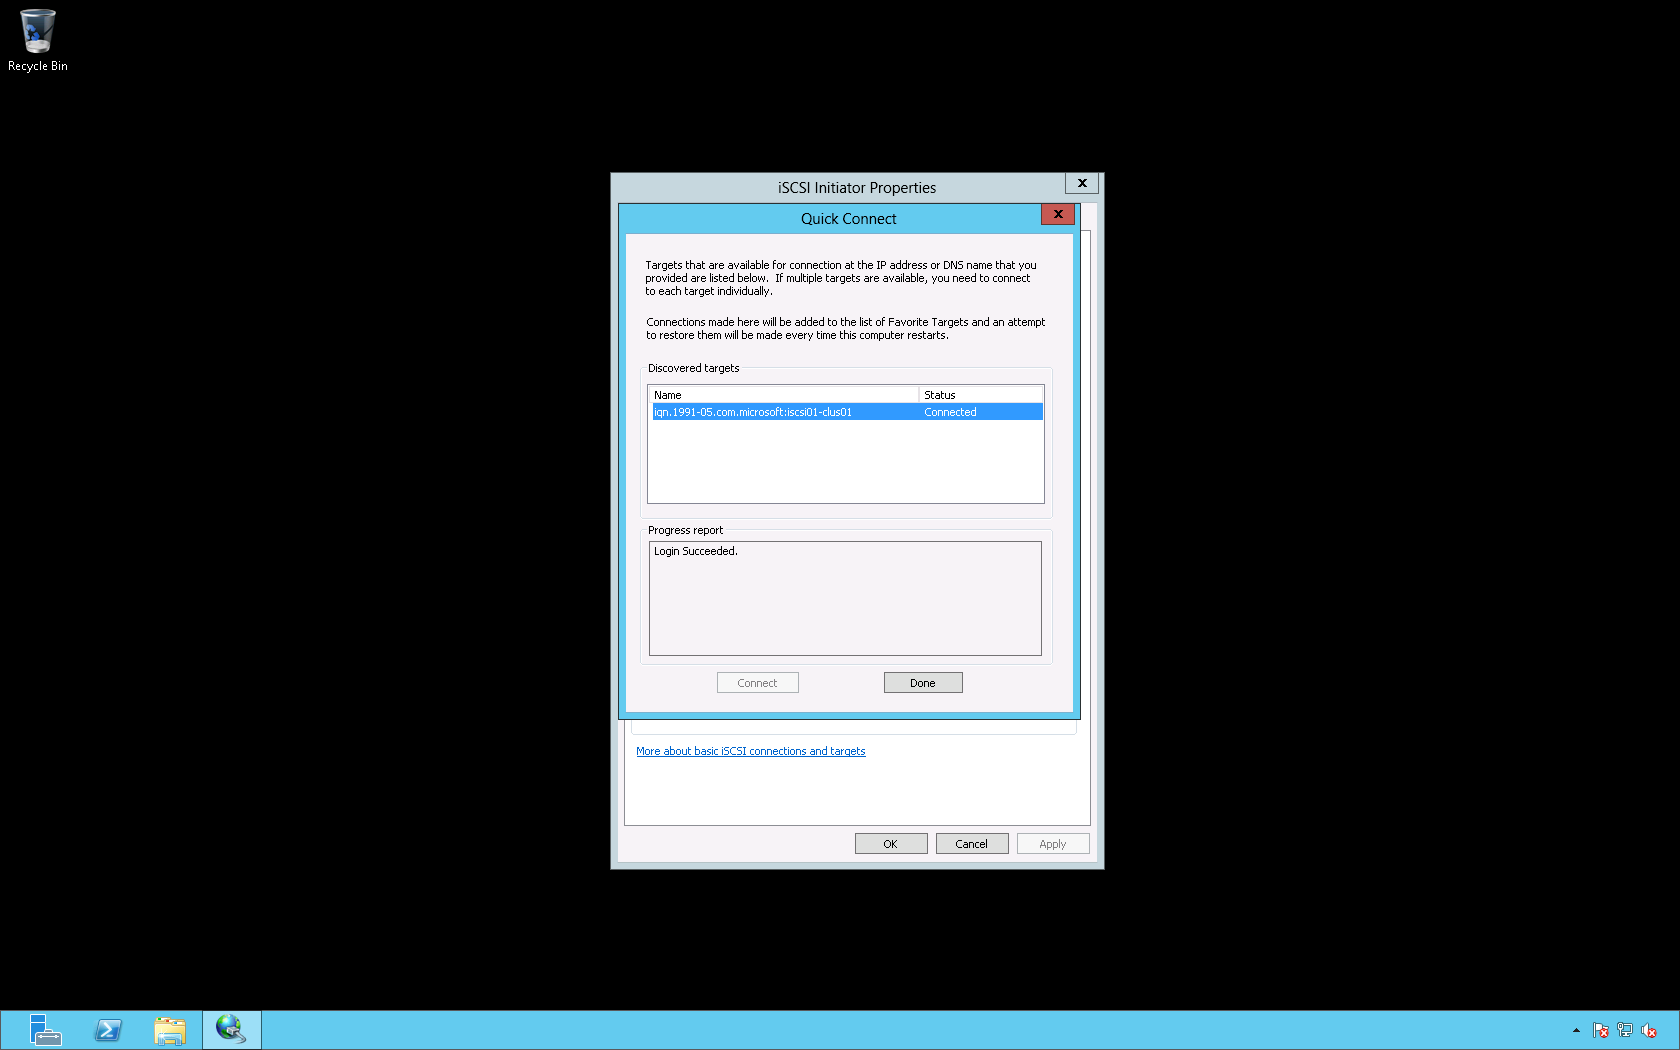
In the Quick Connect dialog box click Done after verifying that the connection has been established successfully (Progress report > Login Succeeded.).
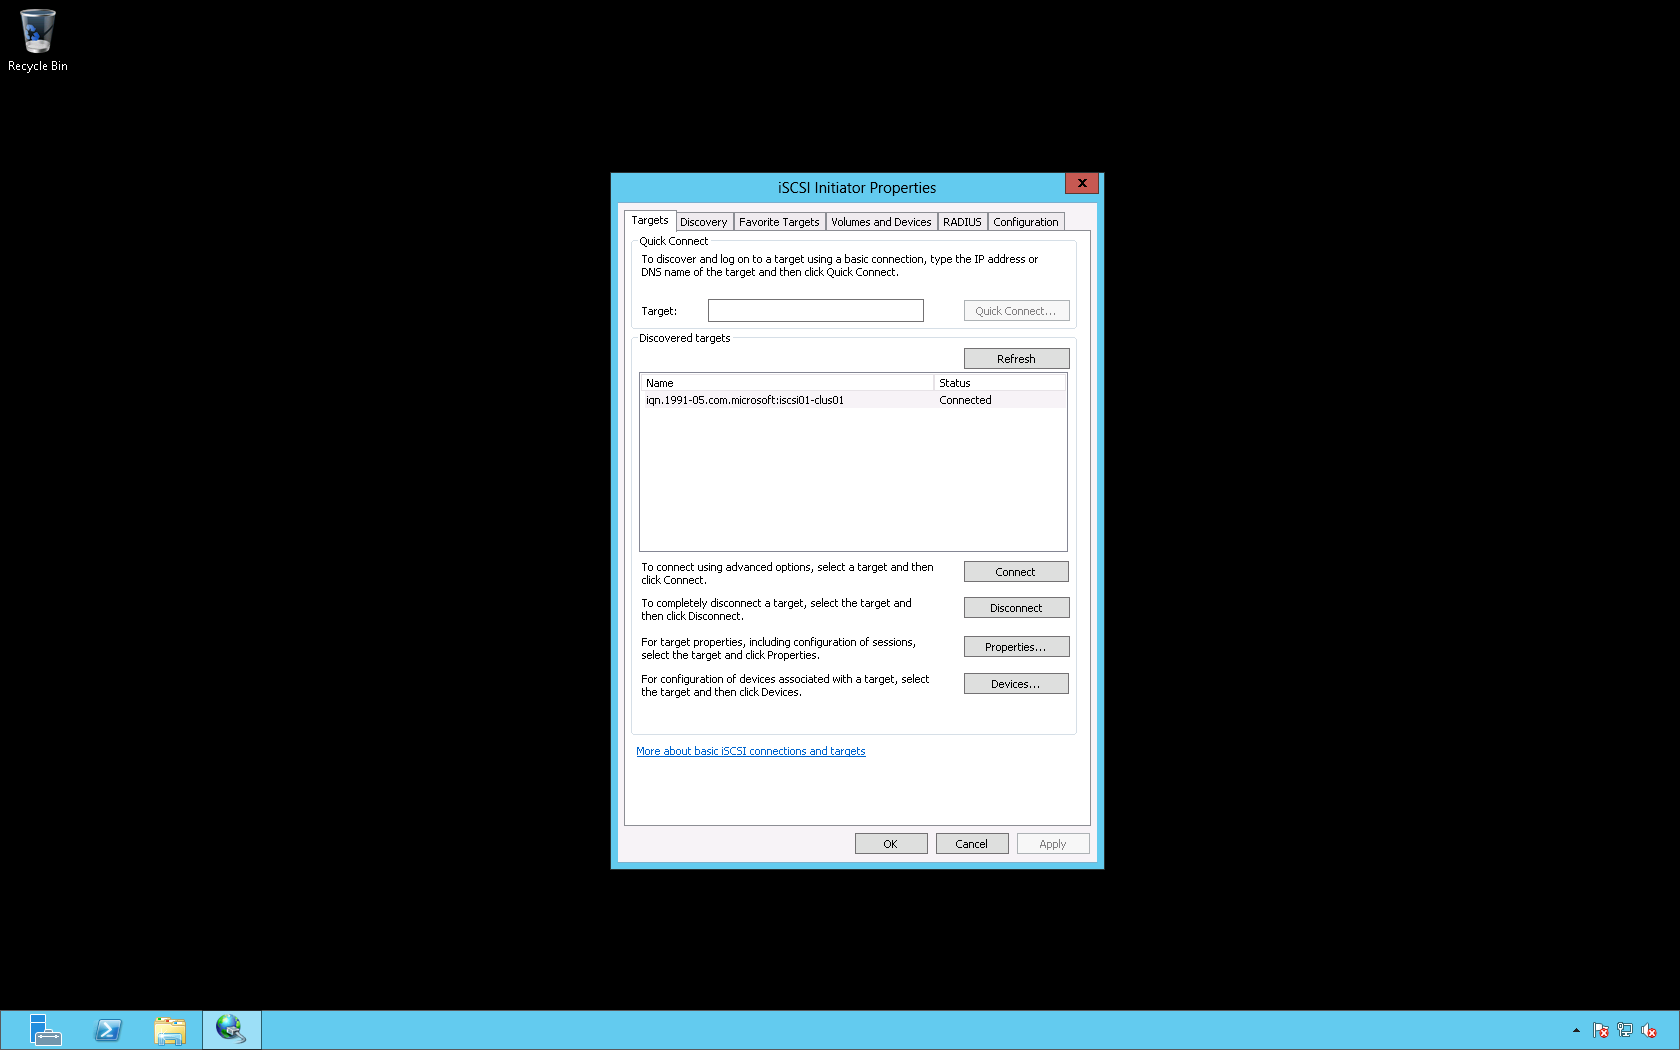
On the iSCSI Initiator Properties dialog box click OK.
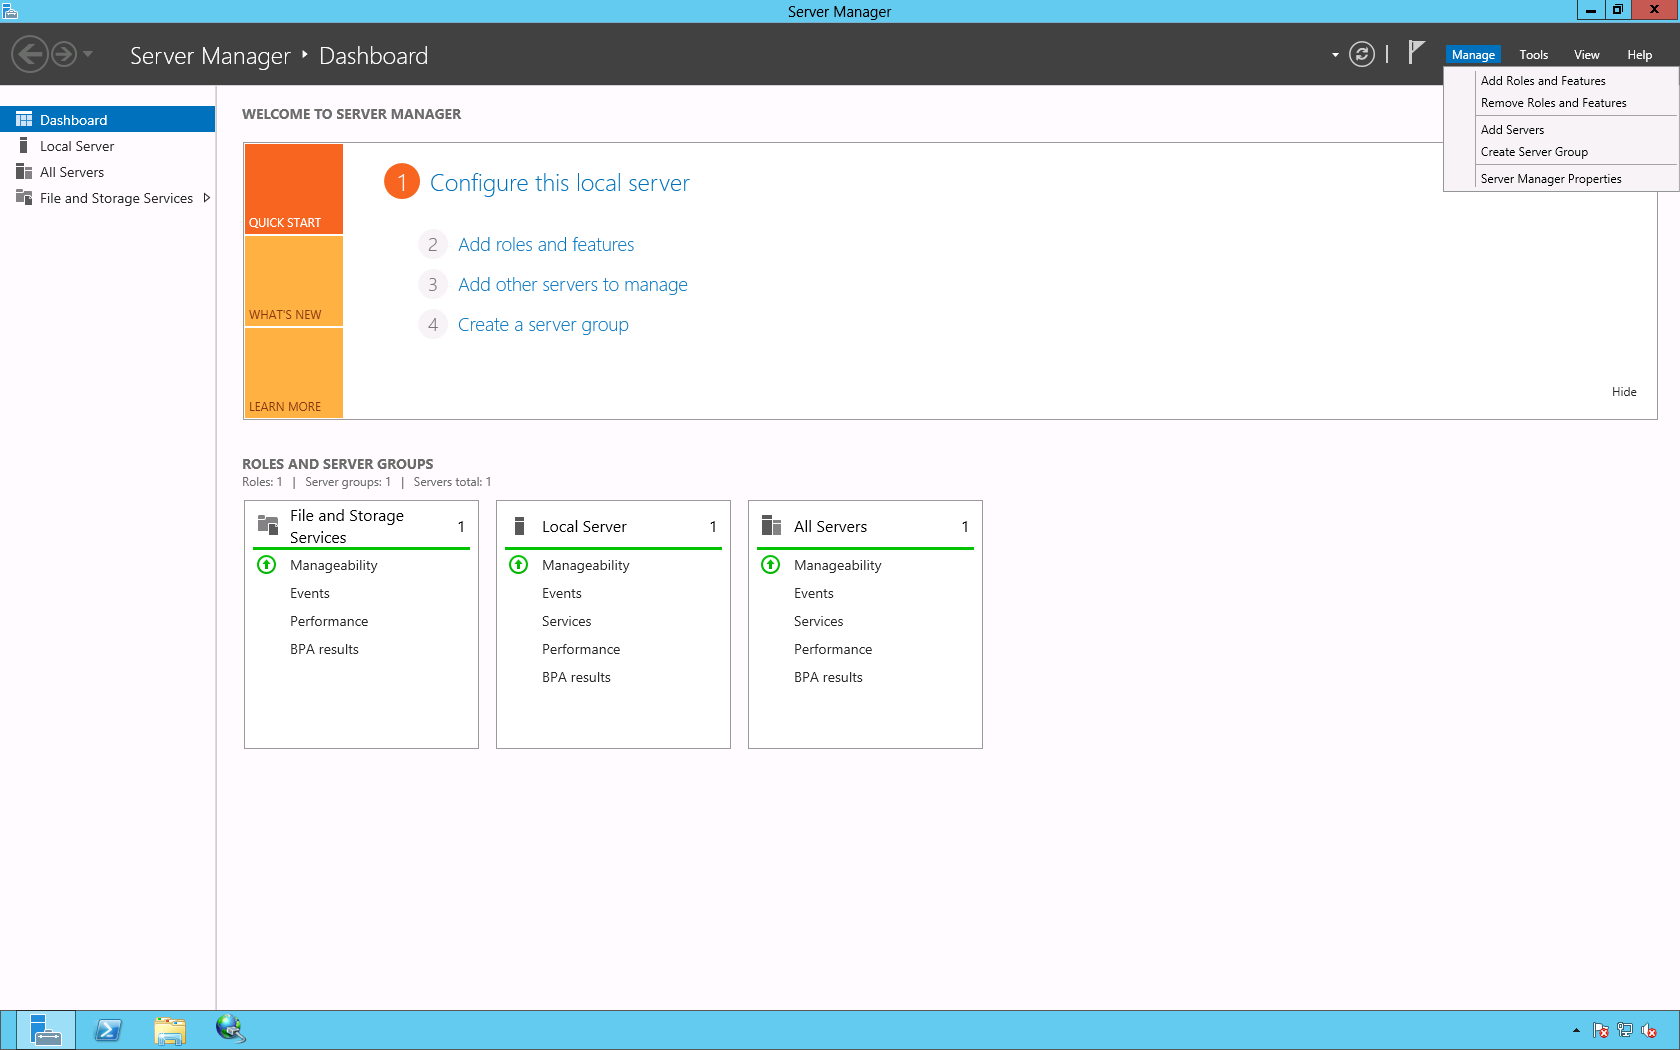
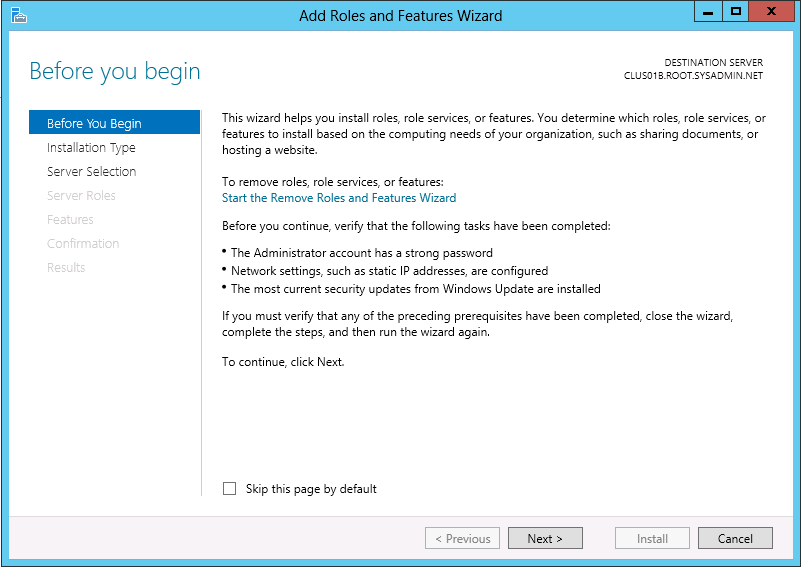
Next, we will enable the Multipath I/O feature. Begin by opening the Server Manager then navigate to Manage > Add Roles and Features.
On the Before You Begin page click Next >.
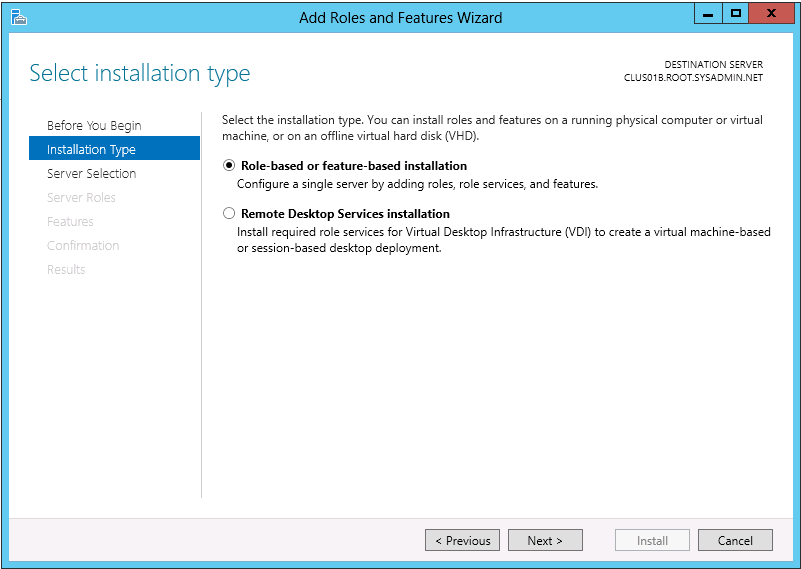
On the Installation Type page select Role-based or feature-based installation and click Next >.
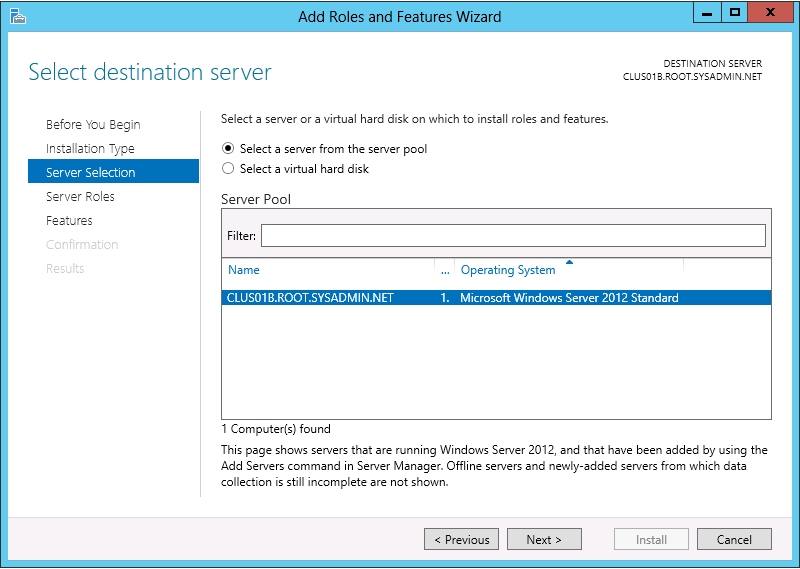
On the Server Selection page select the local server (in this example it is CLUS01B.ROOT.SYSADMIN.NET) then click Next >.
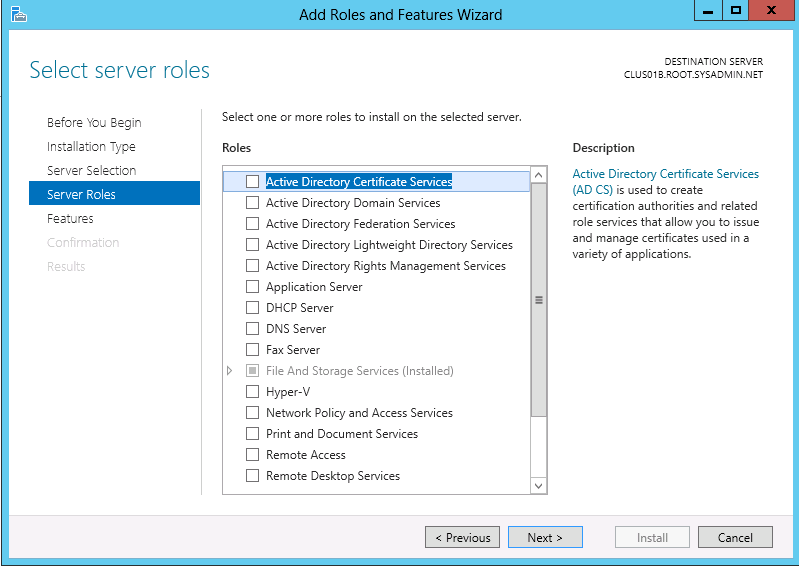
On the Server Roles page click Next >.
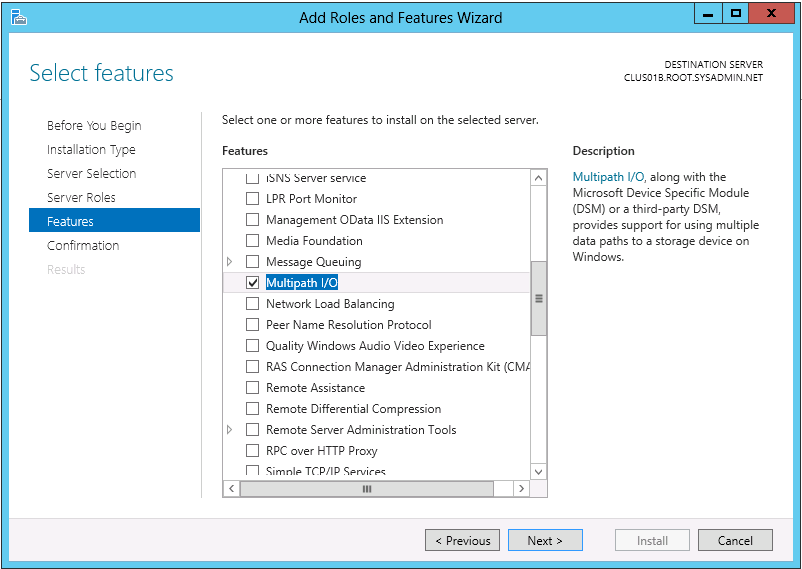
On the Features page click the box to select Multipath I/O then click Next >.
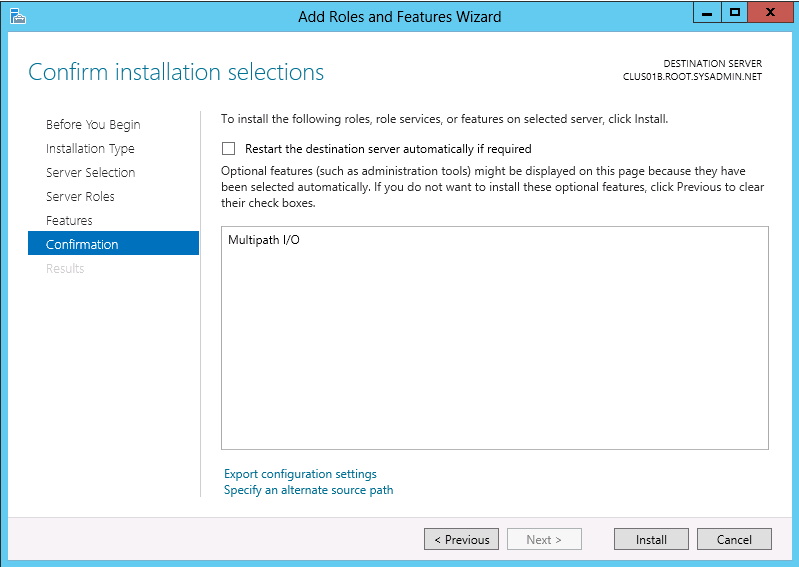
On the Confirmation page click Install.
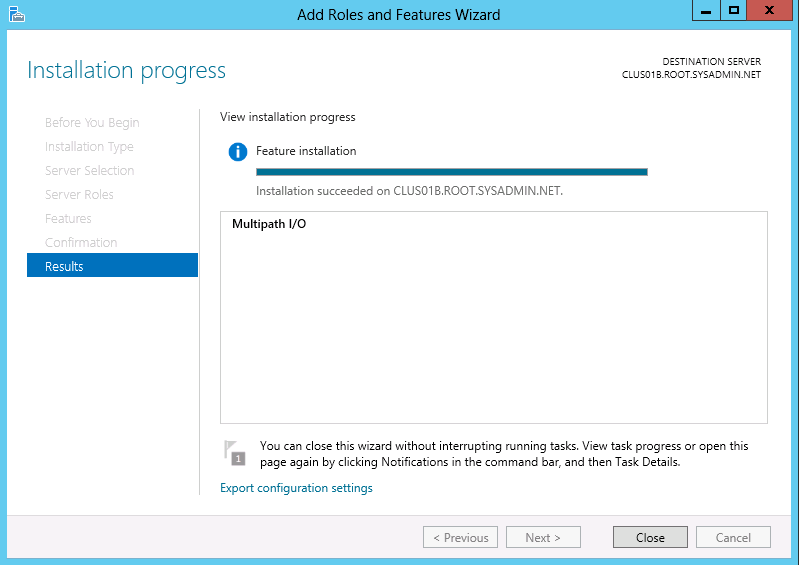
On the Results page click Close.
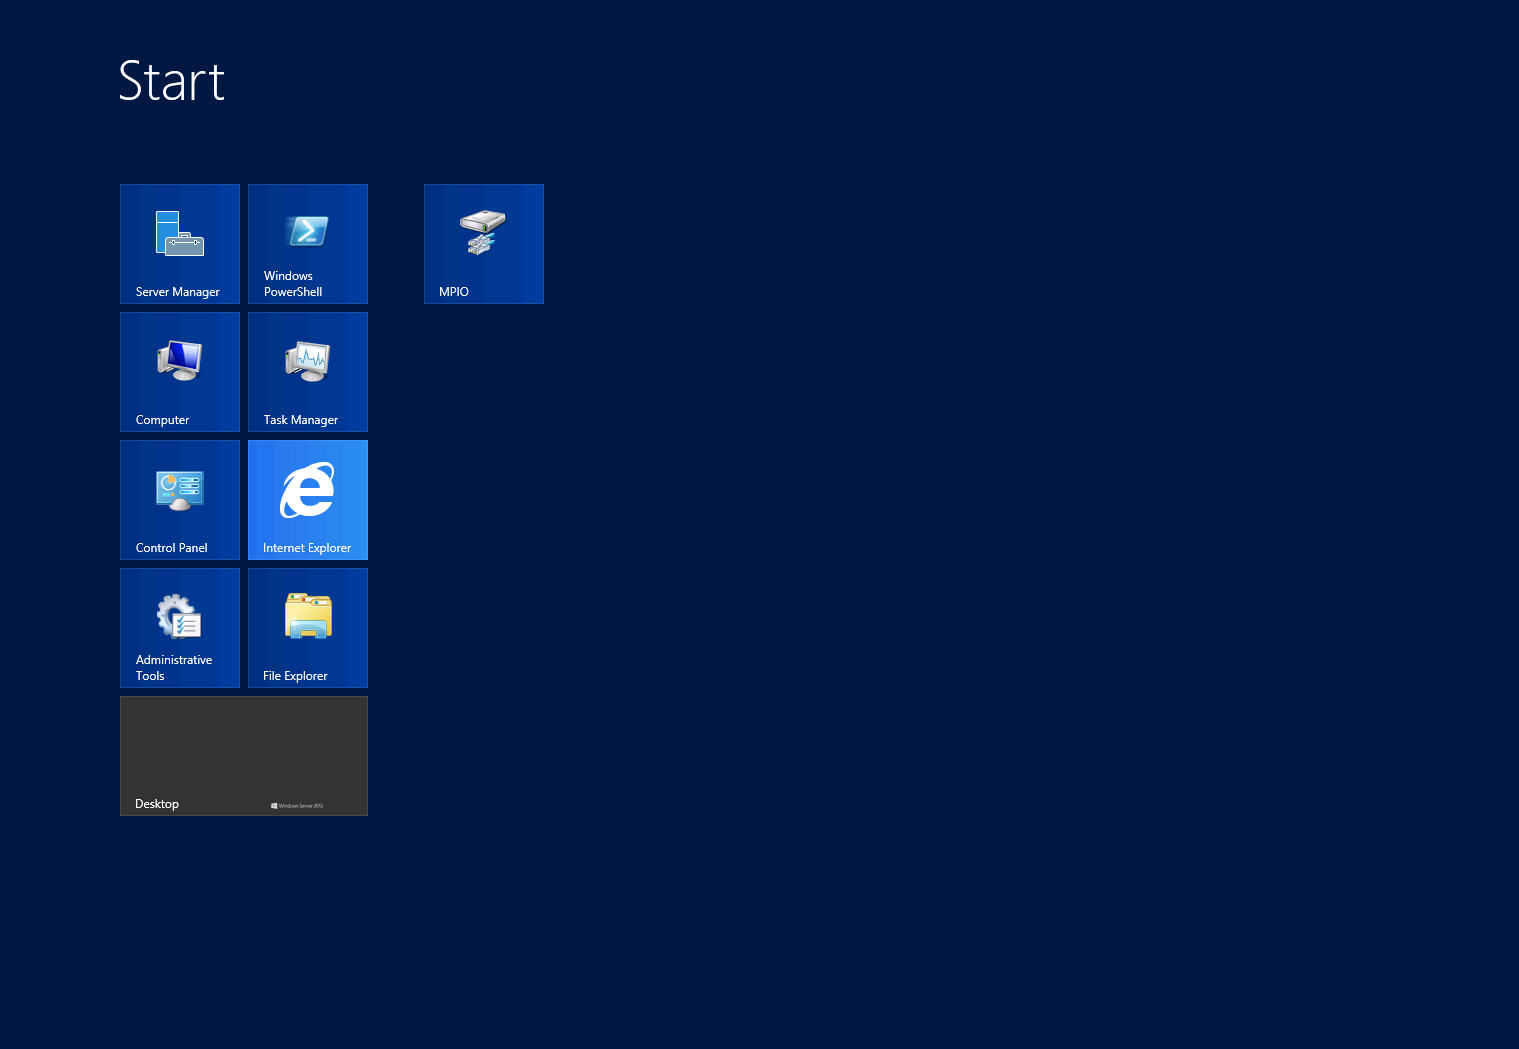
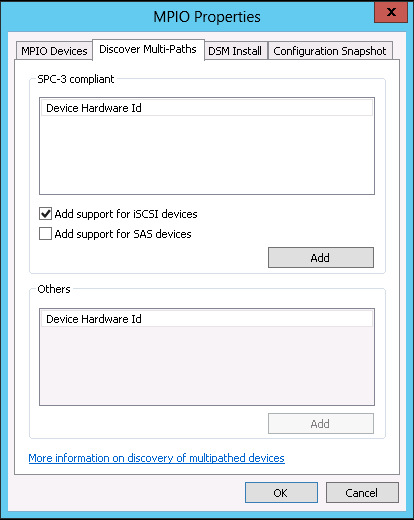
Next, we will enable iSCSI for Multipath I/O. Open the MPIO Properties dialog box by navigating to Start > MPIO.
On the Discover Multi-Paths tab click the check box to Add support for iSCSI devices then click Add.
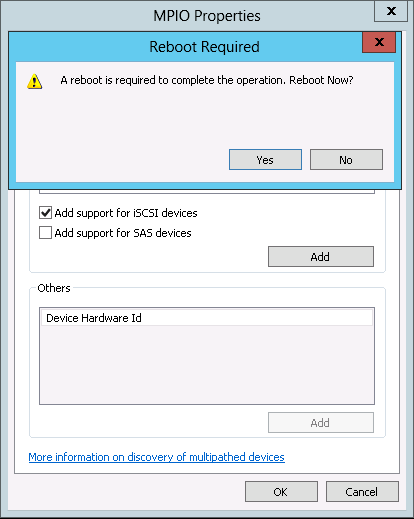
On the Reboot Required dialog click Yes.
After the reboot open the iSCSI Initiator Properties dialog box and remove the current sessions from the Target, Discovery and Favorite Targets tabs.
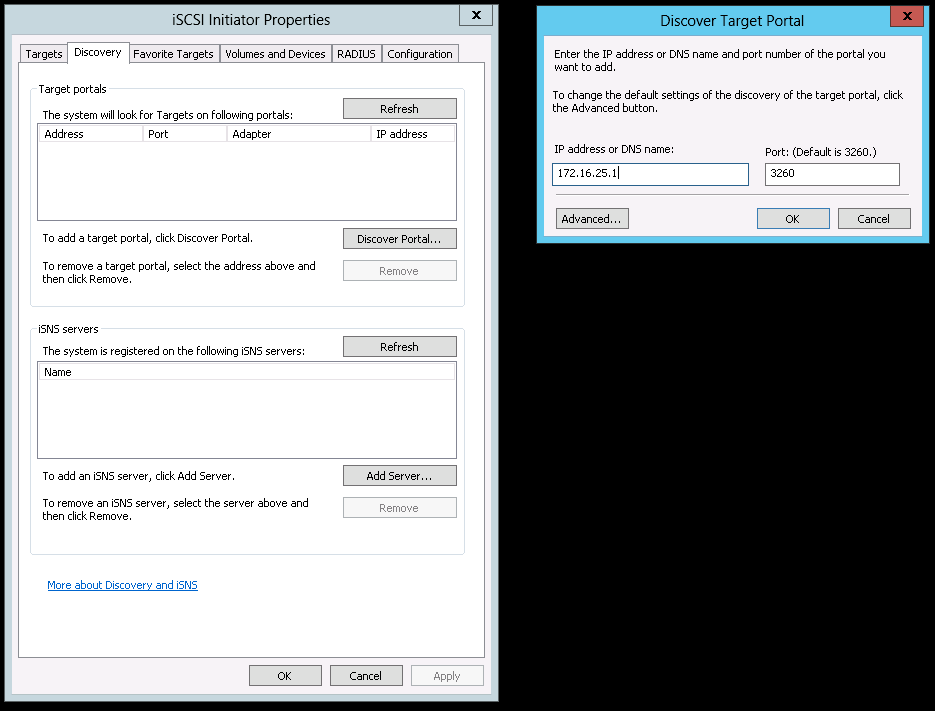
Click on the Discovery tab and click Discover Portal…then enter the IP address of the iSCSI target in the Discover Target Portal dialog and click OK.
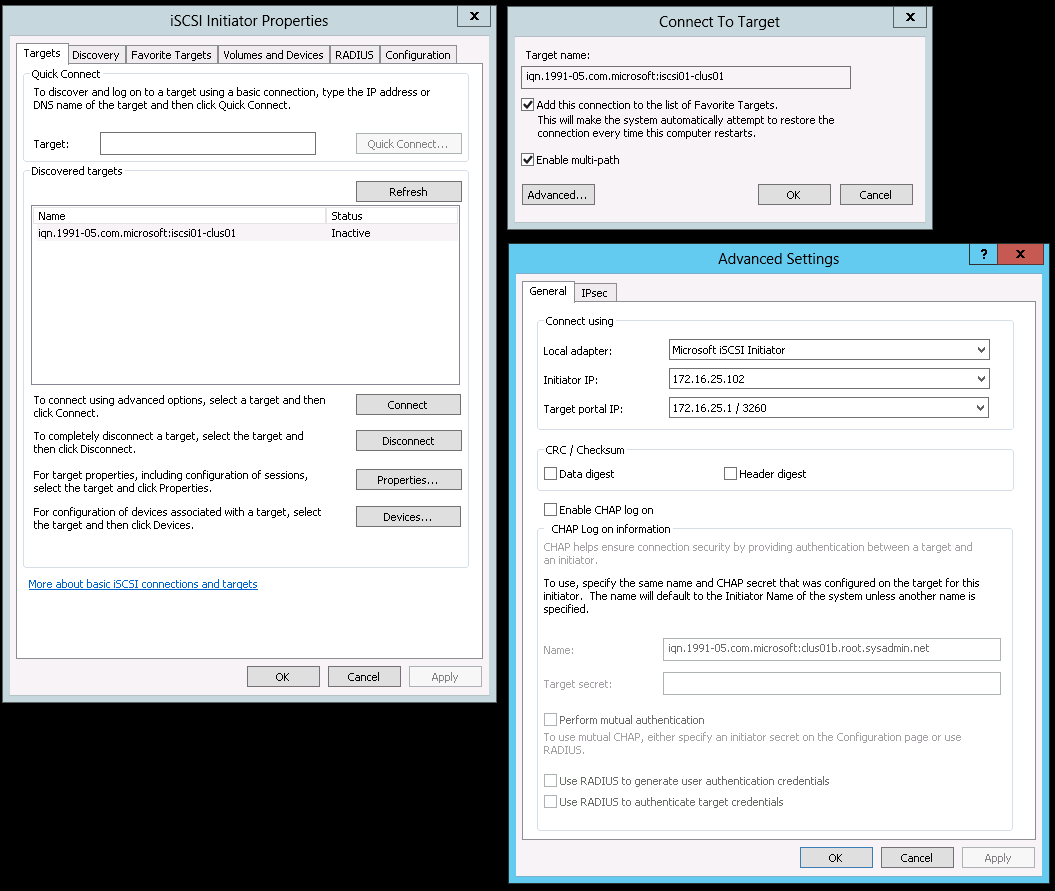
To create the first session switch to the Targets tab then click Connect. In the Connect To Target dialog box select the check box to Enable multi-path and click on Advanced…. In the Advanced Settings dialog box select Microsoft iSCSI Initator for the Local adapter:. Additionally, for the Initiator IP: select 172.16.25.102 and for the Target portal IP: select 172.16.25.1 / 3260. After these settings have been select continuing clicking OK to close out each dialog box.
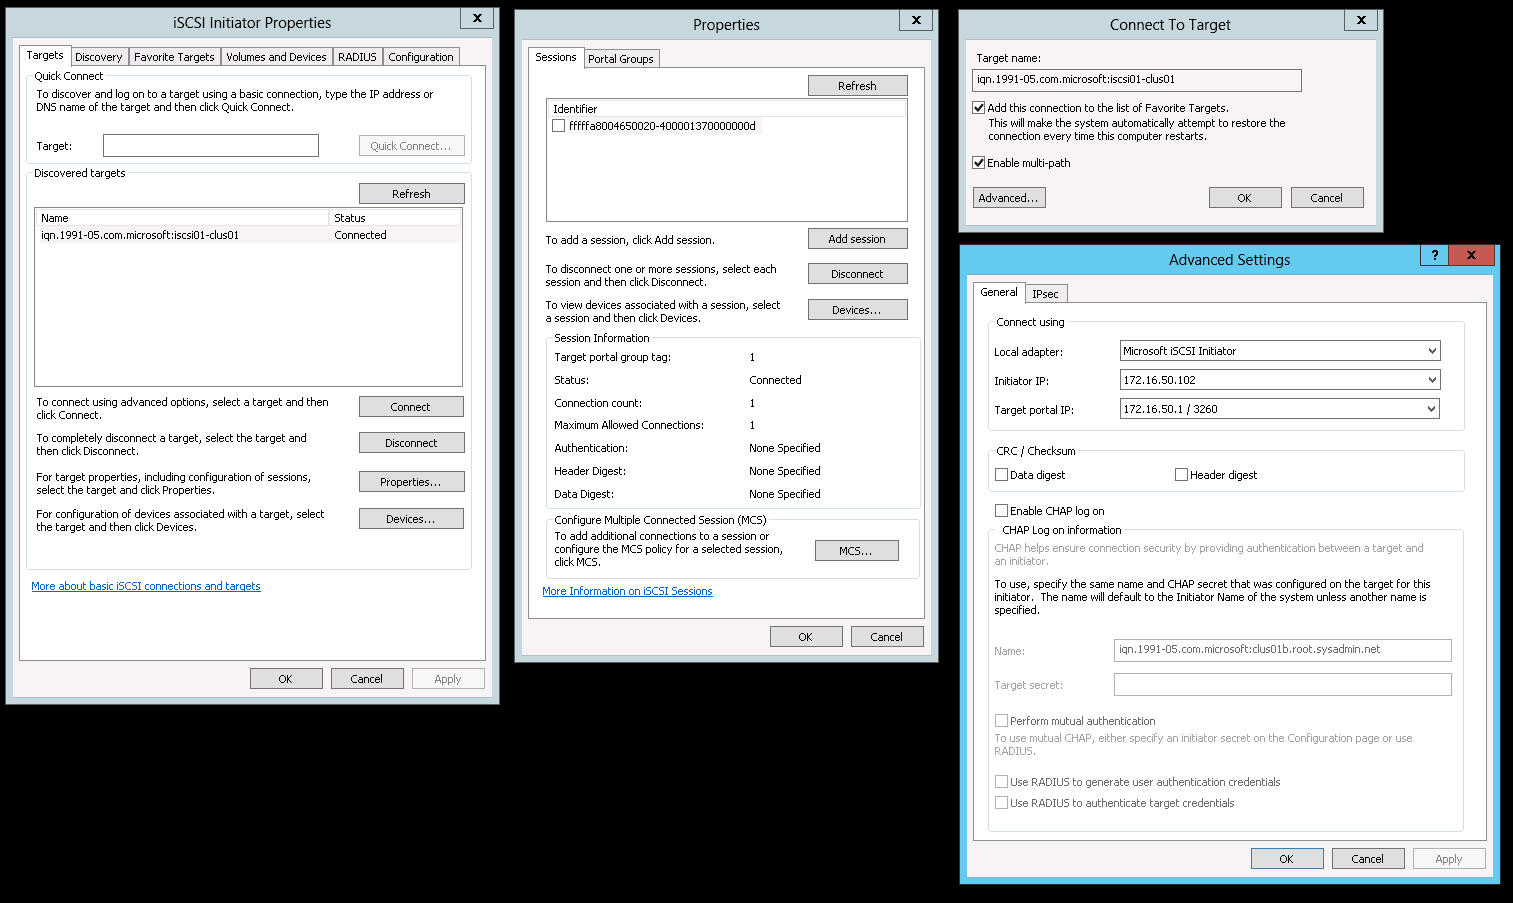
To create the second session click Properites… on the Targets tab. In the following Properties dialog box click Add Session. On the Connect To Target dialog box select the check box to Enable multi-path and click Advanced…. In the Advanced Settings select Microsoft iSCSI Initiator for the Local adapter:. Additionally, for the Initiator IP: select 172.16.50.102 and for the Target portal IP: select 172.16.50.1 / 3260. After these settings have been select continuing clicking OK to close out each dialog box.
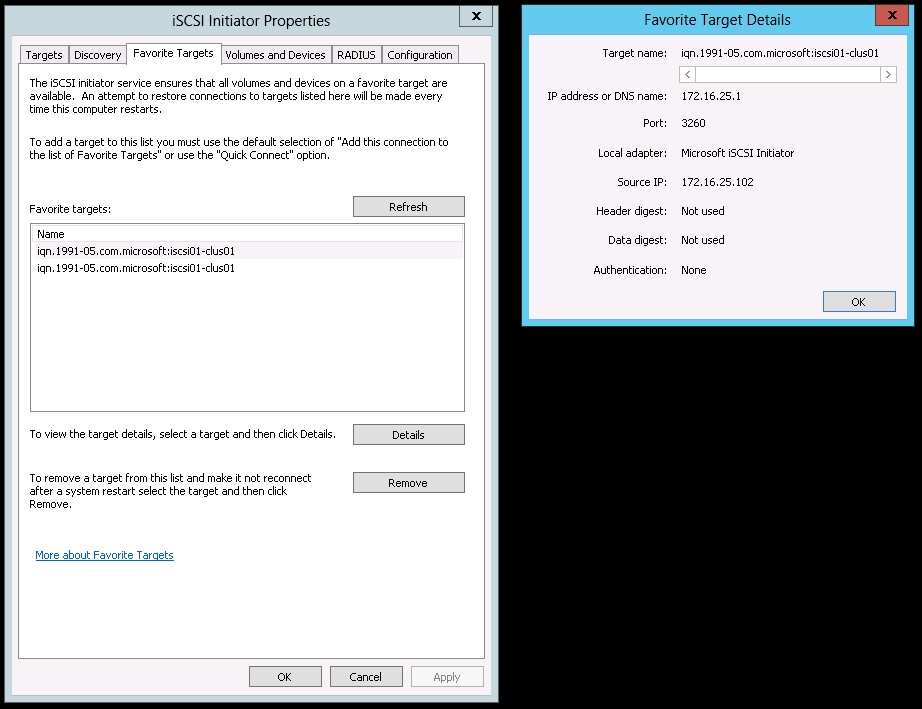
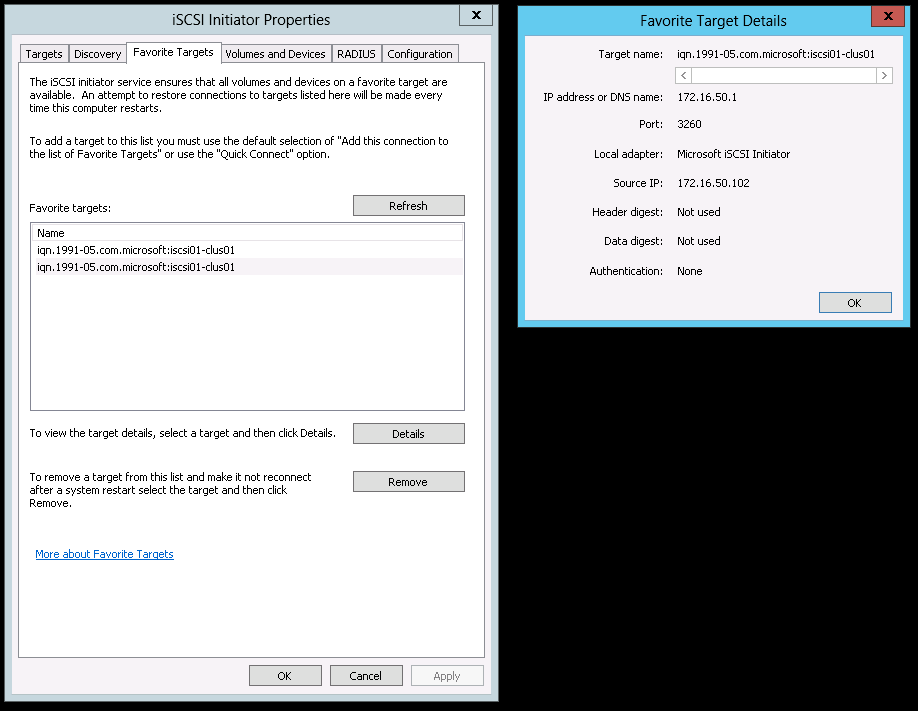
Lastly, we will verify the iSCSI sessions that we have just configured. On the Favorite Targets choose one of the each session then click Details.
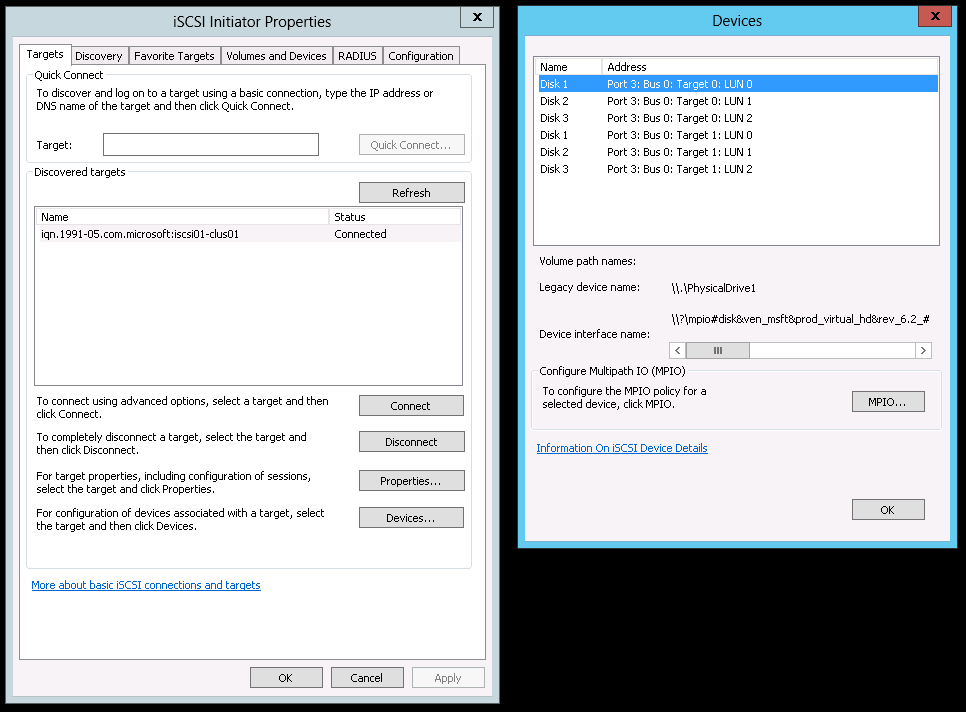
Additionally, on the Targets tab click on Devices… to view a list of devices per session.
Now you may use Disk Management to mount the LUNs.
This completes the configuration.
Enjoy!
