Category: Scripting

Microsoft Exchange Server 2016 – Mailbox Server Role Post Installation

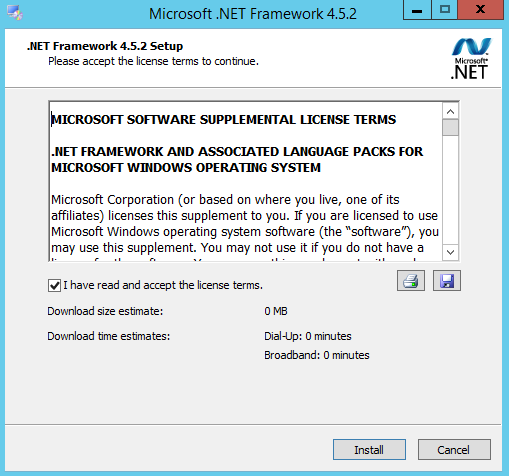
After installing any application it is good practice to perform post installation tasks and Microsoft Exchange Server 2016 is no exception. Below you will find a step-by-step guide for the Microsoft Exchange Server 2016 Mailbox Server role post installation tasks.

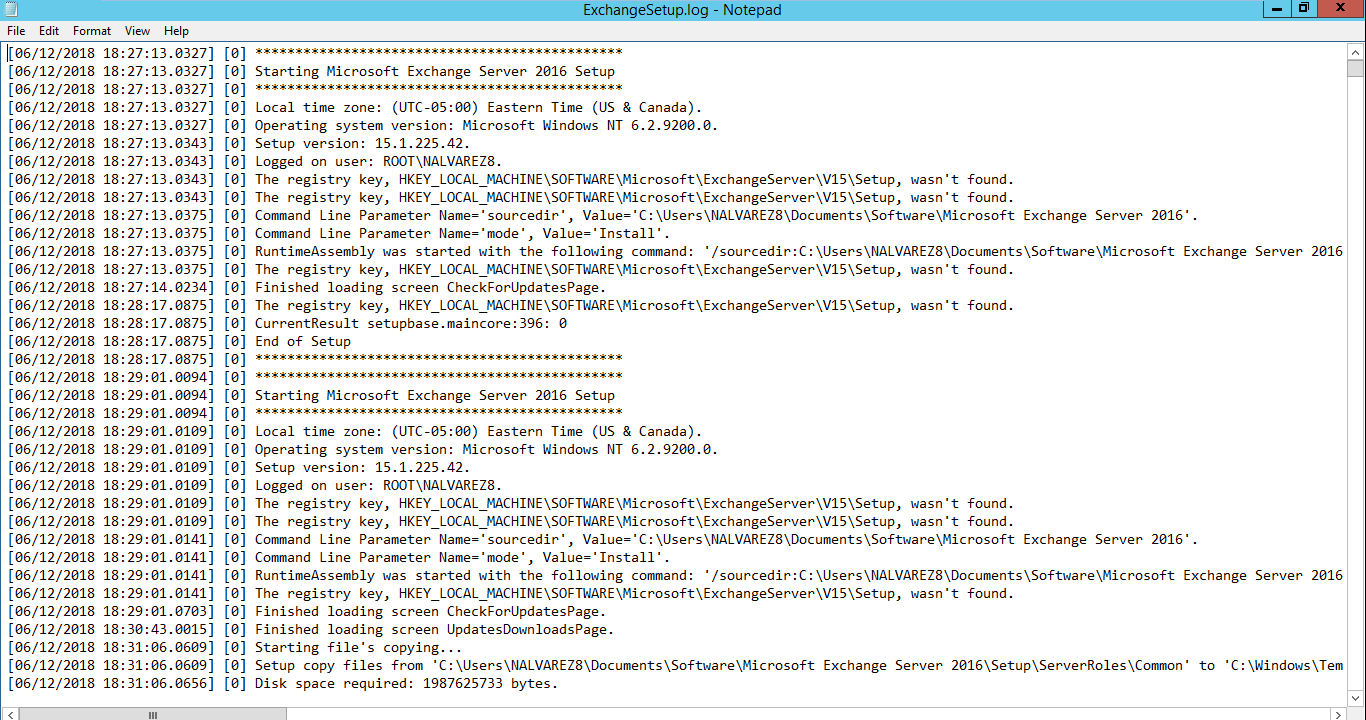
  1. Review the C:\ExchangeSetupLogs\ExchangeSetup.log file for errors or warnings.
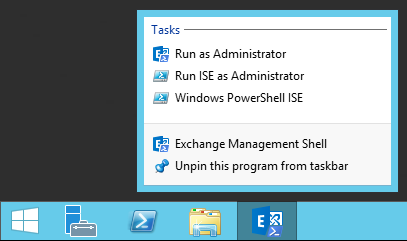
  2. Right click the Exchange Management Shell and select Run as Administrator.
  3. Execute the Get-ExchangeServer | FT Name,ServerRole -auto cmdlet to determine the installed roles.
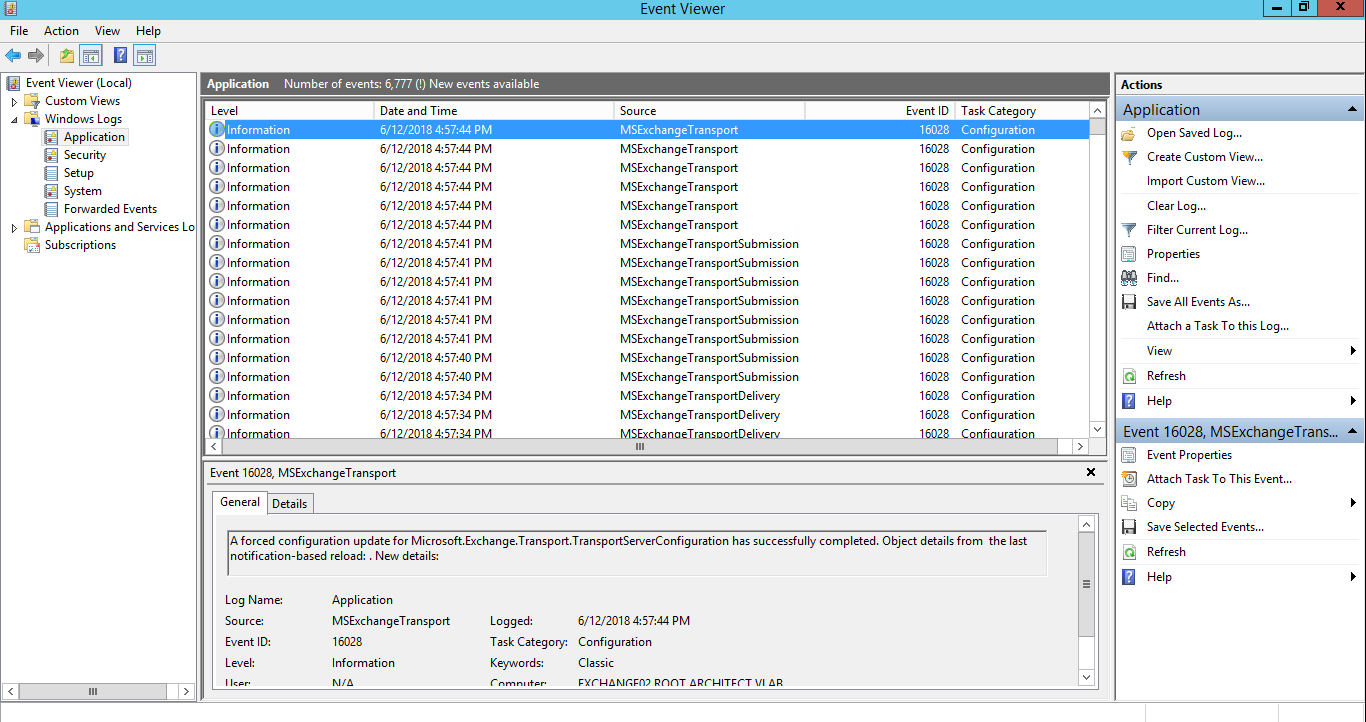
  4. Review the Event Viewer (Windows Logs > Application) for errors or warnings regarding Microsoft Exchange Server 2016.
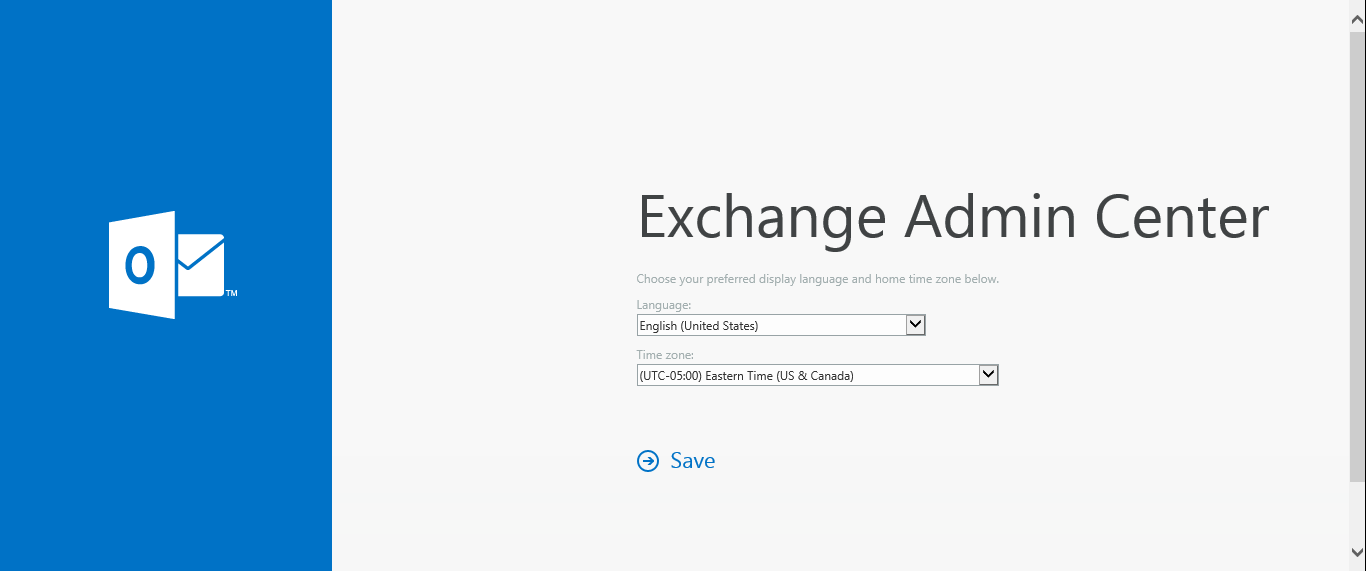
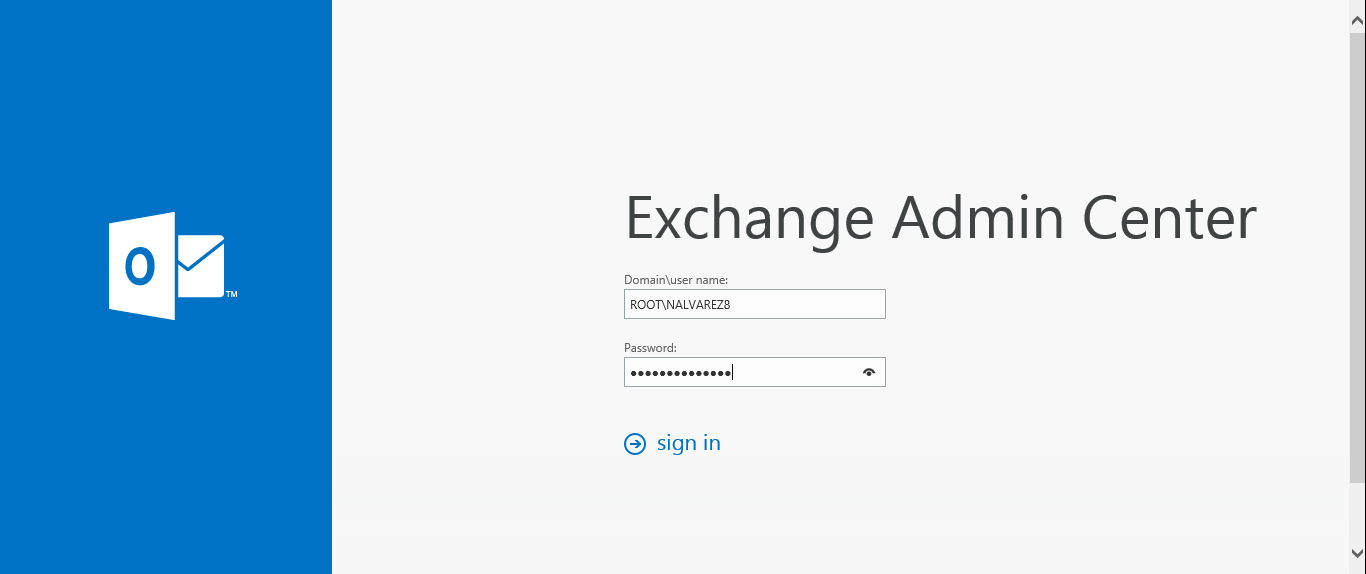
  5. Login to the Exchange Admin Center using the URL https://server/ecp.
  6. Configure the Language: and Time Zone: then click Save.

Microsoft Exchange Server 2016 – Edge Transport Role Command Line Installation

The architecture of Microsoft Exchange Server 2016 includes the Edge Transport Role server role. Below you will find a step-by-step tutorial for installing the Edge Transport Role using the command line.

  1. Right click Windows PowerShell and select Run as Administrator.
  2. Execute the following command to install Active Directory Lightweight
    Directory Services (ADLDS).

    1. Install-WindowsFeature ADLDS
  3. Install Microsoft .NET Framework 4.5.2.
  4. Execute the following command to install the Edge Transport Server role.
    1. Setup.exe /mode:install /role:EdgeTransport /IAcceptExchangeServerLicenseTerms
  5. Execute the following command to create the Edge subscription file.
    1. New-EdgeSubscription -FileName C:\Microsoft Exchange\Edge_Subscription_File.xml
  6. Copy the subscription file to a folder on the server hosting the Mailbox Server role.
  7. Run the following command on the Mailbox Server Role server to import the Edge subscription file and subscribe the Edge Transport server to the Active Directory site named Default-First-Site-Name.
    1. New-EdgeSubscription -FileData ([byte[]]$(Get-Content -Path “C:\Microsoft Exchange\Edge_Subscription_File.xml” -Encoding Byte -ReadCount 0)) -Site “Default-First-Site-Name”
  8. On the Mailbox Server Role server execute the following command to start the synchronization between the Mailbox Server Role and the Edge Transport Server role.
    1. Start-EdgeSynchronization

Microsoft Exchange Server 2016 – Mailbox Server Role Prerequisites

The Microsoft Exchange Server 2016 Mailbox Server role prerequisites may be installed during the graphical user interface (GUI) installation of the Mailbox Server role. Additionally, and recommended, you may use the process below to install the required prerequisites on the server that will be hosting the Mailbox Server role. These include installing operating system features, preparing Microsoft Active Directory (AD), installation Microsoft .NET Framework 4.5.2, and installing Microsoft Unified Communications Managed API 4.0, Core Runtime 64-bit.

  1. Right click Windows PowerShell and select Run as Administrator.
  2. Use the following cmdlet to install the required features, then reboot the server.
    1. Install-WindowsFeature AS-HTTP-Activation, Desktop-Experience, NET-Framework-45-Features, RPC-over-HTTP-proxy, RSAT-Clustering, RSAT-Clustering-CmdInterface, RSAT-Clustering-Mgmt, RSAT-Clustering-PowerShell, Web-Mgmt-Console, WAS-Process-Model, Web-Asp-Net45, Web-Basic-Auth, Web-Client-Auth, Web-Digest-Auth, Web-Dir-Browsing, Web-Dyn-Compression, Web-Http-Errors, Web-Http-Logging, Web-Http-Redirect, Web-Http-Tracing, Web-ISAPI-Ext, Web-ISAPI-Filter, Web-Lgcy-Mgmt-Console, Web-Metabase, Web-Mgmt-Console, Web-Mgmt-Service, Web-Net-Ext45, Web-Request-Monitor, Web-Server, Web-Stat-Compression, Web-Static-Content, Web-Windows-Auth, Web-WMI, Windows-Identity-Foundation
  3. Use the Install-WindowsFeature RSAT-ADDS cmdlet to prepare Microsoft Active Directory.
  4. Right click the Microsoft .NET Framework 4.5.2 executable file and select Run as administrator.
  5. On the .NET Framework 4.5.2 Setup dialog box select the check box that states I have read and accept the license terms., then click Install.
  6. On the Do you want Setup to close your programs? dialog  box click Yes.
  7. On the Installation is Complete dialog box click Finish.
  8. Right click the Microsoft Unified Communications Managed API 4.0, Core Runtime 64-bit executable file and select Run as administrator.
  9. On the Microsoft Unified Communications Managed API 4.0, Runtime Setup dialog box click Next >.
  10. On the Microsoft Unified Communications Managed API 4.0, Runtime Setup dialog box select the check box that states I have read and accept the license terms., then click Install.
  11. On the Installation is Complete dialog box click Finish.

Microsoft Exchange Server 2016 – Mailbox Enabled User Command Line Configuration

You may use the following Microsoft Exchange Management Shell (EMS) cmdlet to configure a Mailbox-Enabled User in Microsoft Exchange Server 2016.

Enable-Mailbox -Identity User


Microsoft Exchange Server 2016 – Product Key Command Line Configuration

You may use the following Microsoft Exchange Management Shell (EMS) cmdlet to enter the product key for Microsoft Exchange Server 2016.

Set-ExchangeServer –identity ‘<server>’ -ProductKey <product key>


Microsoft Exchange Server 2016 – Send Connector Command Line Configuration

The Send Connector in Microsoft Exchange Server 2016 is am object that contains the configuration information for sending email from the Exchange organization. You may use the following commands in the Microsoft Exchange Management Shell (EMS) to configure a send connector for all outbound traffic.

New-SendConnector -name “Default Internet”
-AddressSpaces “*” -DNSRoutingEnabled $true
-SourceTransportServers “Server” -Usage Internet


Microsoft Exchange Server 2016 – Email Address Policy Command Line Configuration

You may use the following commands in the Microsoft Exchange Management Shell (EMS) to create and configure an email address policy in Microsoft Exchange Server 2016.

New-EmailAddressPolicy -Name PolicyName
-EnabledPrimarySMTPAddressTemplate “SMTP:%g.%[email protected]
-IncludedRecipients AllRecipients -Priority 1 |
Update-EmailAddressPolicy


Microsoft Exchange Server 2016 – SMTP Domain Command Line Configuration

By default Microsoft Exchange Server 2016 configures a default accepted domain and email address policy using the fully qualified domain name (FQDN) of the Microsoft Active Directory (AD) domain into which it is installed. If necessary, you may use the following commands in the Microsoft Exchange Management Shell (EMS) to create an SMTP domain for Microsoft Exchange Server 2016. Note that you may change the -MakeDefault value to $false if you do not want it to be used as the default SMTP domain for the email address.

New-AcceptedDomain -Name domain.com
-DomainName *.domain.com
-DomainType authoritative |
Set-AcceptedDomain -MakeDefault $true


Microsoft Exchange Server 2016 – Offline Address Book Command Line Configuration

You may use the following command in Microsoft Exchange Management Shell (EMS) to associate the default Offline Address Book (OAB) with the mailbox database(s).

Get-MailboxDatabase | Set-MailboxDatabase -OfflineAddressBook “\Default Offline Address Book”


Microsoft Exchange Server 2016 – Mailbox Server Role Command Line Installation

You may use the following commands to install the Microsoft Exchange Server 2016 Mailbox Server role from the command line.

Setup.exe /PrepareSchema /IAcceptExchangeServerLicenseTerms
Setup.exe /PrepareAD /IAcceptExchangeServerLicenseTerms /OrganizaionName:
“<Organization Name>”
Setup.exe /mode:install /role:Mailbox /IAcceptExchangeServerLicenseTerms