You may use the following method to connect your VMware ESXi 5.x host to an iSCSI SAN. Please keep in mind that this post assumes you have configured the SAN to allow the VMware host access to the appropriate LUN(s).
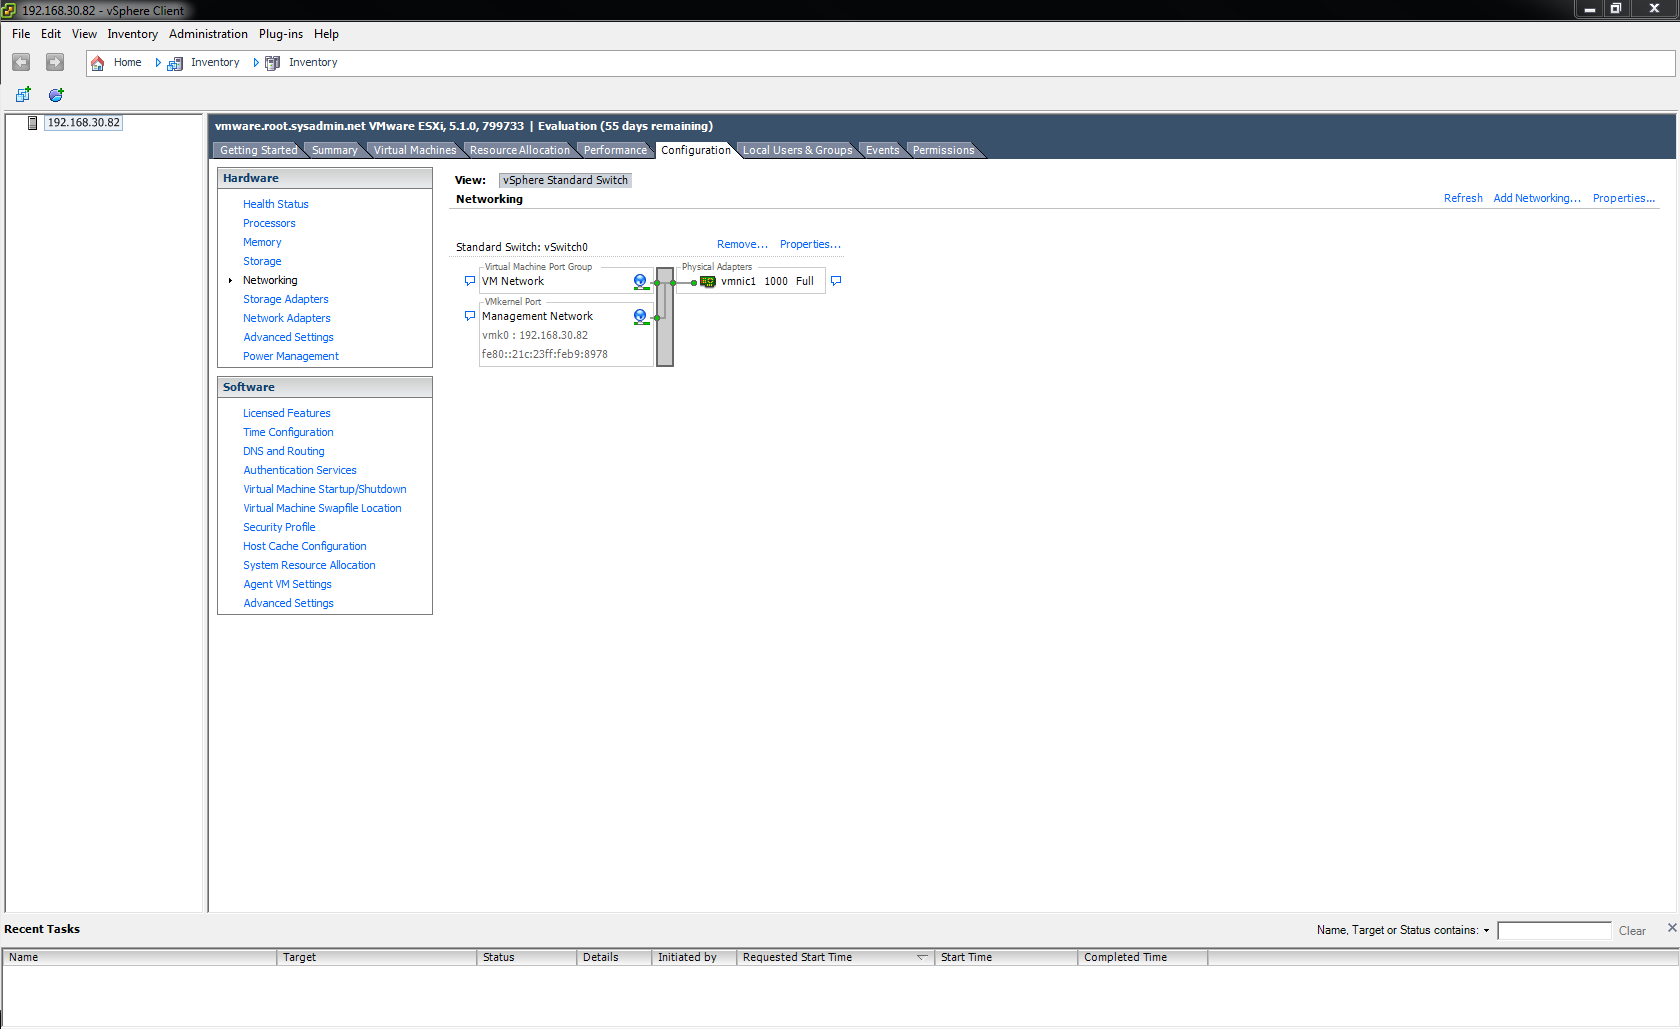
After logging into the vSphere Client navigate to Configuration > Networking then click Add Networking….
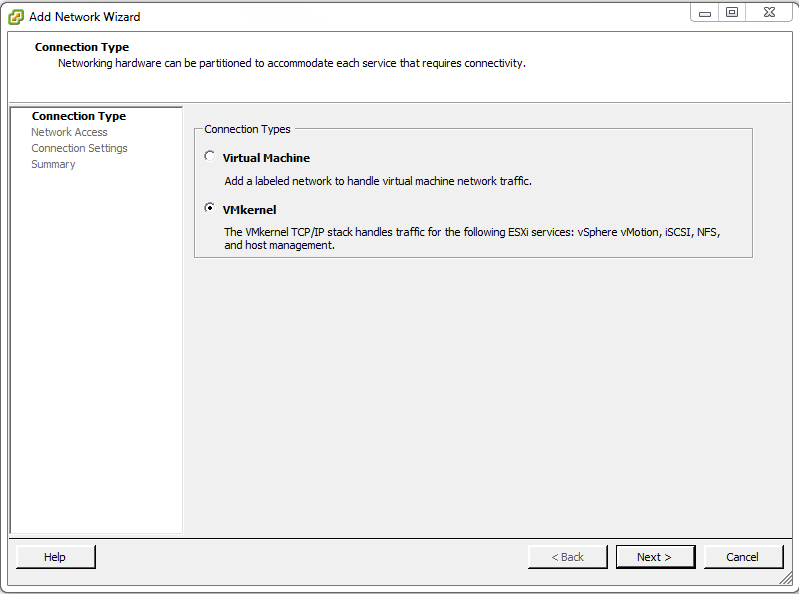
Under Connection Types select VMkernel then click Next >.
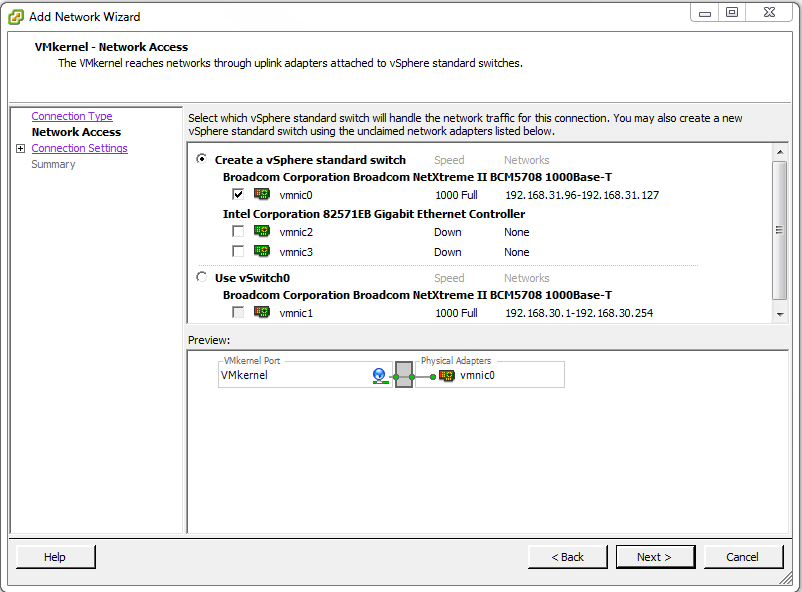
Select the vmnic that will be used for iSCSI traffic then click Next >. In this example it is vmnic0.
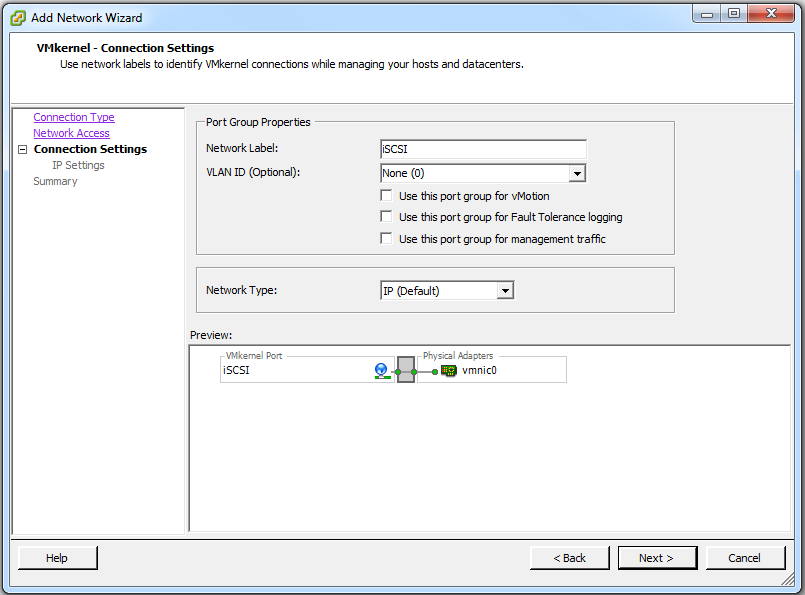
Type iSCSI for the Network Label: setting then click Next >.
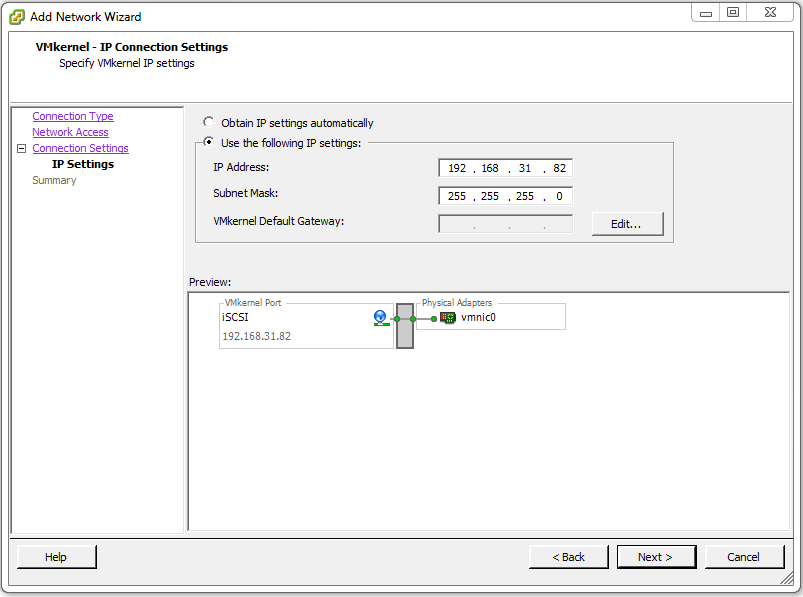
Select Use the following IP settings: and enter the correct Internet Protocol (IP) address and subnet mask for your particular network then click Next > (no VMkernel Default Gateway: setting is necessary because the iSCSI traffic will exist on the same local network). In this example the IP address is 192.168.31.82 and the subnet mask is 255.255.255.0. The iSCSI traffic will exist on the 192.168.31.0/24 network.
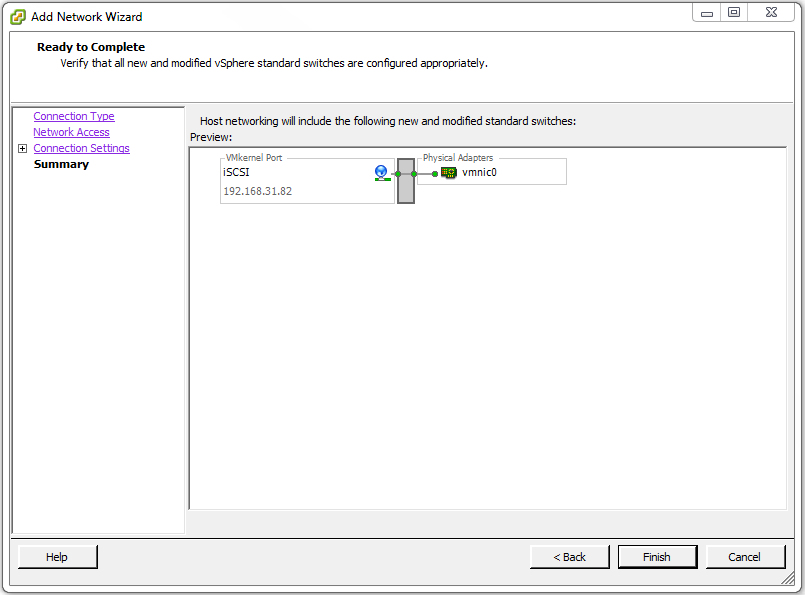
On the Ready to Complete page click Finish.
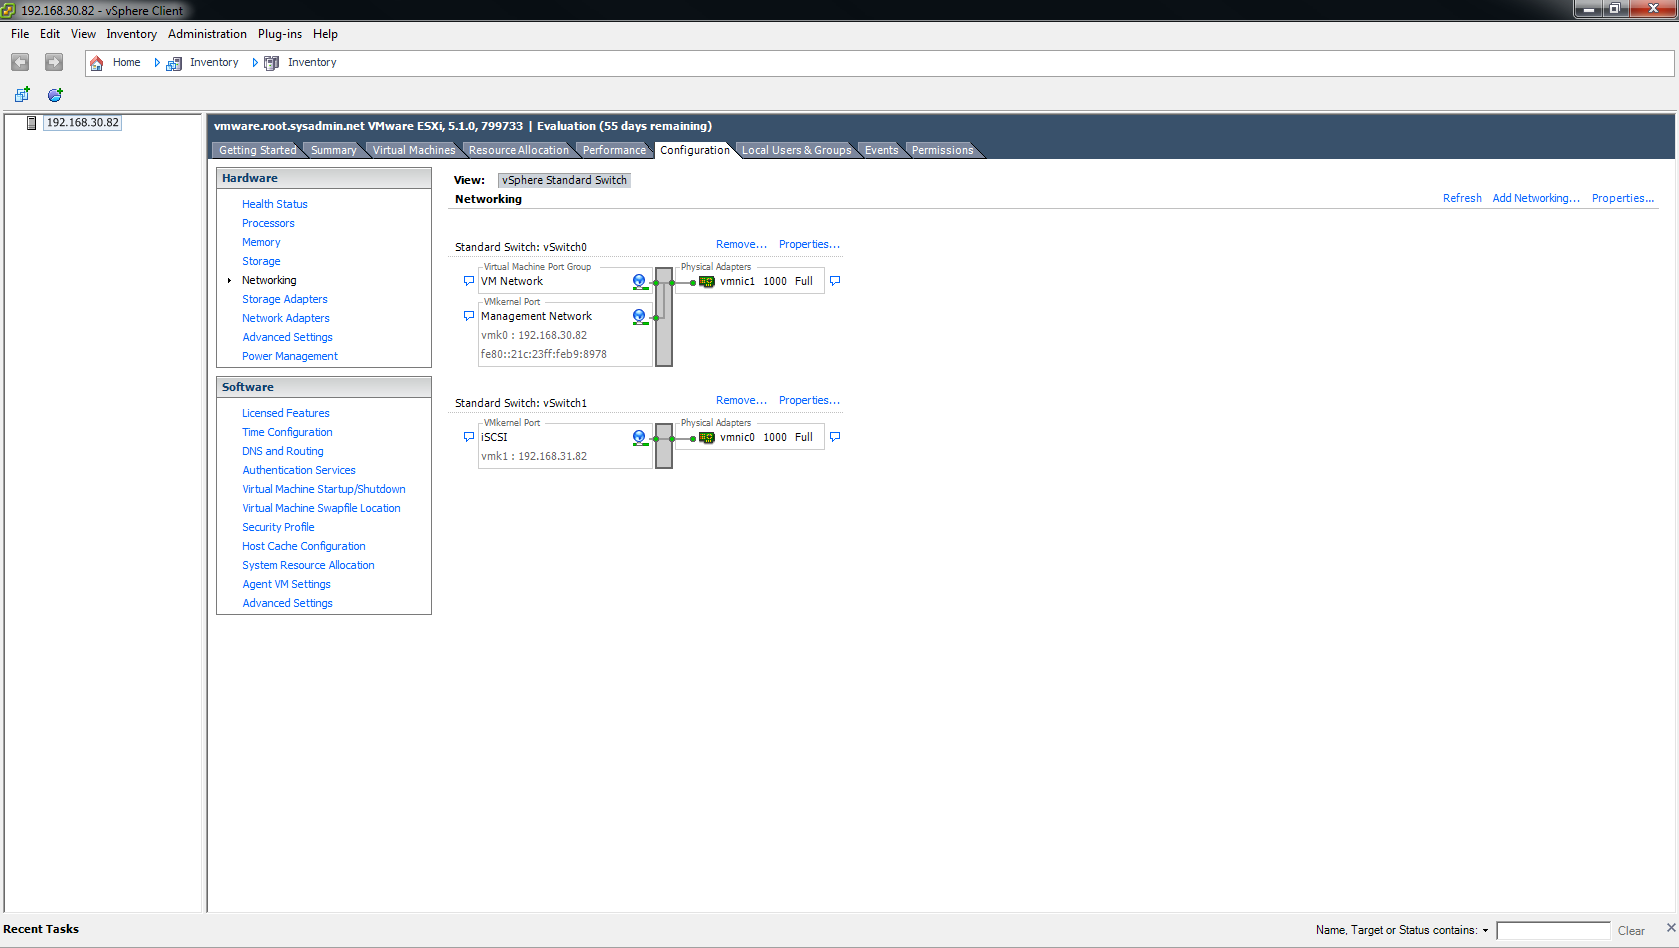
On the Configuration > Networking page you will now see a new switch labeled Standard Switch: vSwitch 1.
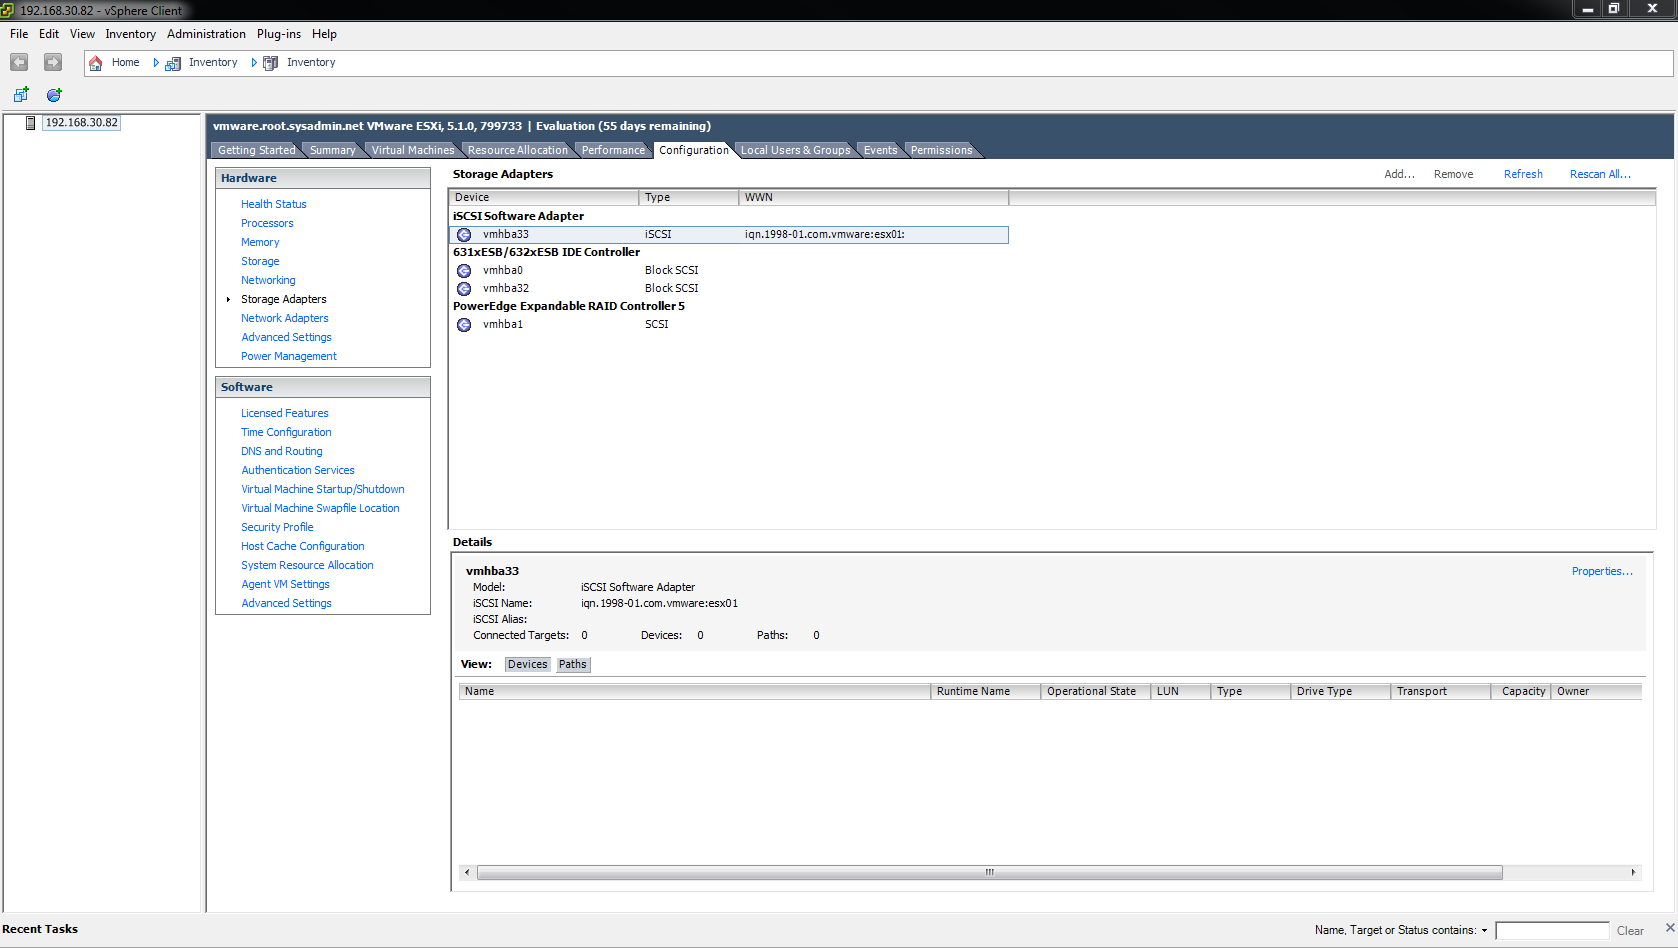
Next, navigate to Configuration > Storage Adapters. Right click the iSCSI Software Adapter (vmhbaxx) and select Properties….
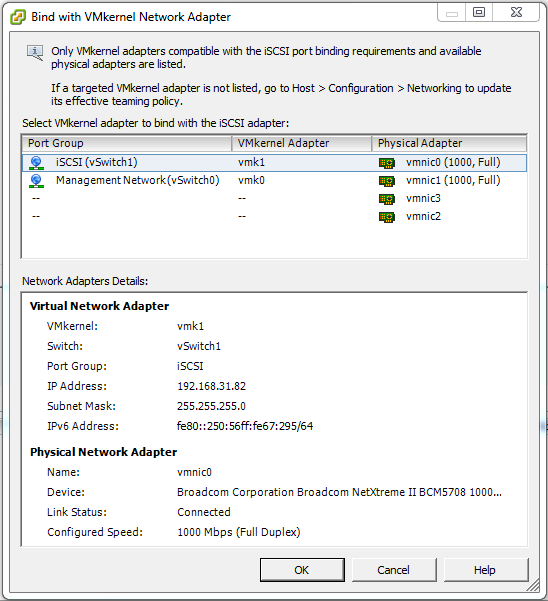
Under the Network Configuration tab click Add….

Under Port Group select iSCSI (vSwitch 1) and click OK.
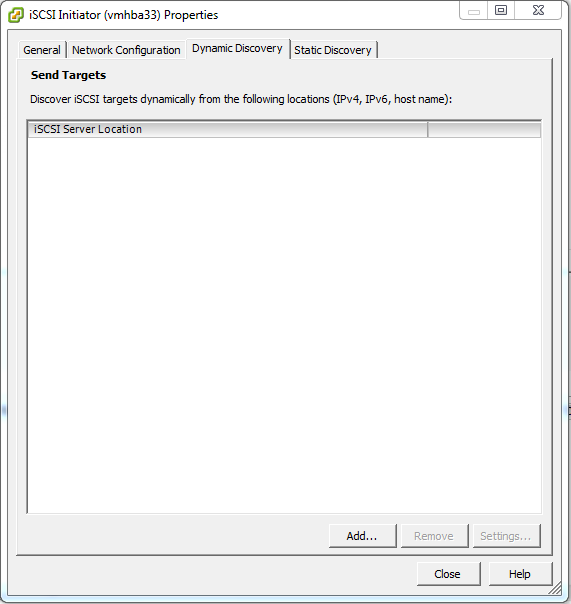
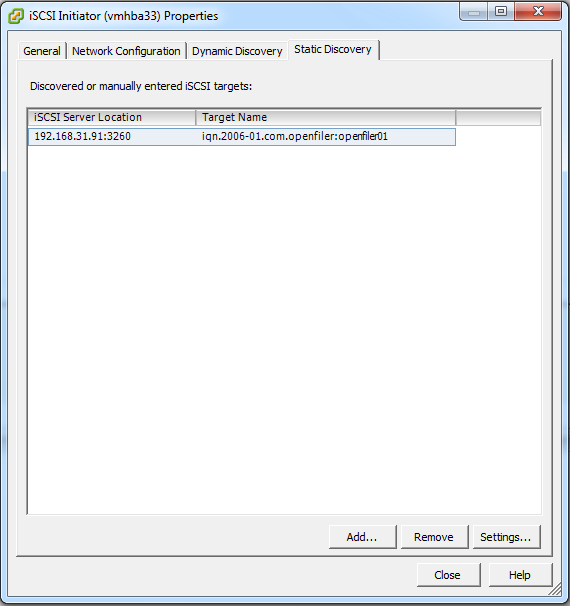
On the Dynamic Discovery tab click Add….
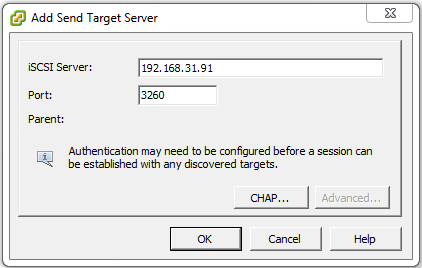
In the iSCSI Server: field type the IP address of the iSCSI target server then click OK. In this example it is 192.168.31.91.
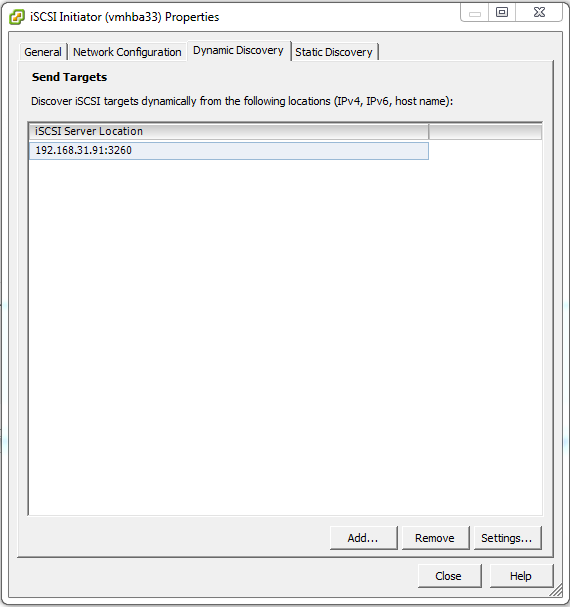
The IP address of the iSCSI targer server should now be visible under the Dynamic Discovery and Static Discovery tab. If so, click Close.
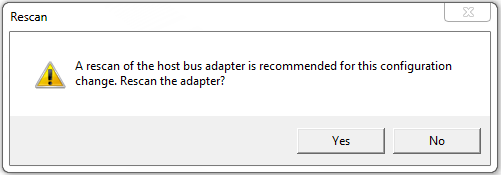
Select Yes when prompted to rescan the host bus adapter.
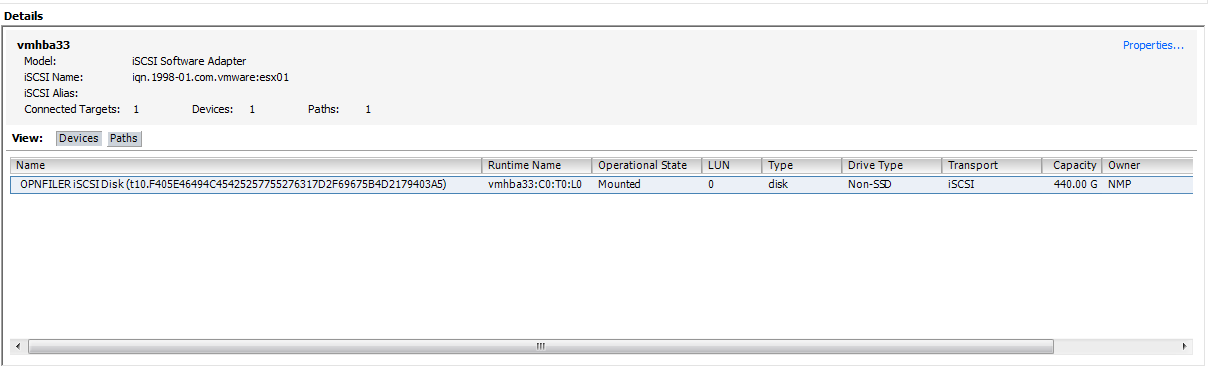
Under the Details section of the window you should now see the LUN(s) that have been configured for use.
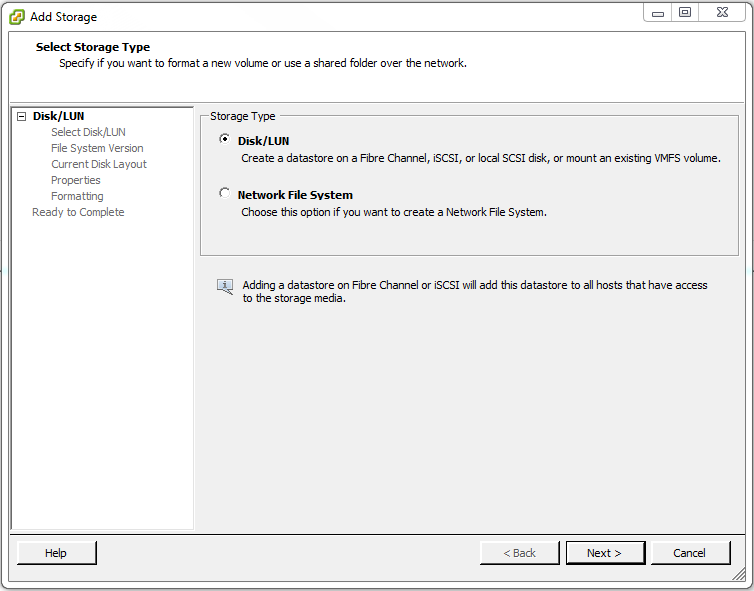
Next, navigate to Configuration > Storage then click Add Storage….
Under Storage Type select Disk/LUN then click Next >.
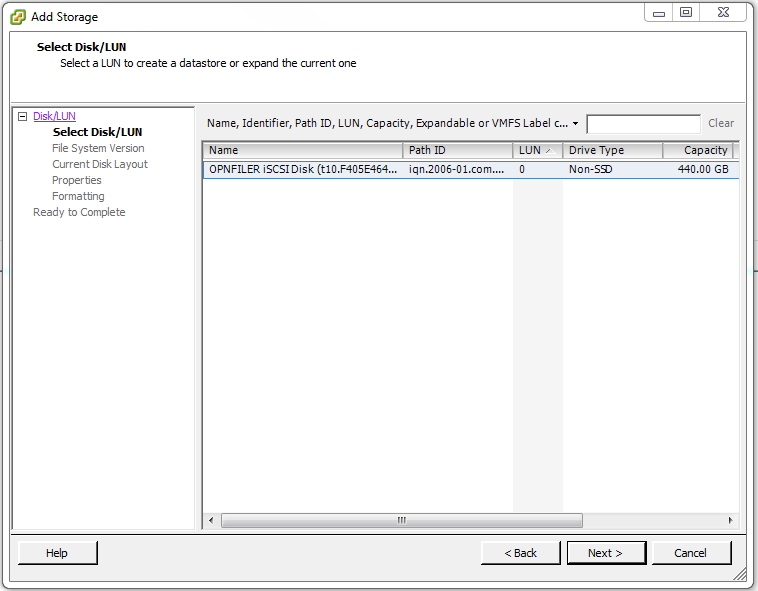
Select the LUN(s) then click Next >.
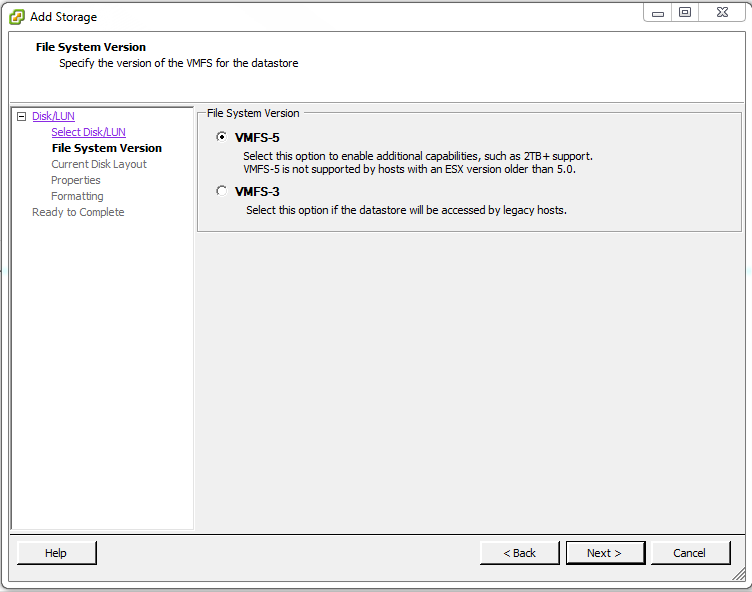
Under File System Version select VMFS-5 then click Next >.
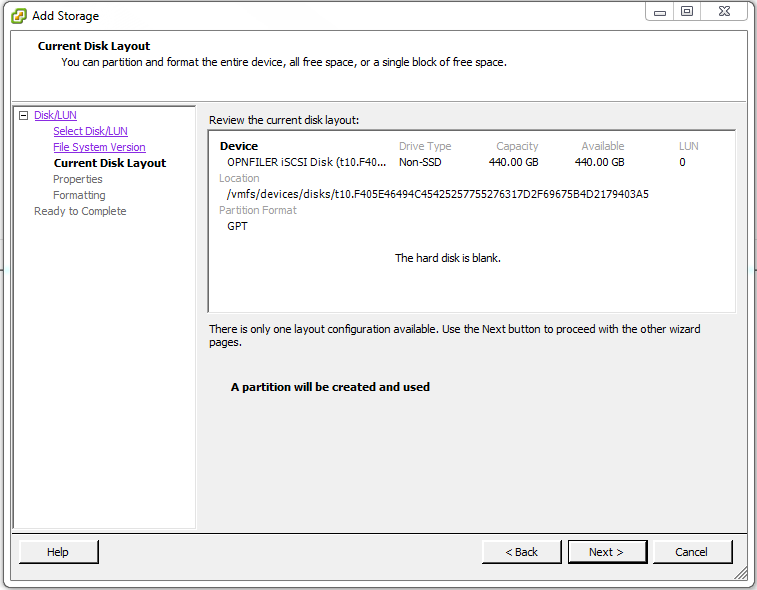
After reviewing the configuration click Next >.
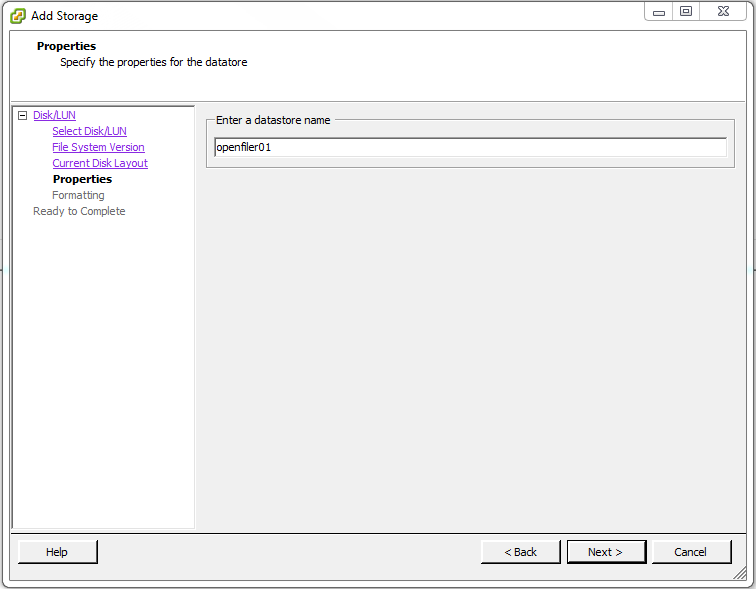
Enter a datastore name that will identify the datastore then click Next >. In this I chose openfiler01 because that is the hostname of the iSCSI SAN used in this example.
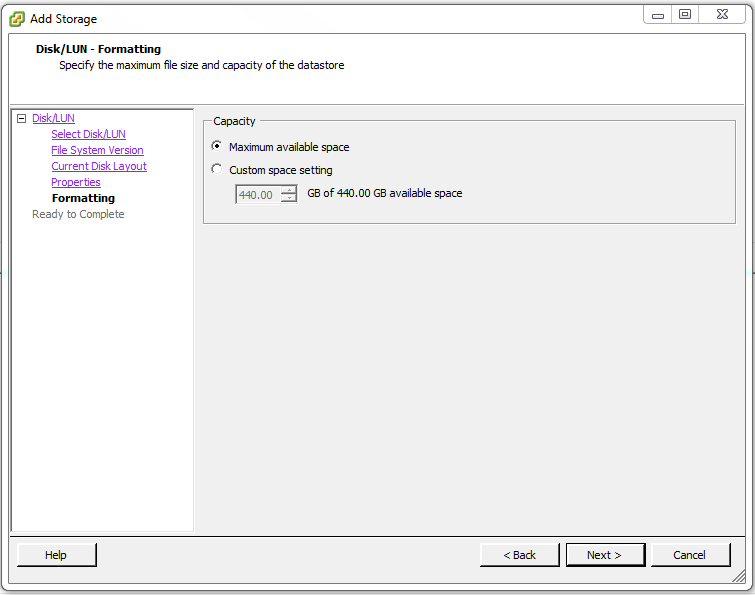
Under Capacity select Maximum available space then click Next >.
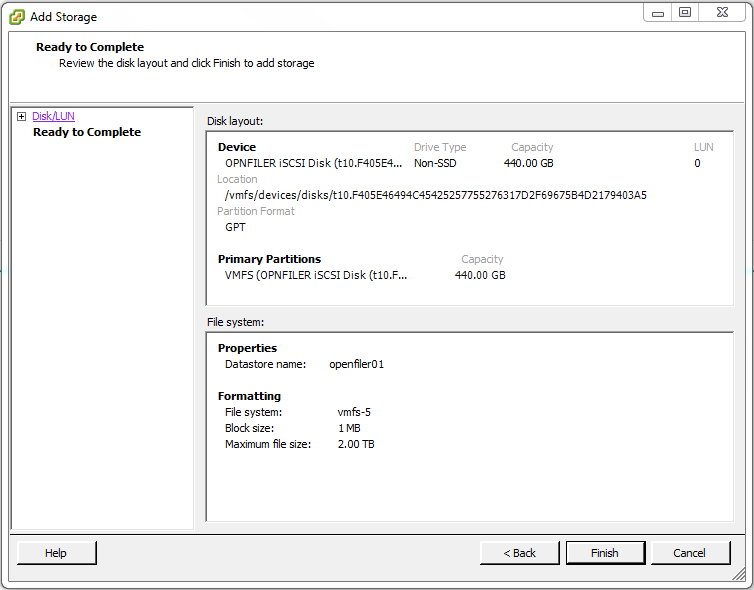
On the Disk layout: page click Finish.
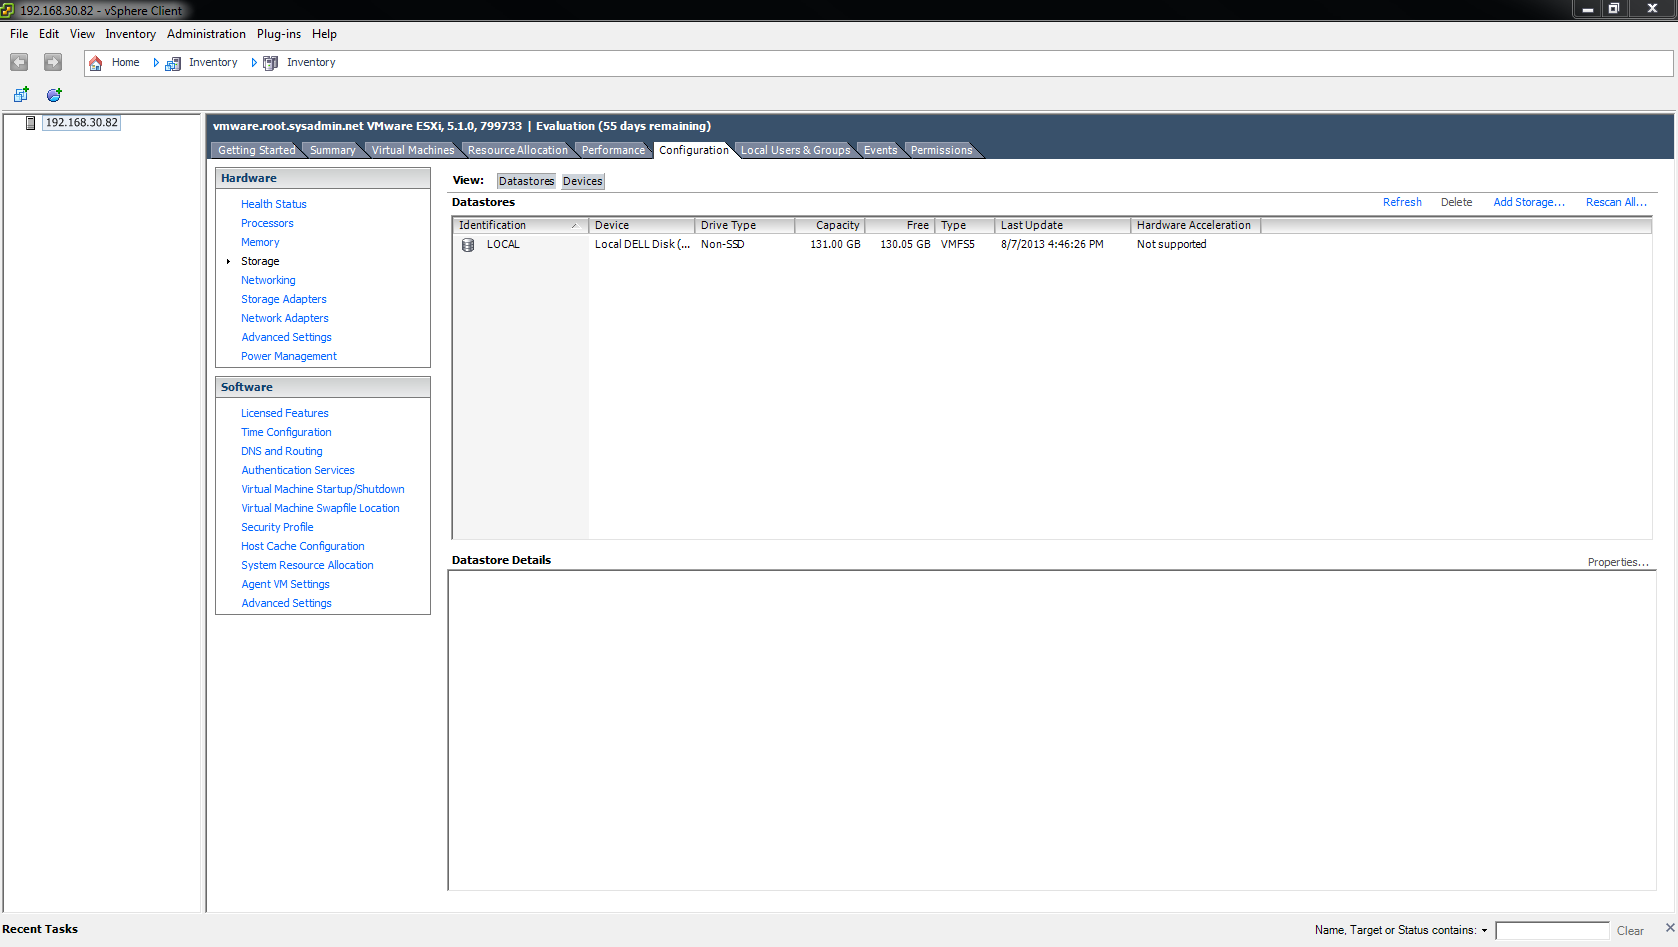
After the VMFS datastore is created it will be visible on the Configuration > Storage page.
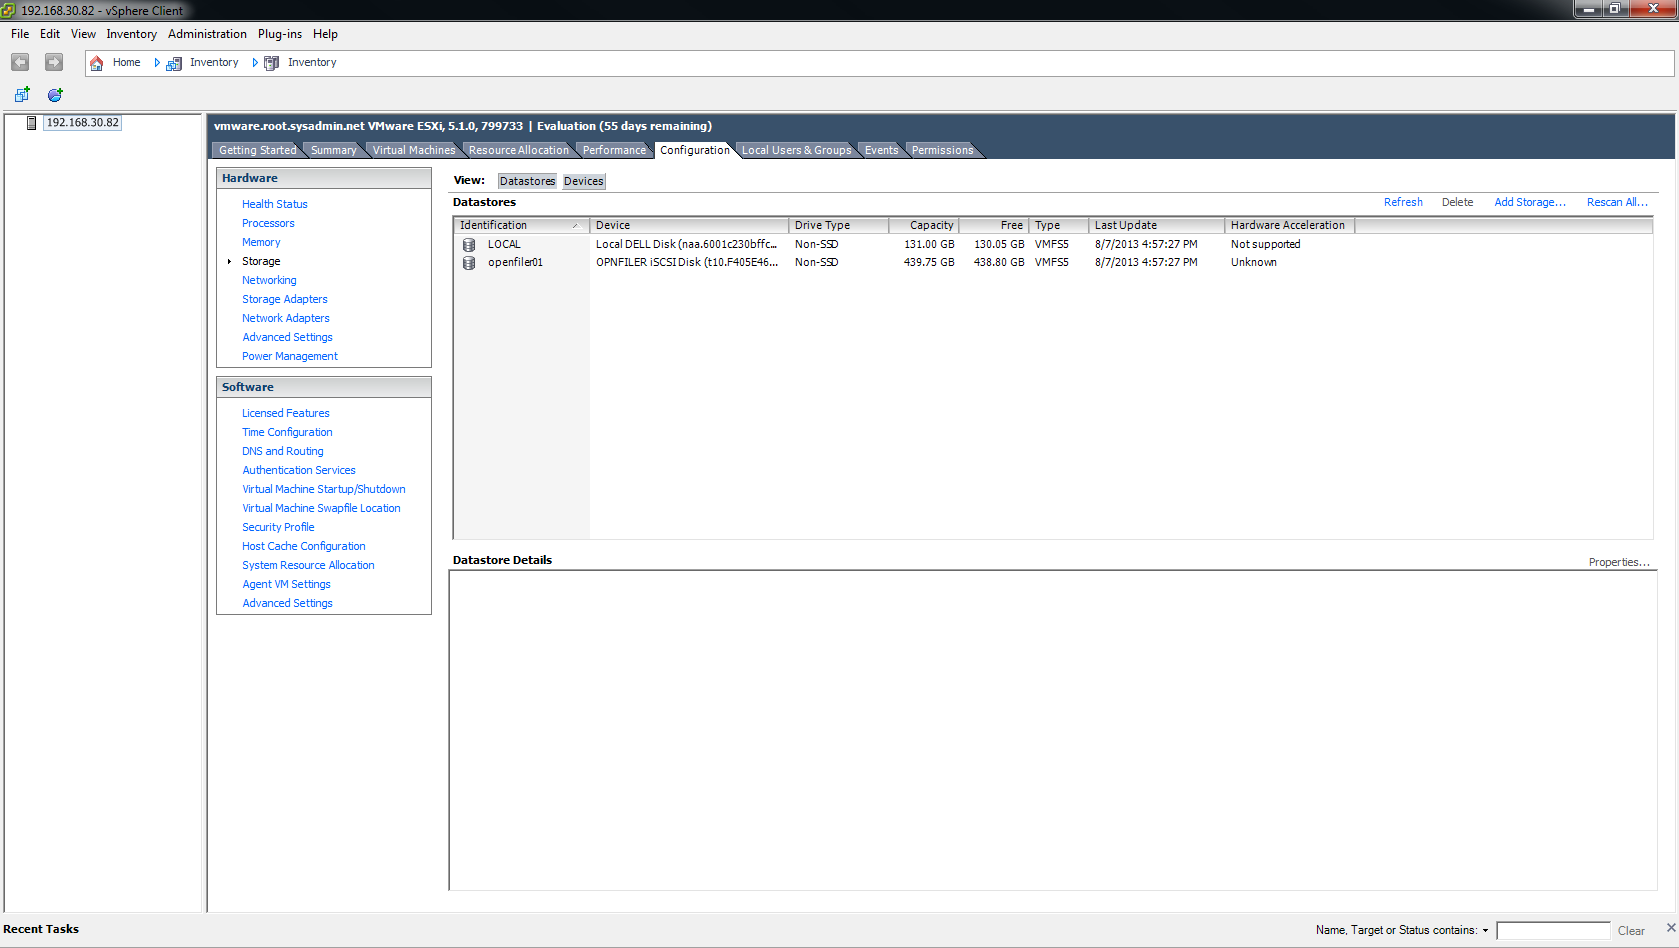
Now when you create virtual machines you may store them on this VMFS datastore.
This completes the process.
Enjoy!